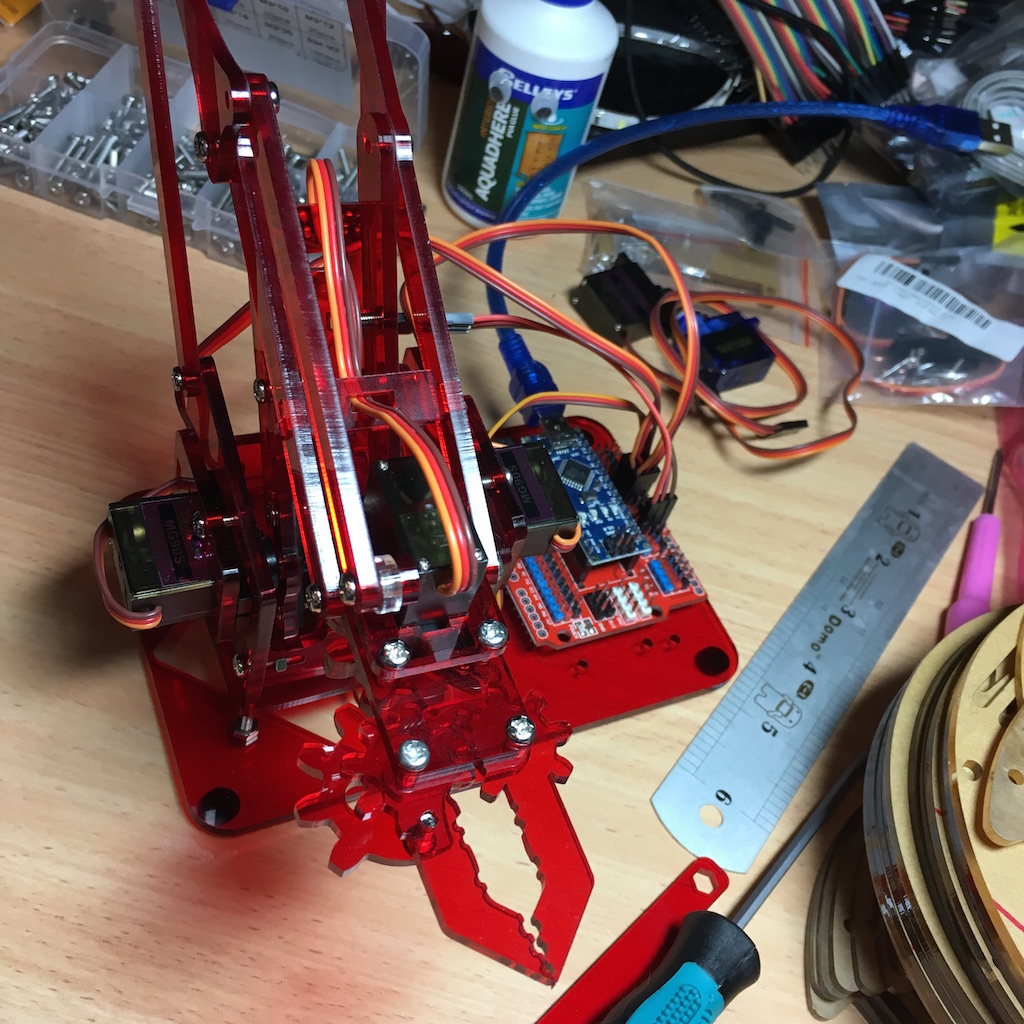
Today I've been building a MeArm v1.0 robotic arm.
The parts I used were laser cut from 3mm acrylic using these files:
https://github.com/jcard0na/mearm
It takes around half an hour to cut one set.
I was building this as a demo for some school holiday workshops. For the student kits, the arms will be built from parts ordered from AliExpress to save time. Search for MeArm on Ali to find a range of kits in either ply or acrylic.
MeArm is a fantastic open source design that is great for intermediate to advanced Arduino workshops, as it's definitely a lot of fun but also quite challenging to build (even though the instructions are excellent). It requires patience and a bit of problem solving to troubleshoot problems, and I found myself needing to pull bits apart and put them back together the right way a couple of times as I put it together.
Hooking the arm up to the Arduino is not too difficult though - just four servo motors plus a sensor or joystick to provide some interactivity. I'm using an Arduino nano with an I/O board that the servos can plug into directly to make it super easy.
The version I built today (v1.0) has been much improved since the original version that I first tried a couple of years ago, and there are some great online resources including videos and photo tutorials now. The official build instructions are here:
http://learn.mime.co.uk/assets/docs/building-the-mearm-deluxe/MeArm_v1.0_Manual_v1.4.pdf
EDIT: turns out there is an Arduino version of this manual too:
The instructable from the designer, phenoptix, is also great, with photos instead of illustrations, which make some of the steps a little clearer.
http://www.instructables.com/id/MeArm-Robot-Arm-Your-Robot-V10/
I found this video useful too, though be aware there were a couple of mistakes (mentioned at the end)
This instructable uses exactly the same sensor I had already ordered for the workshop, so that the arm can sort items by color. It includes a sample program too, so that saved me a lot of preparation time:
http://www.instructables.com/id/MeArm-Color-Chip-Sorter/
The instructable code makes use of this useful library for programming the MeArm using cartesian co-ordinates:
https://github.com/yorkhackspace/meArm
Some things that weren't so obvious when I began assembling:
Calibrate all the servos by setting their position first (three of them to 90 degrees and the one for the claw to 25 degrees)*. I wrote a simple Arduino program do this:
#include <Servo.h>
int servoPositions[] = {
  90, 90, 90, 25
};


Servo s1;
Servo s2;
Servo s3;
Servo s4;

void setup() {
 s1.attach(9);
 s2.attach(10);
 s3.attach(11);
 s4.attach(6);
 s1.write(servoPositions[0]);
 s2.write(servoPositions[1]);
 s3.write(servoPositions[2]);
 s4.write(servoPositions[3]);
}
(EDIT: The Arduino version of the manual says this should be 35 degrees not 25. My claw does seem to be working ok though...)
Some of the holes only line up in one orientation, so line the acrylic parts up first and flip them if required, before inserting the screws.
The illustrations aren't always obvious e.g. what angle should the servo arms be installed - read ahead by a few steps and you'll usually get a clearer idea when you see how the parts need to come together.
Be really careful to check the orientation of the pieces in the diagrams, I got the claws the wrong way around first time, and also put the part next to the claw on the wrong side (I probably was getting a little impatient to have the thing together by the time I got to the claw, so I started making more mistakes).
I was using metal gear servos rather than the ubiquitous tower pro 9g servos, and turns out the metal ones are a little taller, so the servo at the bottom stuck out too far so it wouldn't sit flat. I could have used taller rubber feet (but I didn't have any on hand), so instead I swapped out the bottom servo after the fact, which was a little tricky, and the servo horn from the metal servo wasn't a perfect fit. I will probably find some taller feet and put the original servo back in.