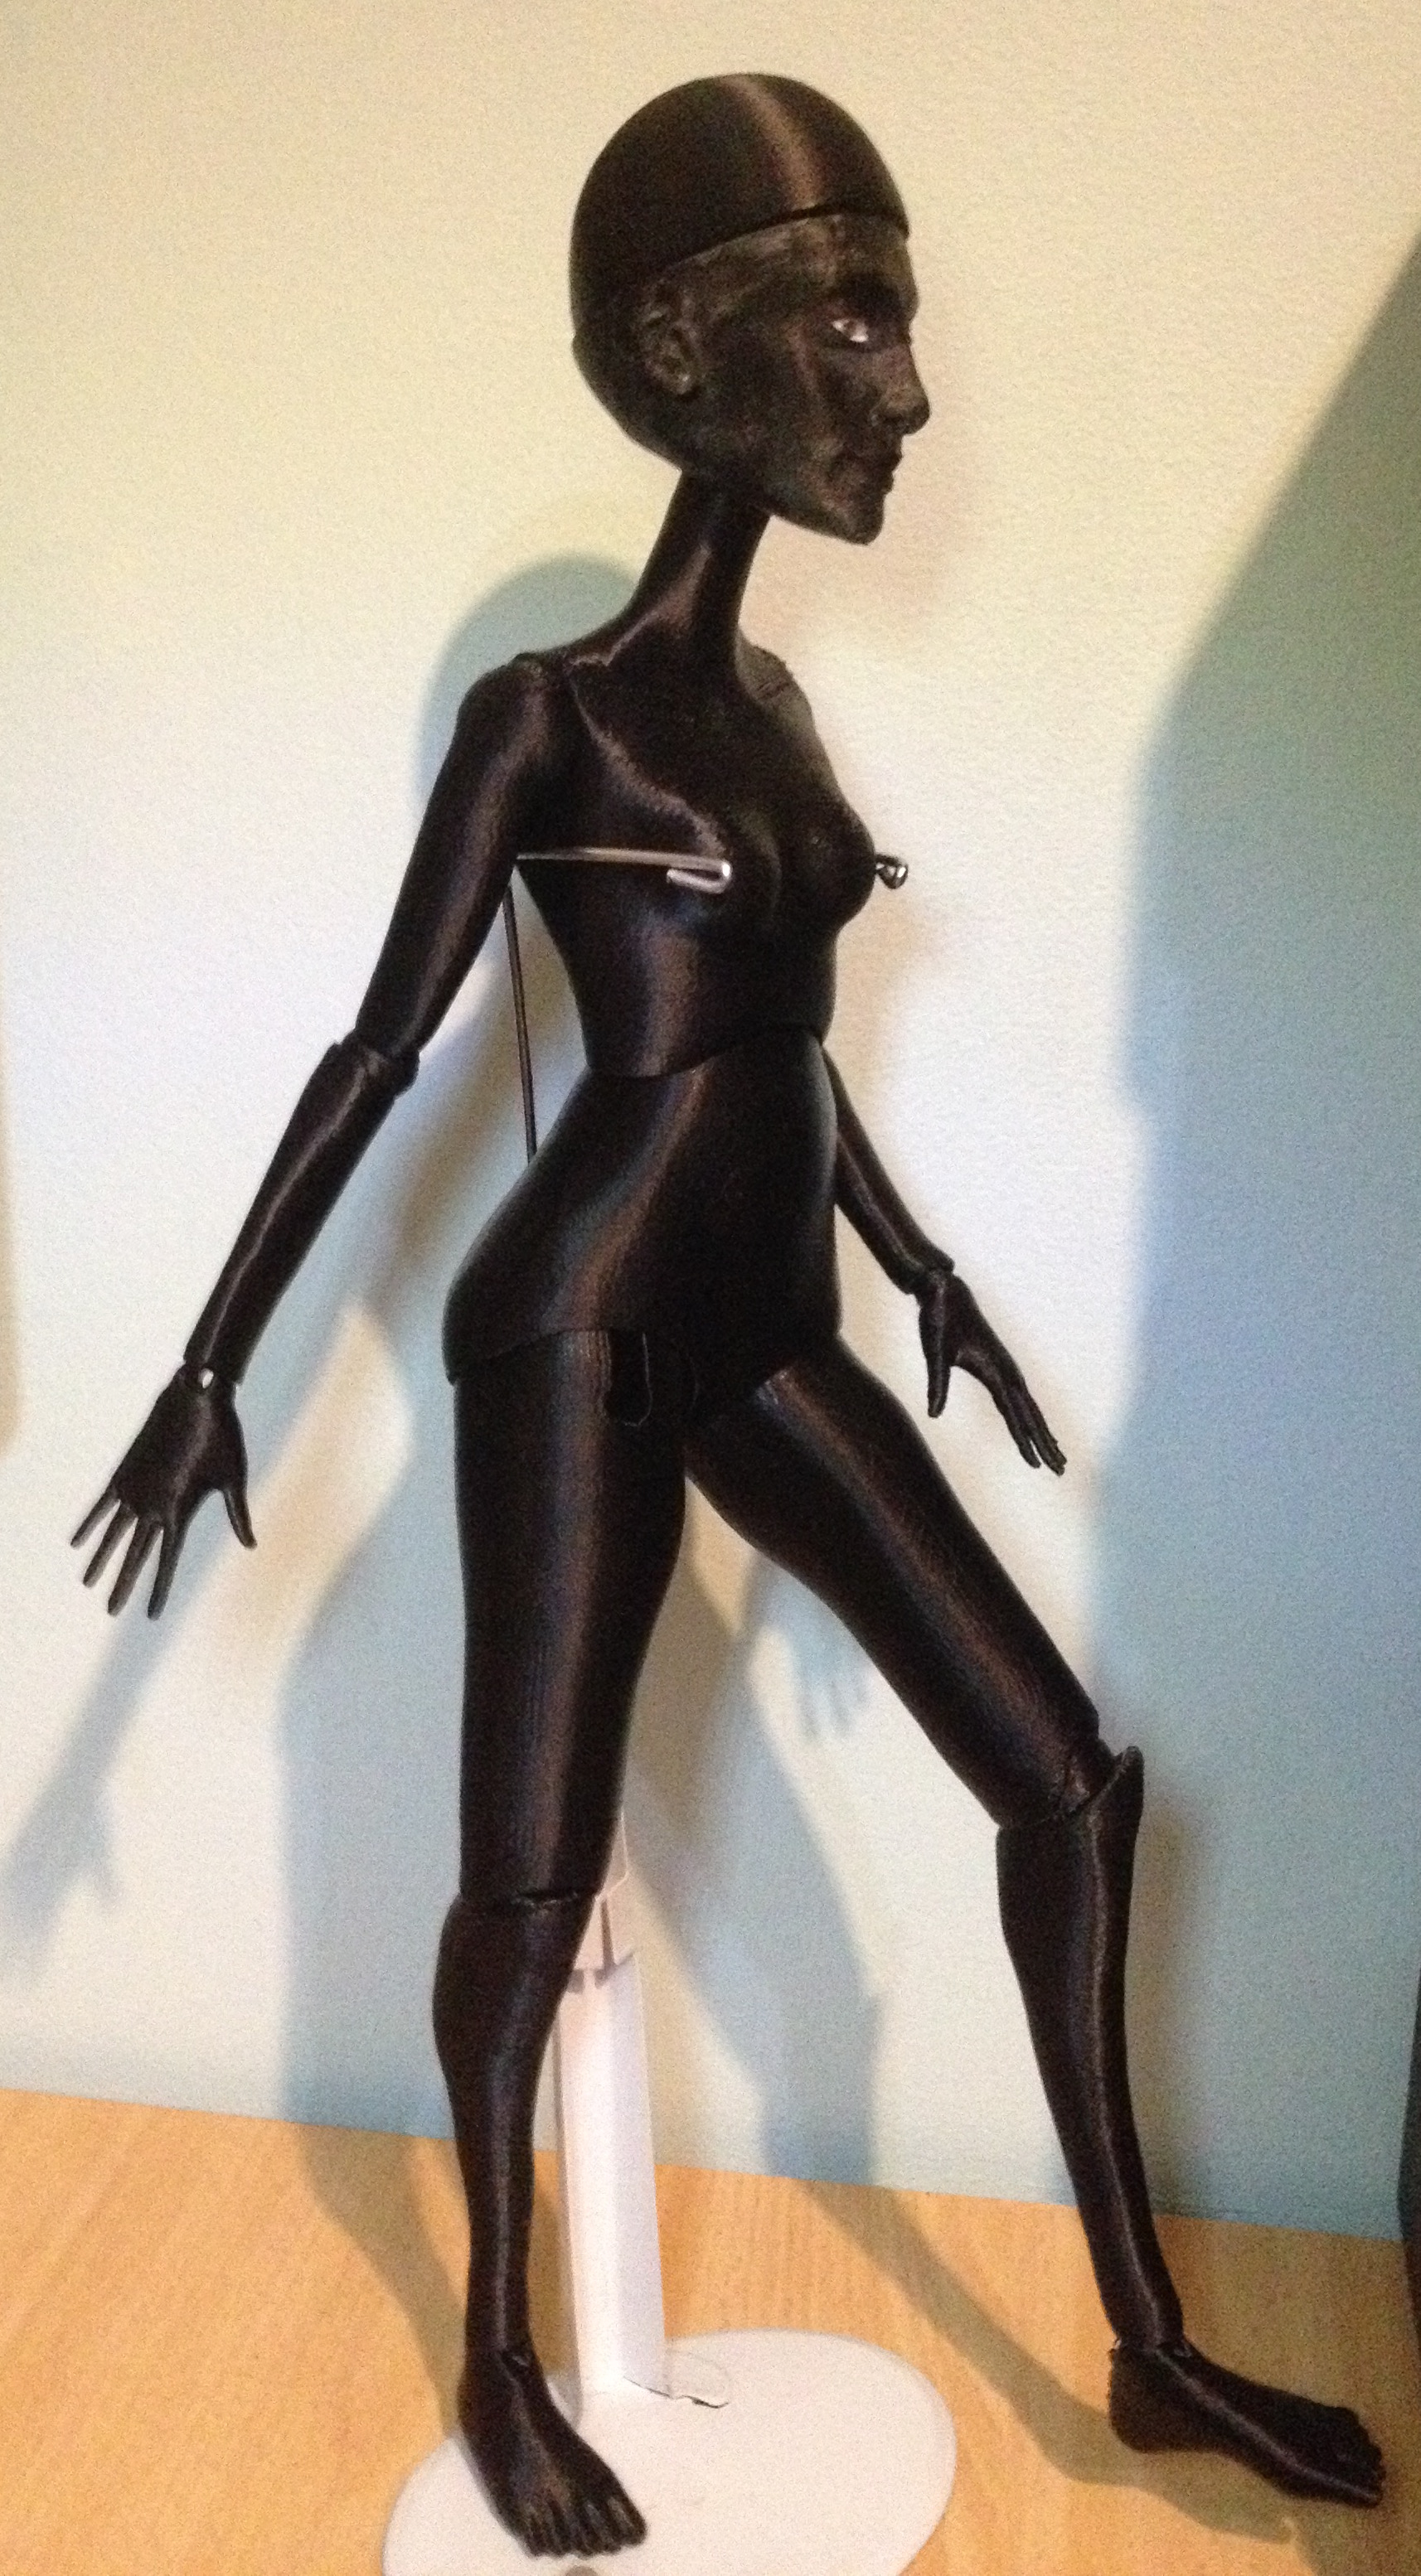
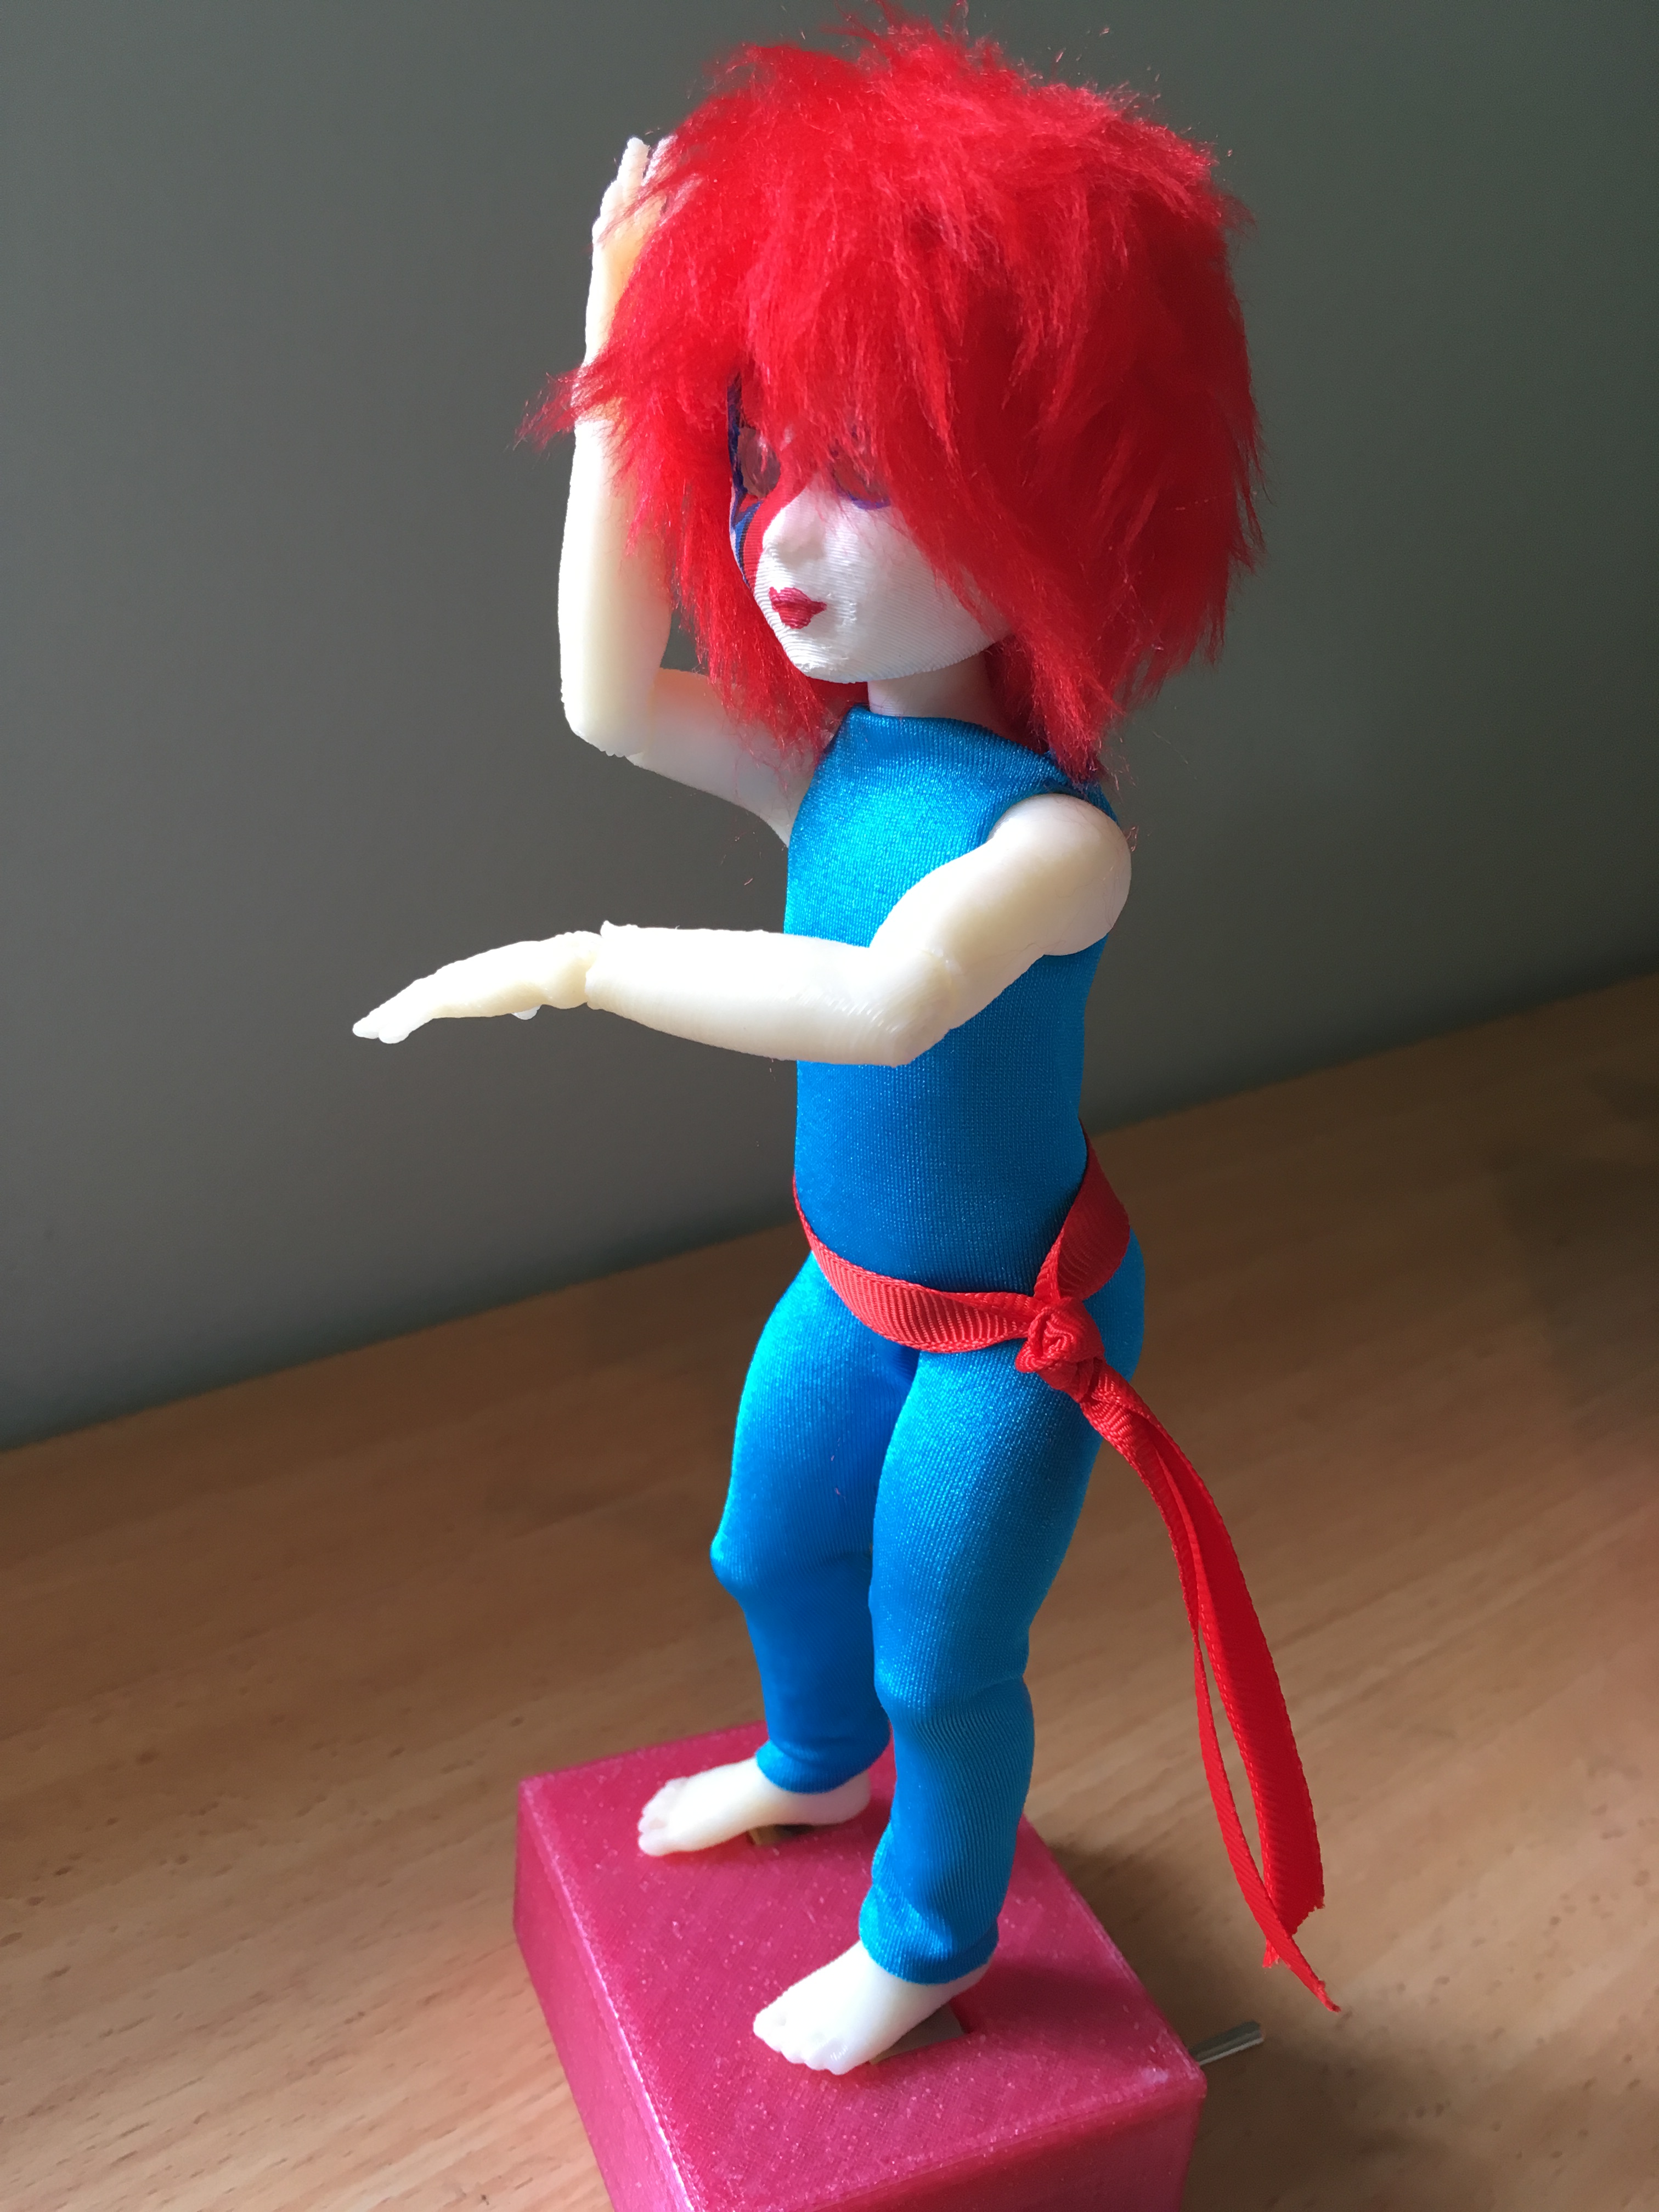
In April, I facilitated a three-part course on sculpting and 3D-printing articulated dolls and action figures (like my Nefertiti and Pixie dolls) and then adding electronics to make them interactive at The Edge.


This was a hands-on course so the sessions focused around demonstrations of techniques for each step and participants then creating their own models and figures, however I've linked to some slides that summarise the content below in case they are useful for anyone creating their own figures.
Feel free to use, share or adapt these slides under a CC-BY-SA 4.0 license.
Part 1 focused on creating the 3D models - first generating a base model using character generation software and then using that to create the figure parts in Meshmixer.
Part 2 focused on preparing and printing parts for the 3D printed action figure.
Note: There is a bit of overlap with some slides from Part 1 repeated at the start of Part 2 because some participants weren't able to make it to the first session, so we did a quick recap.
Part 3 focused on assembling the action figure, adding electronics and a microcontroller.