The final day of the Ukulele building class! On the previous day, we'd finished up by doing the final coats of shellac, and left them to dry overnight.
1) We begin with a light snick back using 400 grit sandpaper, to remove the little balls of wax that have dried on the surface of the finish. We are careful not to cut into the finish.
2) Then we apply wax using steel wool. Less is more with this wax, we dab small dots of it over the flat surfaces and then rub with the grain over the body and neck with the steel wool. Then we buff all over with a soft cloth.
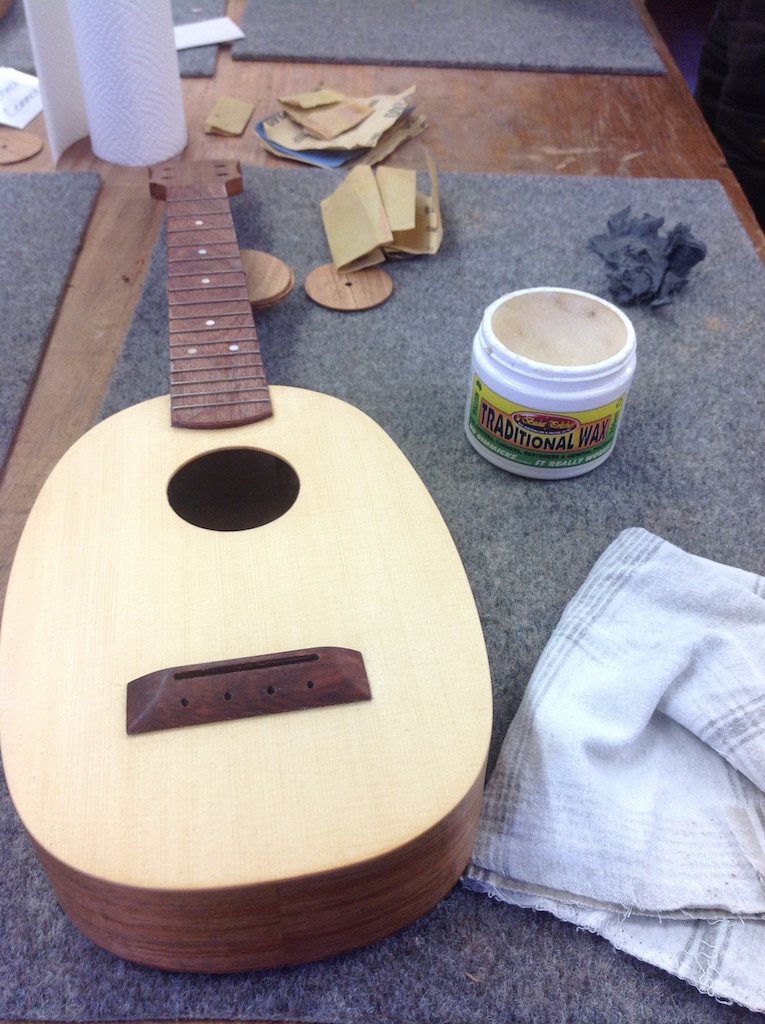
3) Using a 2mm drill bit, the string holes in the bridge are drilled out (the bridge already had holes but this drills all the way through the sound board too).
4) We dress the frets next. We use a fret file (the wider flat file) to round the sharp edges off the ends of the frets - 2 long smooth downward strokes per fret. We go all along one side first and then turn the uke around and do the other side. These have a safe edge with teeth only in the groove that goes over the fret, to protect the fretboard. We have to be careful when doing the frets near the body that we don't gouge the body (we put our hand in the way to protect it). Then we use the fret end file (the thinner file) to get the spots we might have missed at the very base of the ends of the fret - 2 strokes on each side of each fret, in a smooth curved stroke.
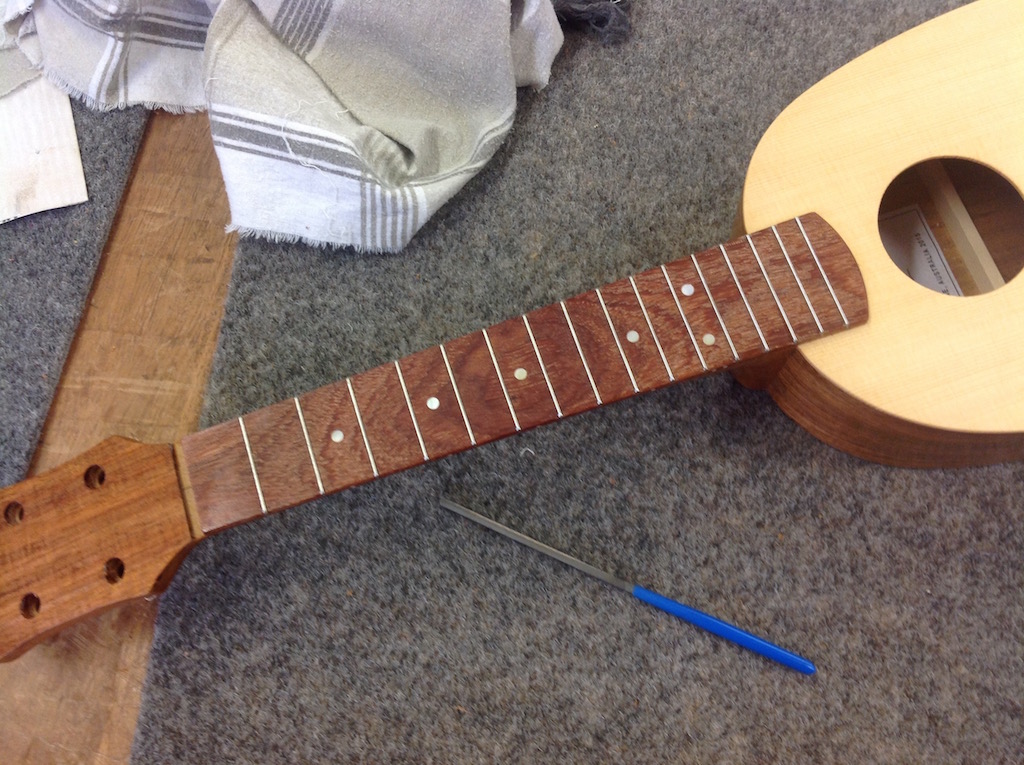
5) A fret rocker is used to check the height of each of the frets. This is a steel or brass tool with edges long enough to span three frets at a time. If the middle fret is higher than the ones on either side, the fret rocker will rock both ways, making a slight clicking sound. We check along the entire length of the fret because it might just be one part of the fret that is high. We mark along the high parts of any frets with a marker pen.
6) The high frets are corrected using a small diamond block (e.g. the ones you can get from a fishing store for sharpening hooks). If it is only one end of the fret that is high, you can just use the fret file to lower that bit only, instead of the diamond block. We re-crown the fret(s) that were lowered with the diamond block using the fret file.
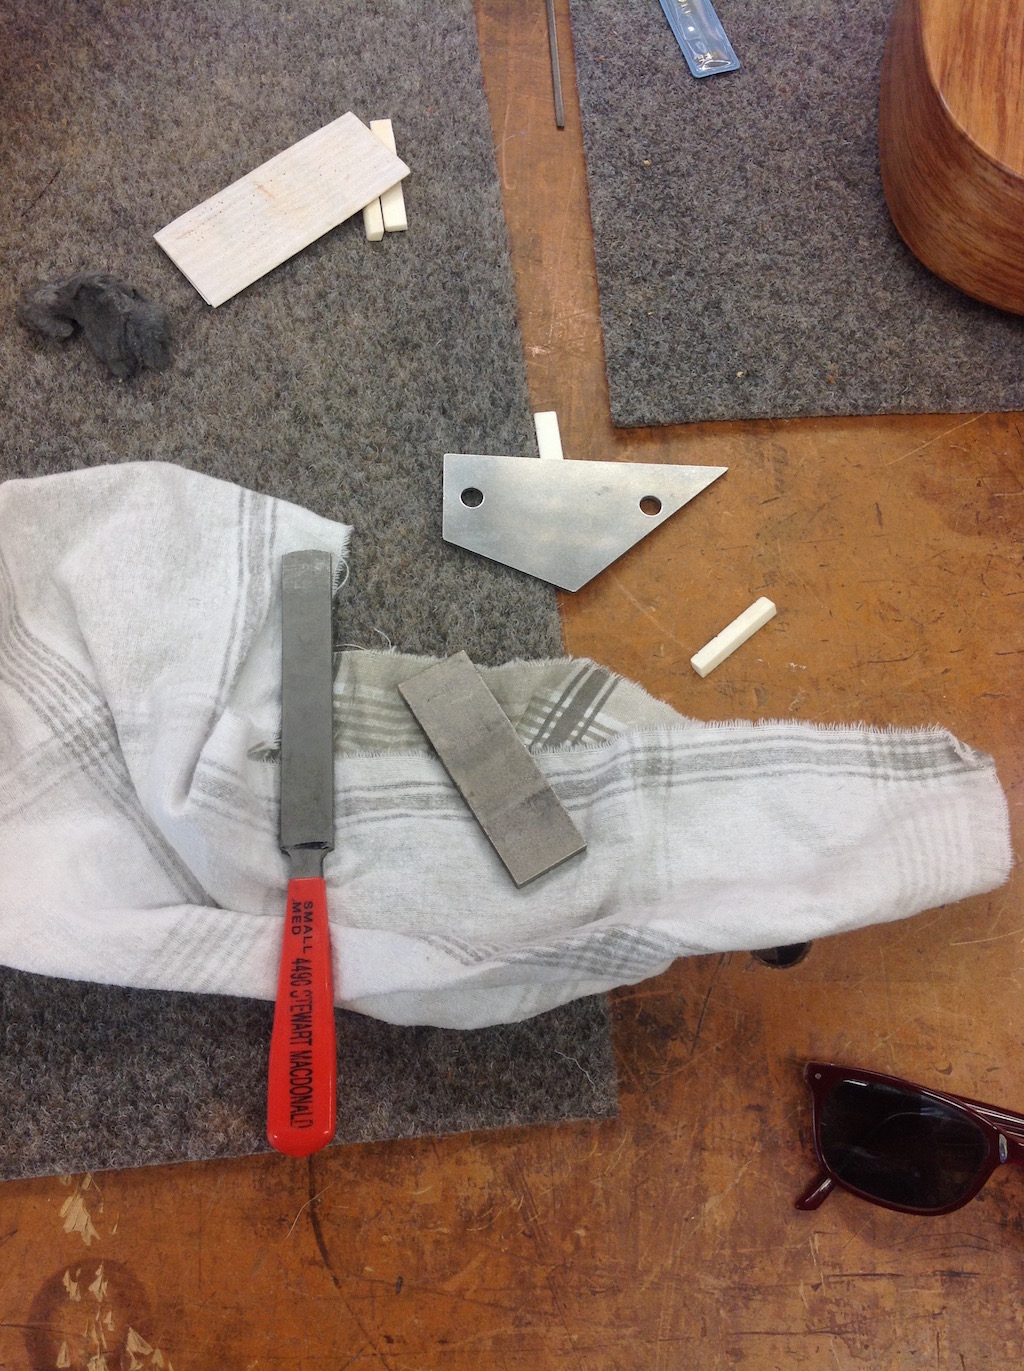 Tools: Fret file, diamond block and fret rocker
7) We run 600 grit sandpaper along the edge to smooth out any file marks on the ends of the frets.
8) Using steel wool, we apply a tiny amount of wax to the fret board and then buff with a soft cloth.
9) We install the bushings for the tuners by pushing them into the holes at the front of the peghead. We're using Grover sta-tite tuners, and we have a choice of white or black buttons.
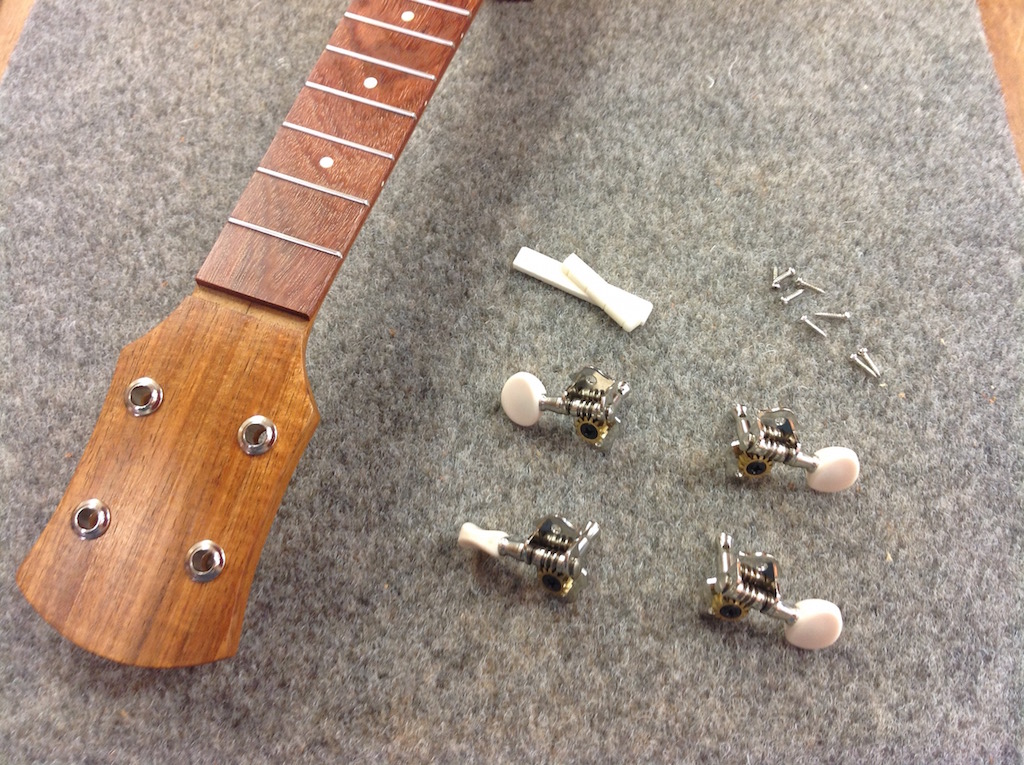
10) Now we flip our ukes over and push the tuners into place, and use the saddle alongside to align them in a straight line.
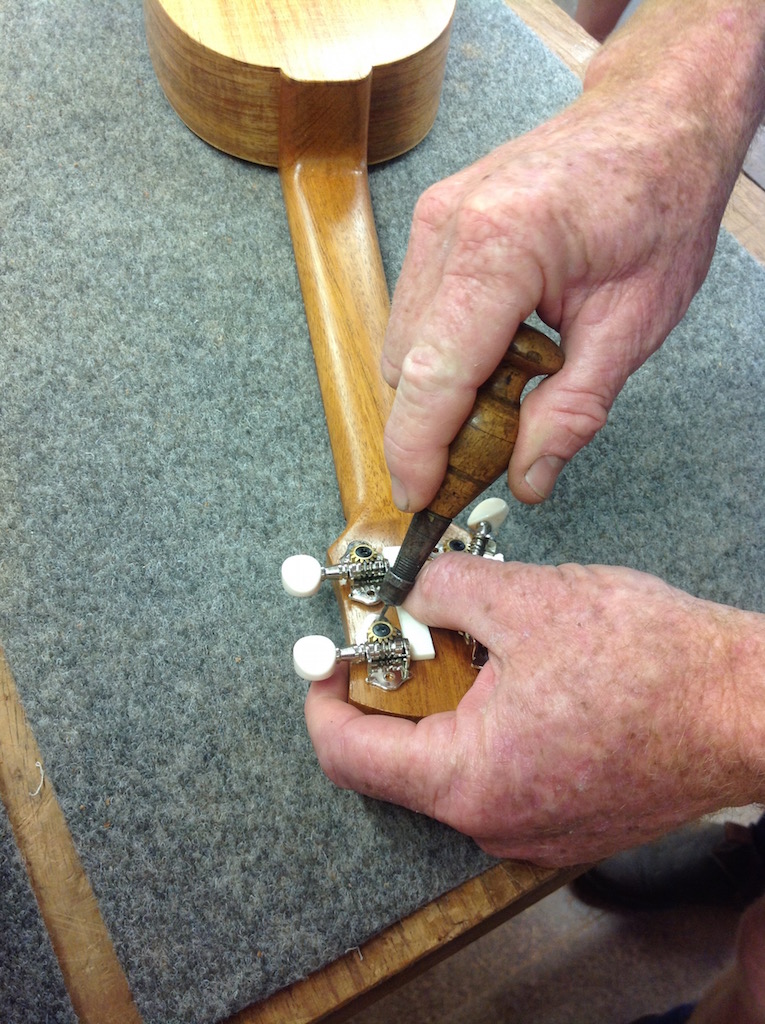
11) When they are lined up, we use a sharp point (e.g. brad awl or marking point) to mark the location where the screws will go, then take the tuners off and make a holes a bit deeper with the awl. Pop the tuners back in and screw in the self-tapping screws, just tight enough to hold the tuners in place (being careful not to over tighten).
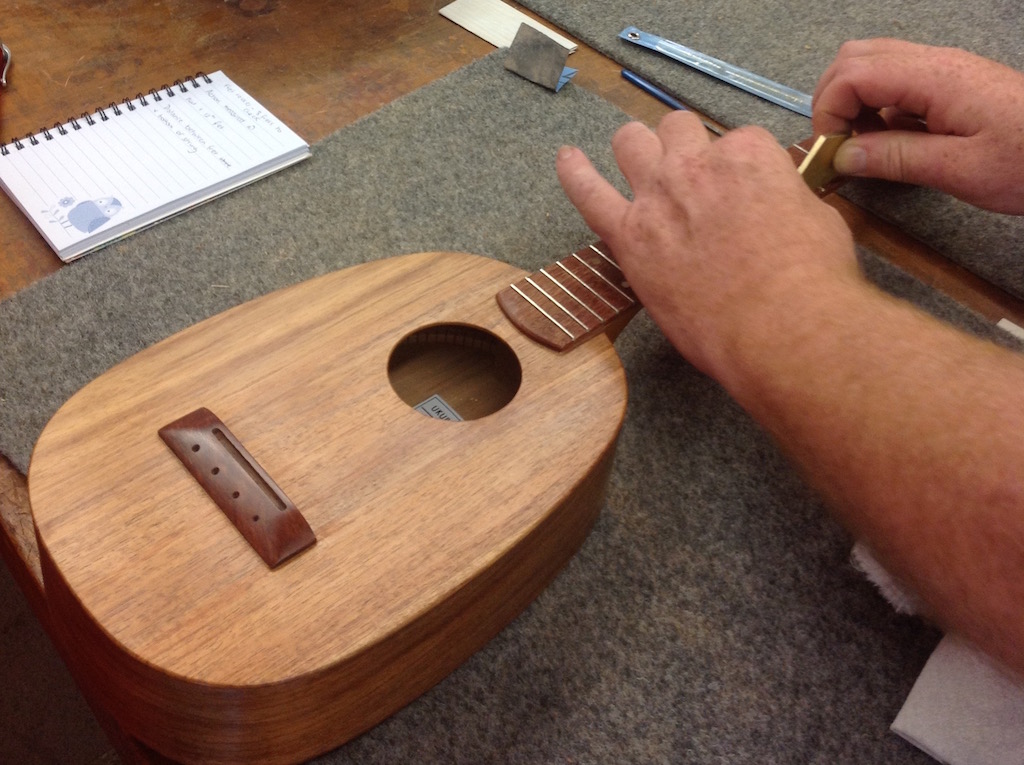
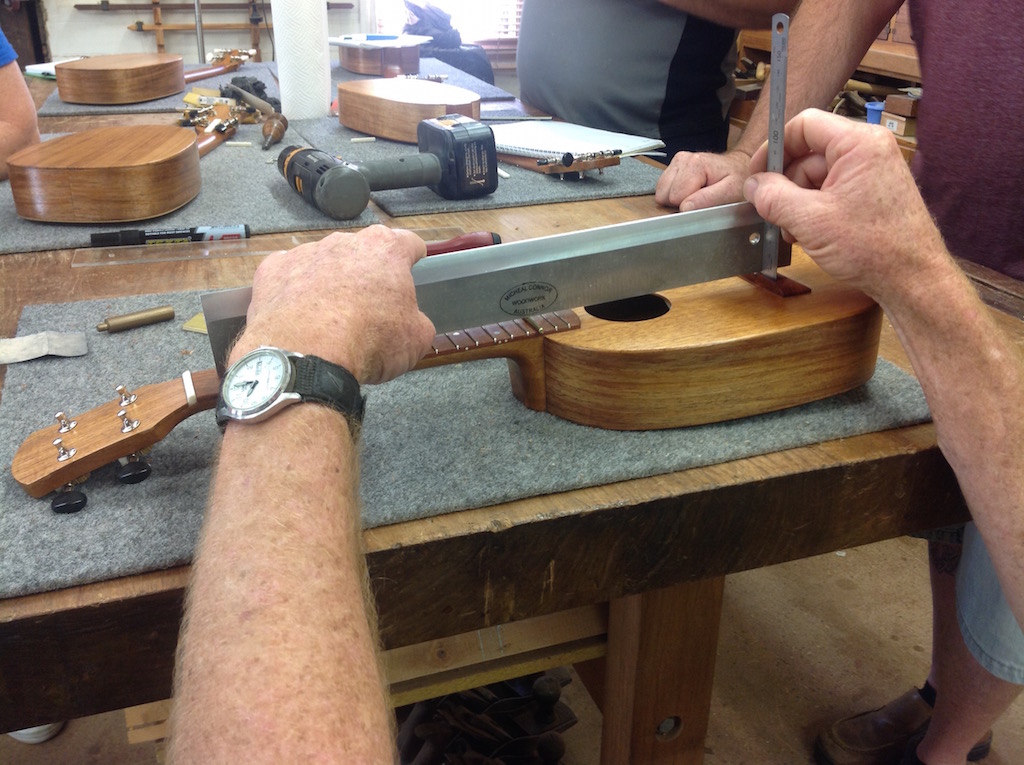
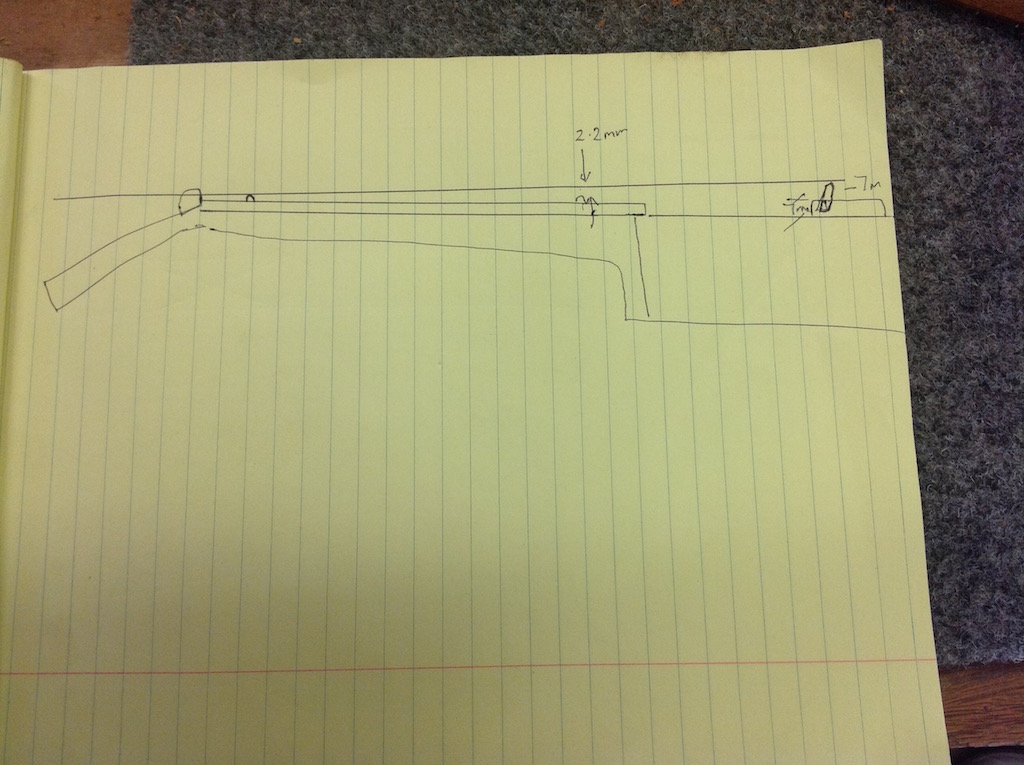
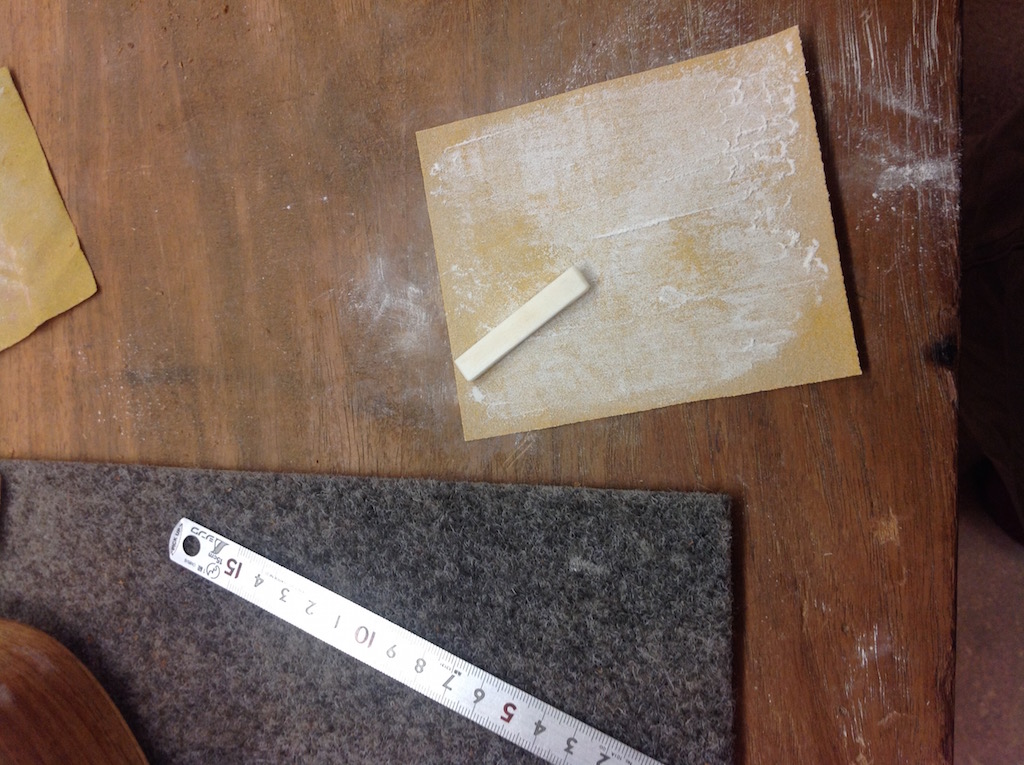
12) Now we will learn how to setup the action of our ukuleles: We put a brass rod of 1/8th of a inch (i.e. 3.2mm) diameter on the fretboard between the 13th and 14th fret. A 1/8th drill bit is also a substitute for the brass rod. Then we extend a long metal rule from the first fret across the brass rod and to above the bridge. We use a small steel ruler to measure up from the bottom of the saddle slot to the bottom of the metal rule. This distance is 7mm on our ukes, so this is the height we need to make our saddles.
13) We cut the saddle to the right length to fit into the saddle slot using a bone saw, then use sandpaper to fine tune the length and round the edges. We sand the top and bottom flat using 150 grit sandpaper and continue to sand until the saddle is 7mm tall (checking periodically with the steel rule). When it's the right height, we use finer sandpaper to smooth out the scratches, and then finally slightly round off the sharp edges along the top edges.
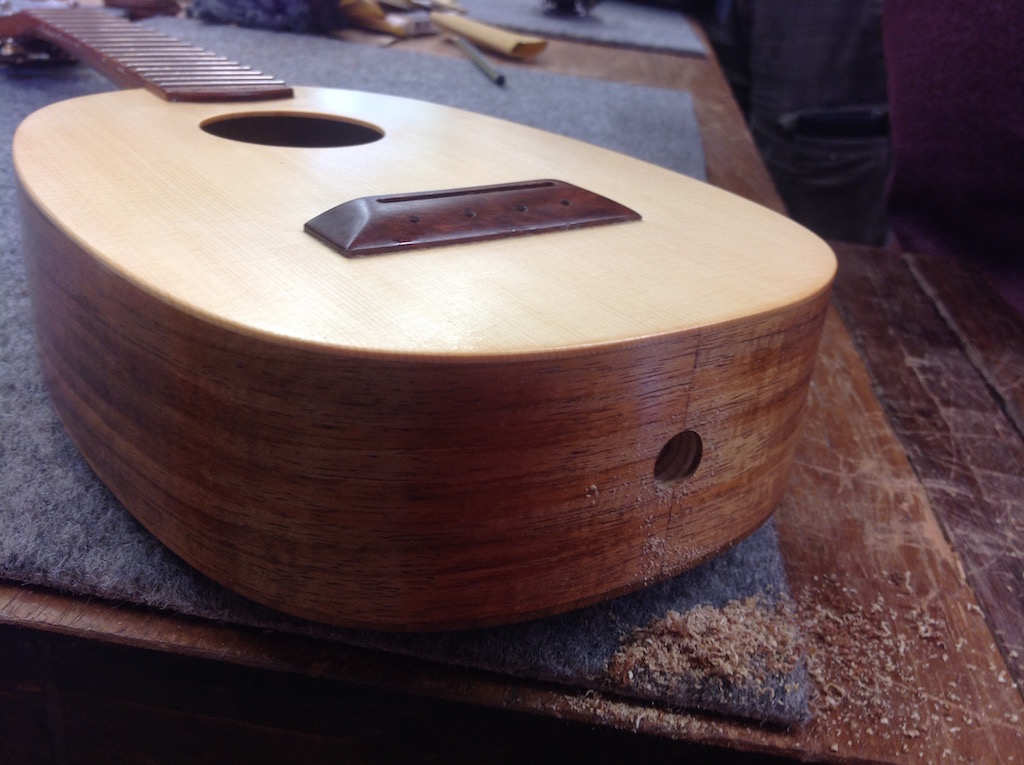
14) I've asked for a pickup to be installed in my uke, so Allen drills a small hole in the middle at the bottom (using a center bit drill), then uses a step drill to aim down the center of the uke and drill all the way through the tail block. This is a half inch hole. He uses his fingers to protect the base of the uke from being hit by the drill.
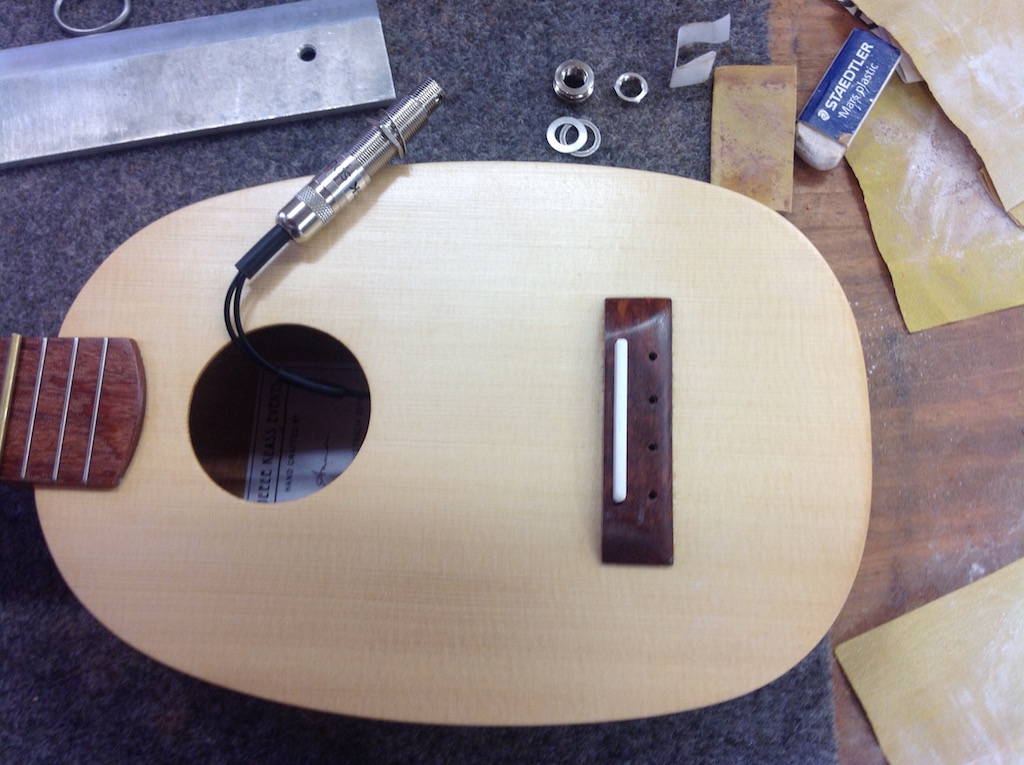
15) This is a K&K Aloha Twin soundboard transducer. The two pads are stuck on the underside of the soundboard using superglue. Once these pads have dried, the nut that will go on the inside of the uke on the pickup jack is adjusted so that just the right amount sticks out, and using a brass rod inserted through the hole at the bottom of the uke, the pickup jack is positioned and screwed into place.
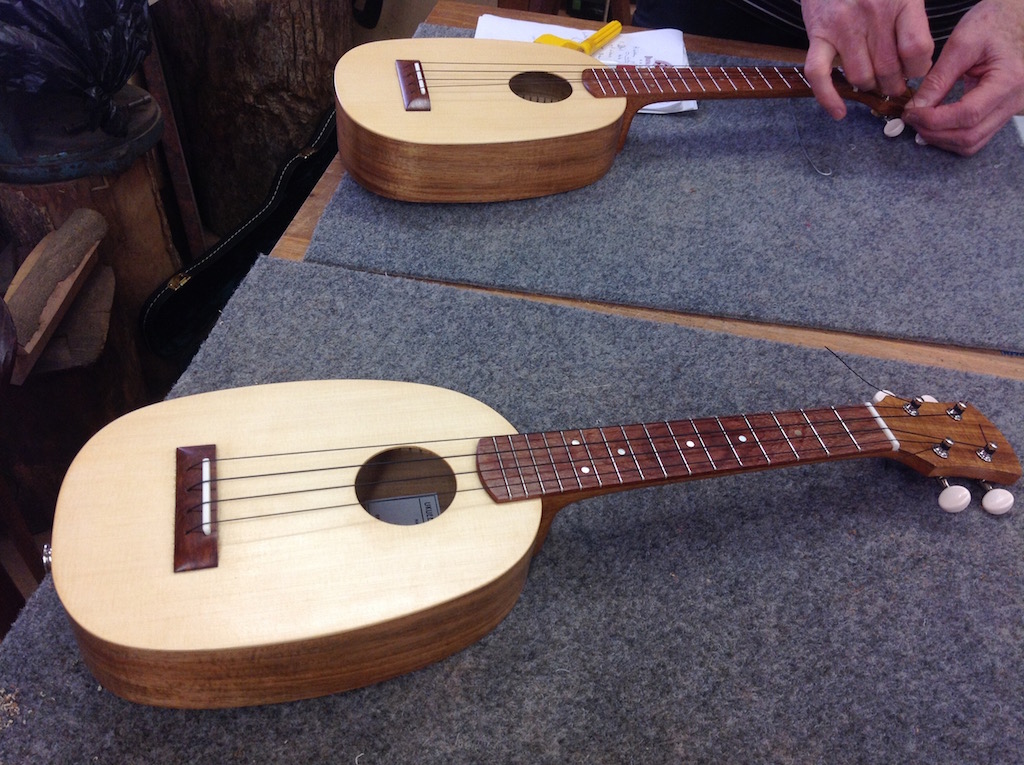
16) It's finally time to string our ukuleles! We turn all of the tuners so that the holes are horizontal. No playing allowed at this point ("No plucking way"!) Starting with the G string, we string one at a time. We thread the string down through the hole in the bridge, using the curve of the string to guide it back up through the soundhole (or we can use a wire hook to fish the string out, being careful of the pickup wires). We thread a 4mm glass seed bead onto the end of the string that is now poking up through the sound hole, and tie it on with a figure of eight knot, pulling tight and then trimming the tail. We pull the string back up at the bridge so that the bead sits inside under the bridge. We pull the string up along the neck to the corresponding tuner, thread from the middle of the head out through the horizontal hole towards the outside edge of the peghead, then loop the string around the peg once before tightening by turning the tuning peg. We're just getting them tight enough to check clearance, not tuning them yet.
17) Now we'll complete the setup. The height of the nut and saddle determines the action. The action is the distance between the top of the fret and the bottom of the string, and is measured at the 12th fret. It should be around 2mm for our ukes. We'll get it right at the nut first. We press the string down in the third fret and check the clearance at the first fret, for each string. There needs to be just enough clearance. If there isn't, the string will buzz. We can use superglue (with a bit of bone dust if we like) in the nut slot to raise it. If it's too high, we can use a nut file to file the slot for this string a bit deeper. Once we've got it right at the nut, we can measure the action at the 12th fret using an action gauge or a ruler. Our action is spot on (2mm) because we have already measured and adjusted the saddle height before we put the strings on. If it wasn't right, we could adjust the saddle height some more at this point.
18) The strap buttons are installed by poking a small hole at the top of the heel using the marking point, then drilling a small hole and screwing the button in place, and our ukes are done!
19) We take a break for lunch. Thanks for the delicious prize cupcake for writing up the class notes :)

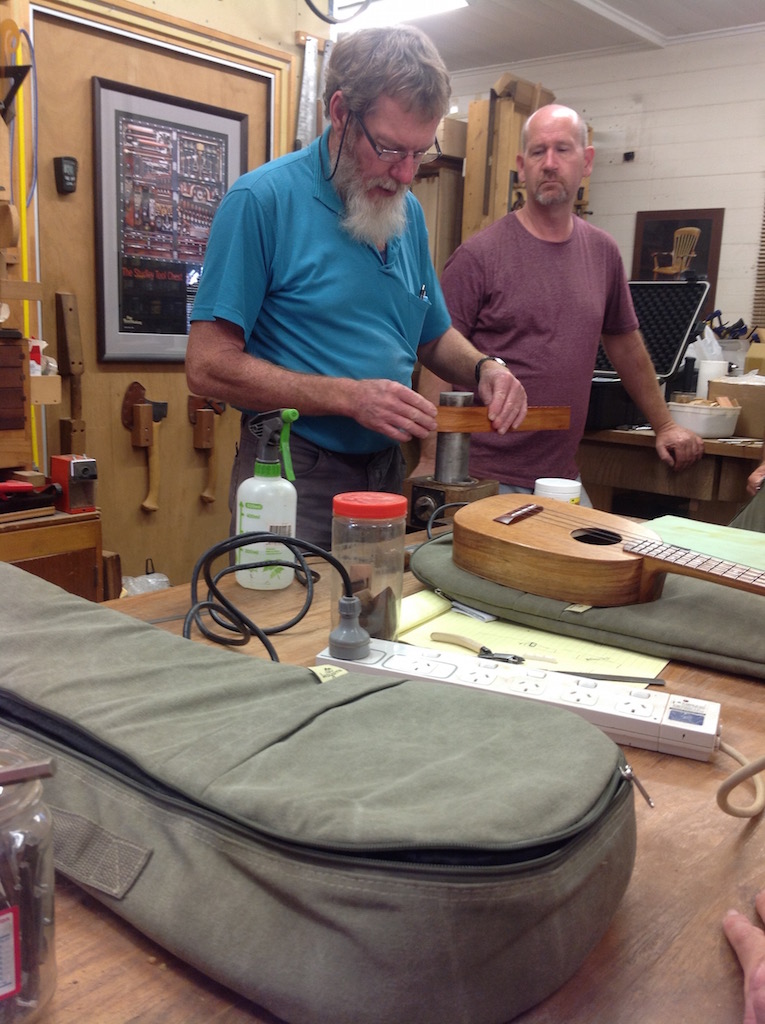
20) To wrap up, we have a go at using a bending iron to bend some flat bits of wood. We wet the wood with water from a spray bottle, then shape it around the iron. Our sides were shaped for us, but this is how we could shape our own sides.
Thanks so much to Micheal and Allen for such an amazing workshop experience. I've had a fantastic makecation and Jupiter is an absolute joy to play.
It was great meeting everyone at the class. Here are a few of us showing off our ukes at Spruke the following day:
Video by Spruke Brisbane's Ukulele Festival