This post is part of a series relating to maker kits that I prepared for the HSBNE booth at Supanova 2016.
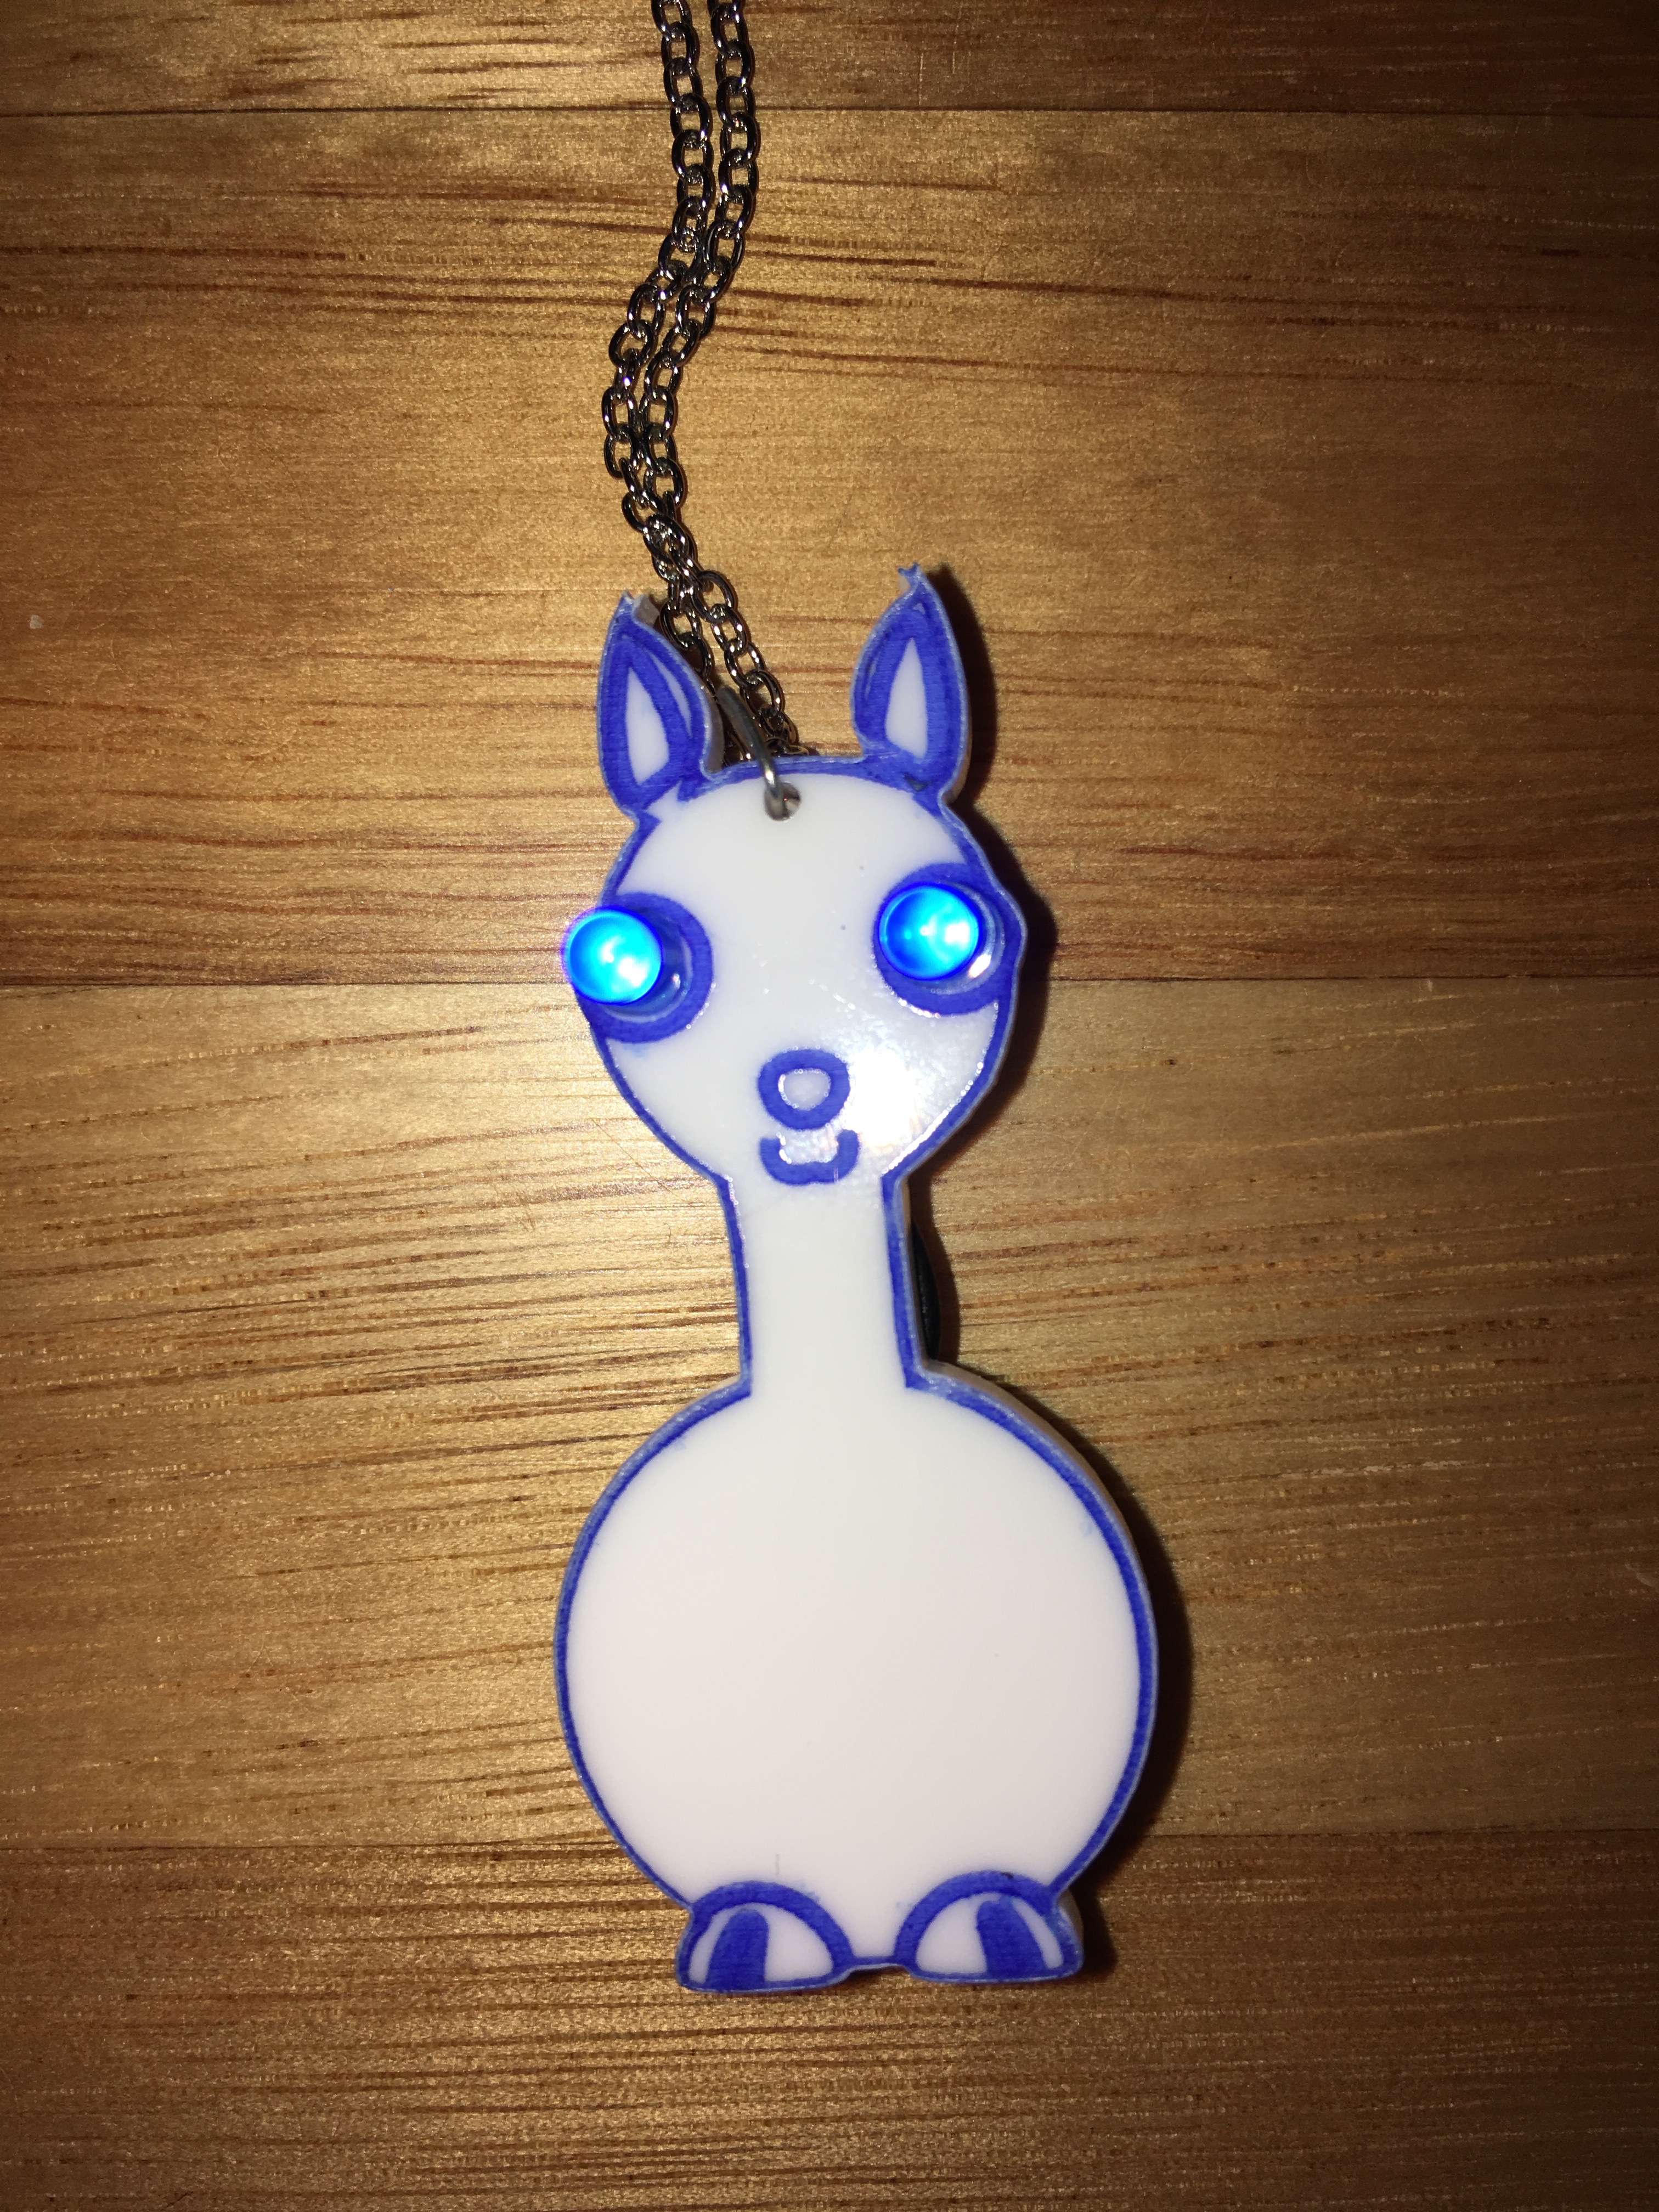
These LED llamas are guaranteed to brighten up your day. Attach them to a chain or lanyard to wear them, or keep them hanging around as llama lamps.
These are very similar to the LED badges, but on a smaller scale.
Kit contents
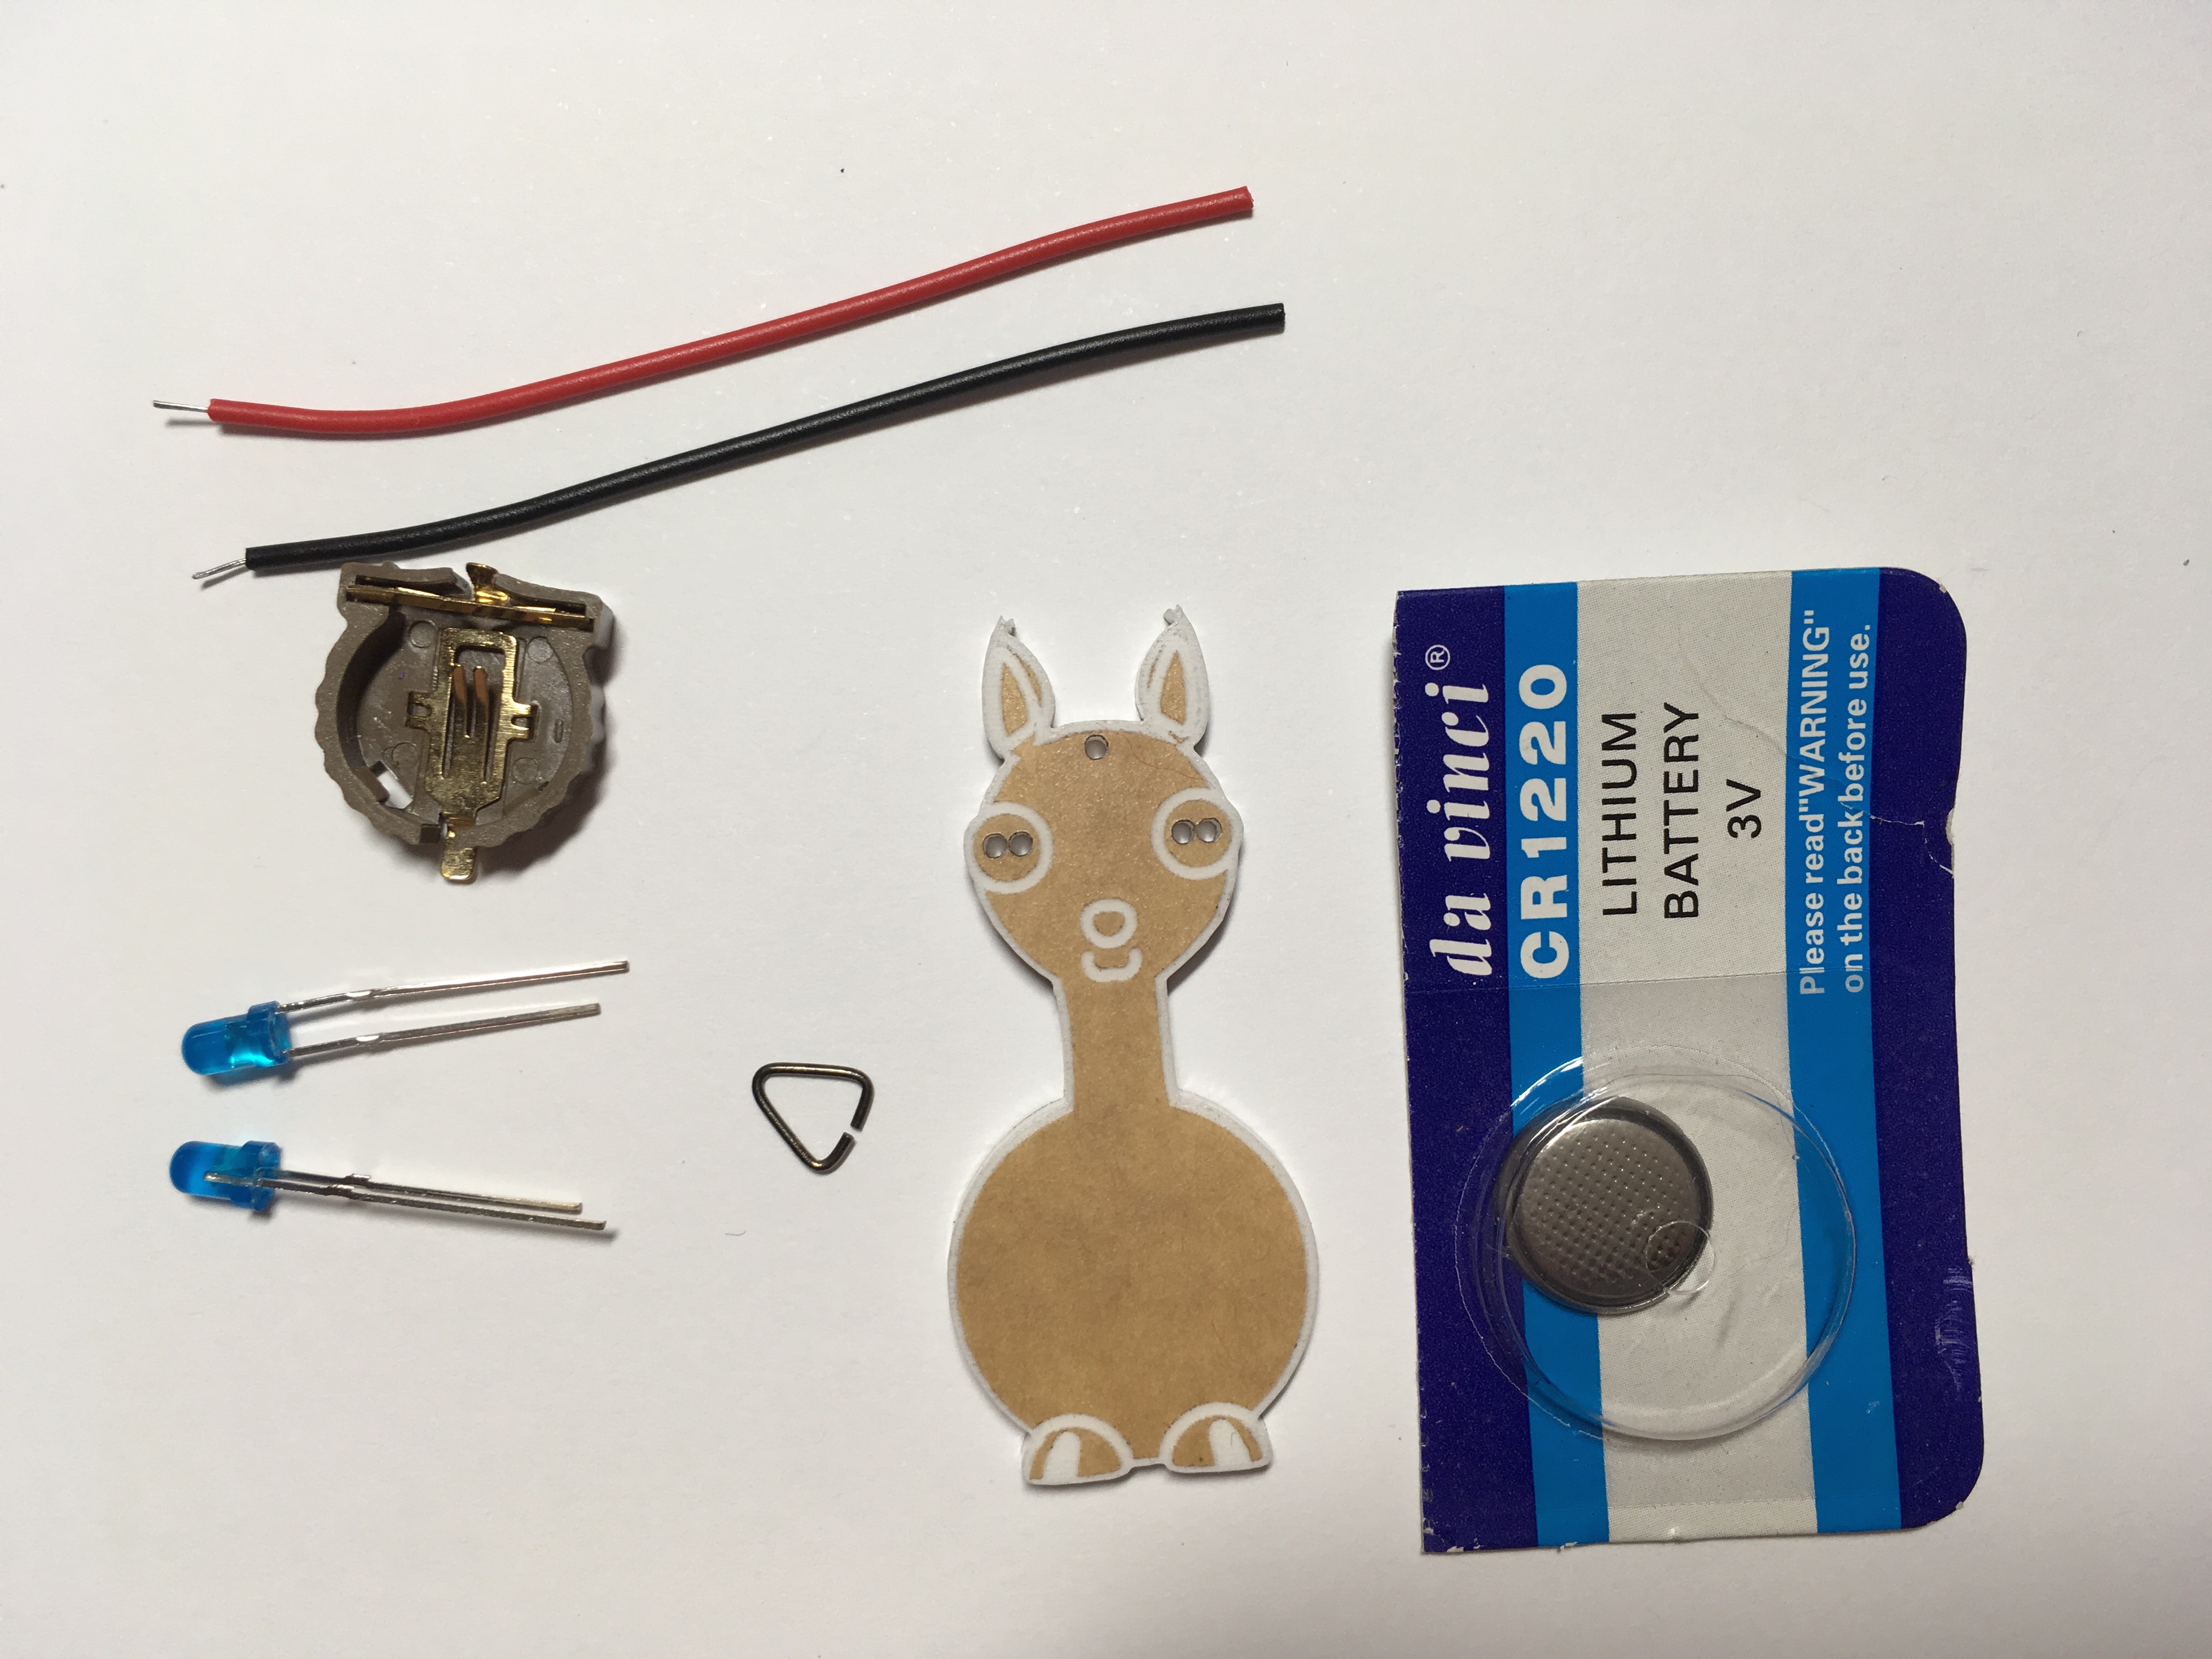
- Laser cut llama
- battery holder
- CR1220 coin cell battery
- 3mm LEDs
- wires
- triangle bail
Assembly
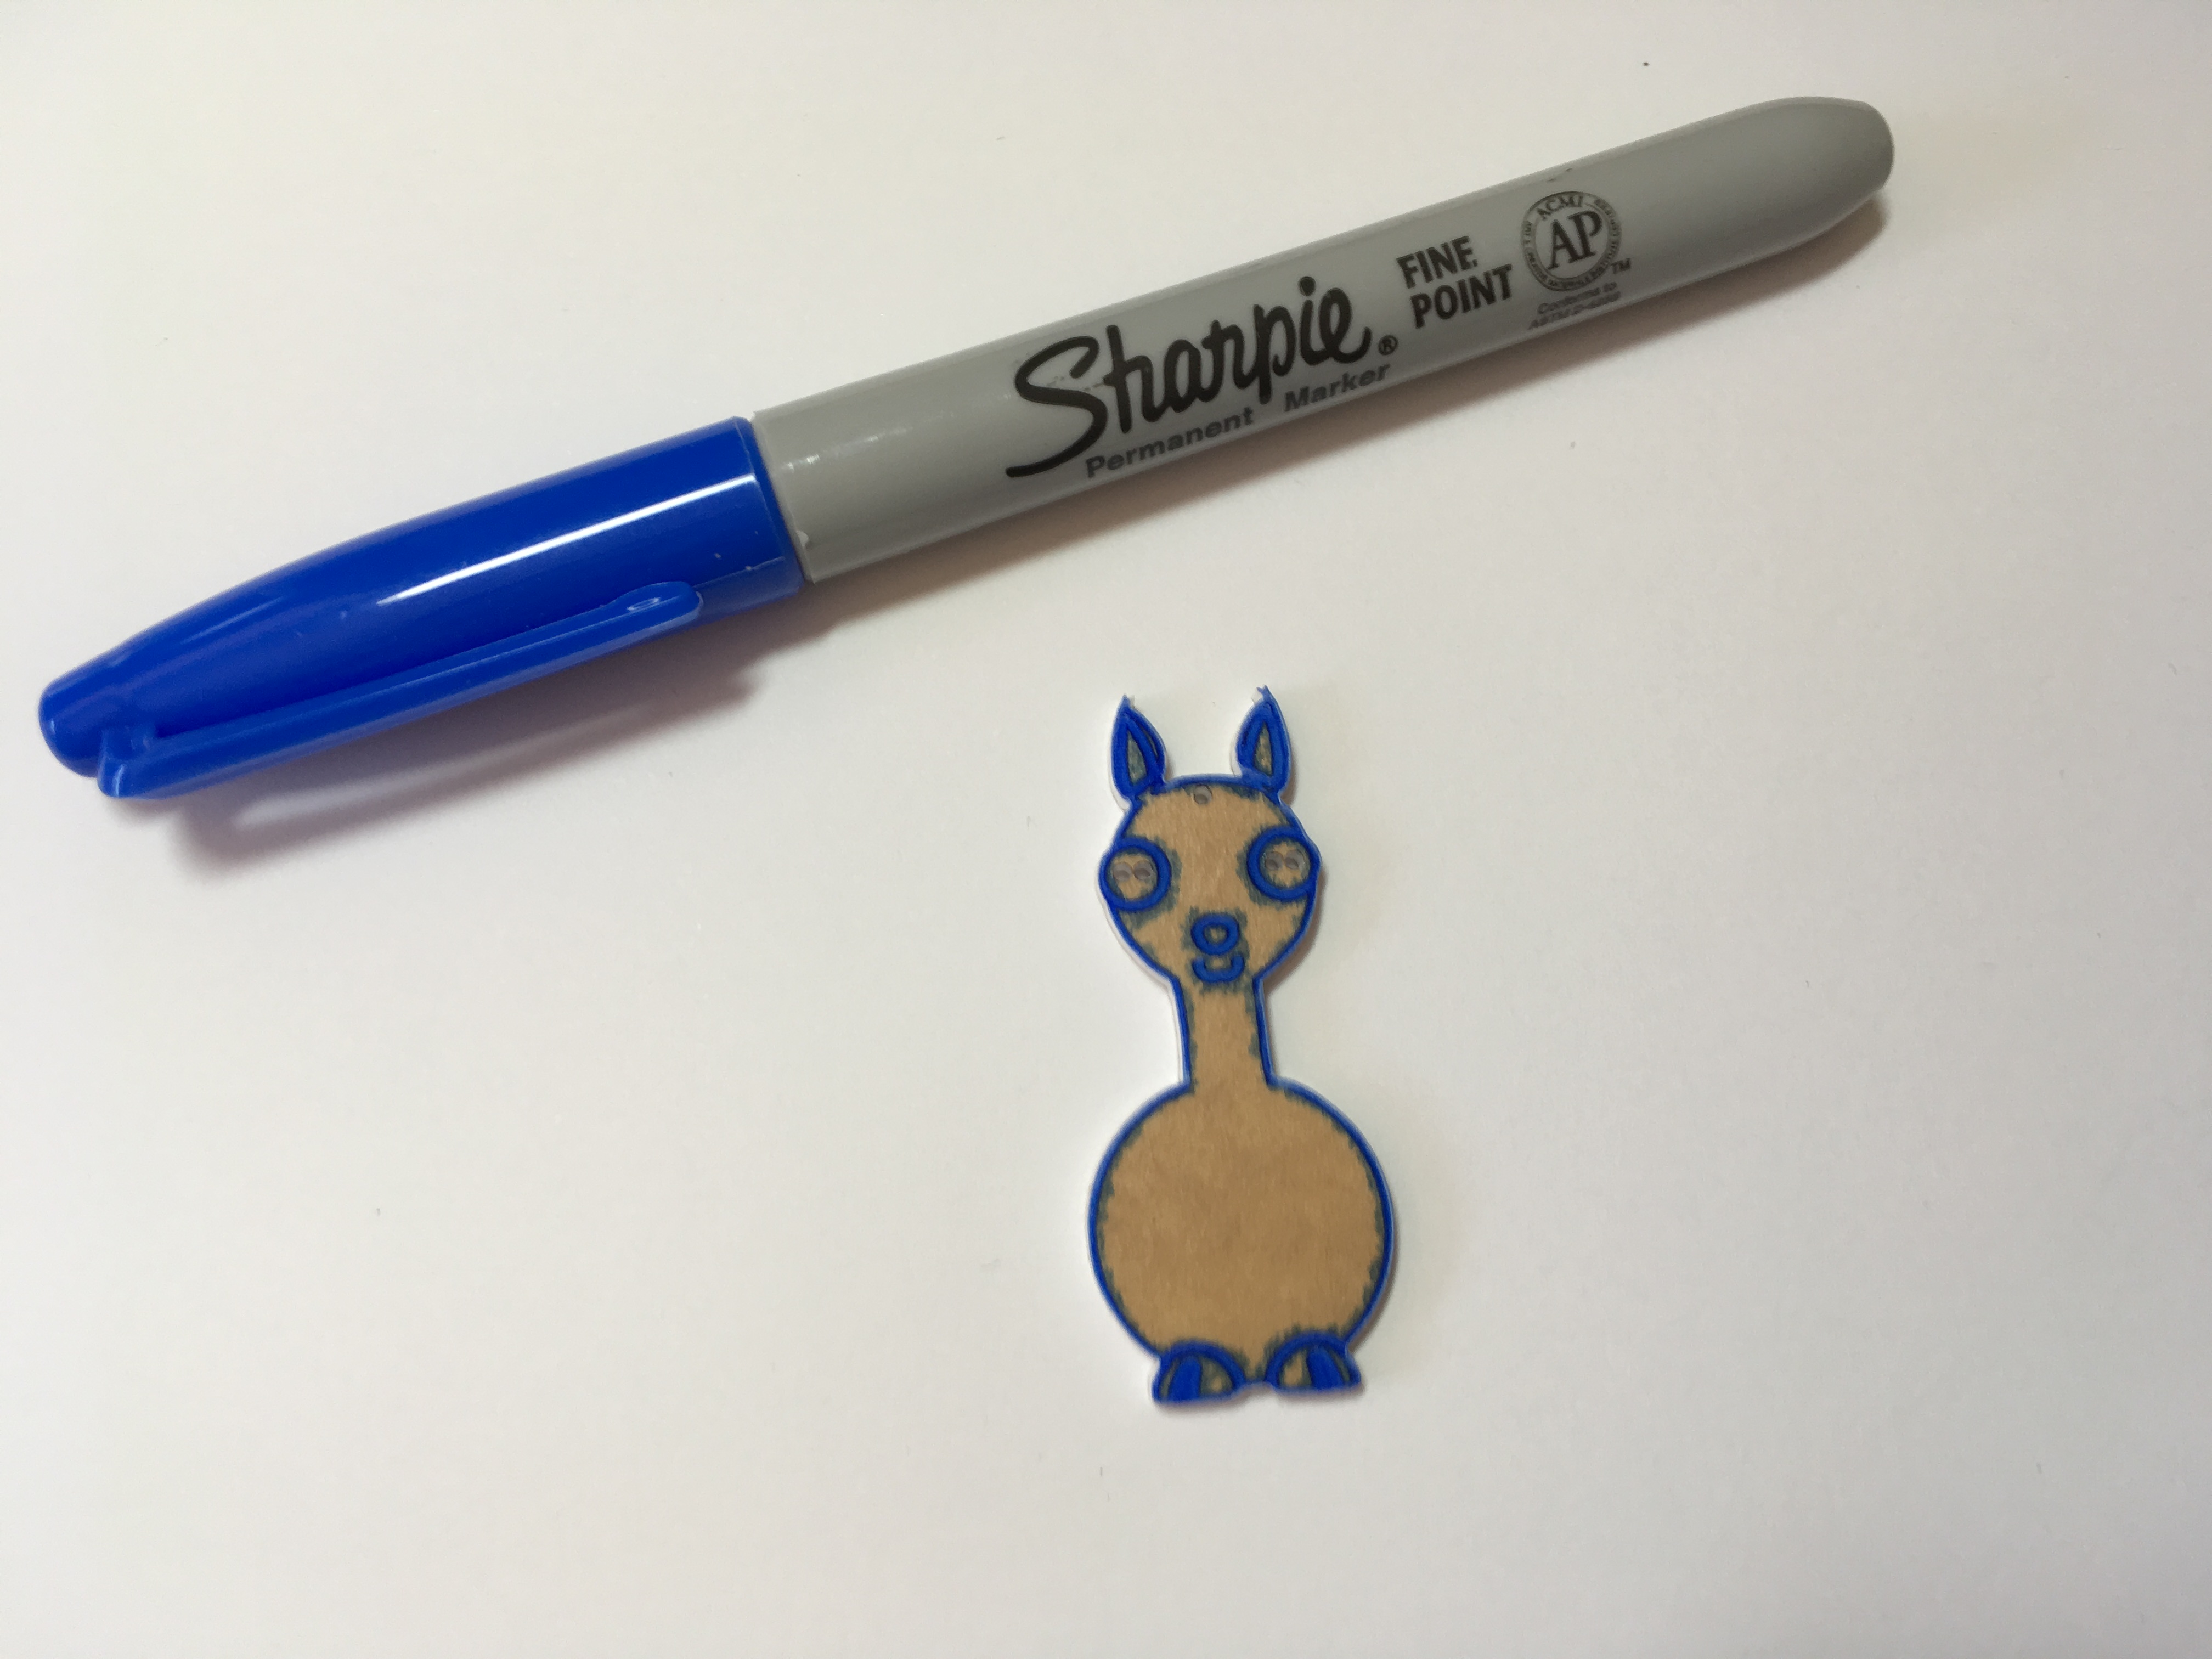
- If your llama still has the protective paper on the acrylic, you can paint or color over the exposed parts using a Sharpie or other permanent marker while the paper is still on. Remove the paper from the front and back when you are finished coloring.
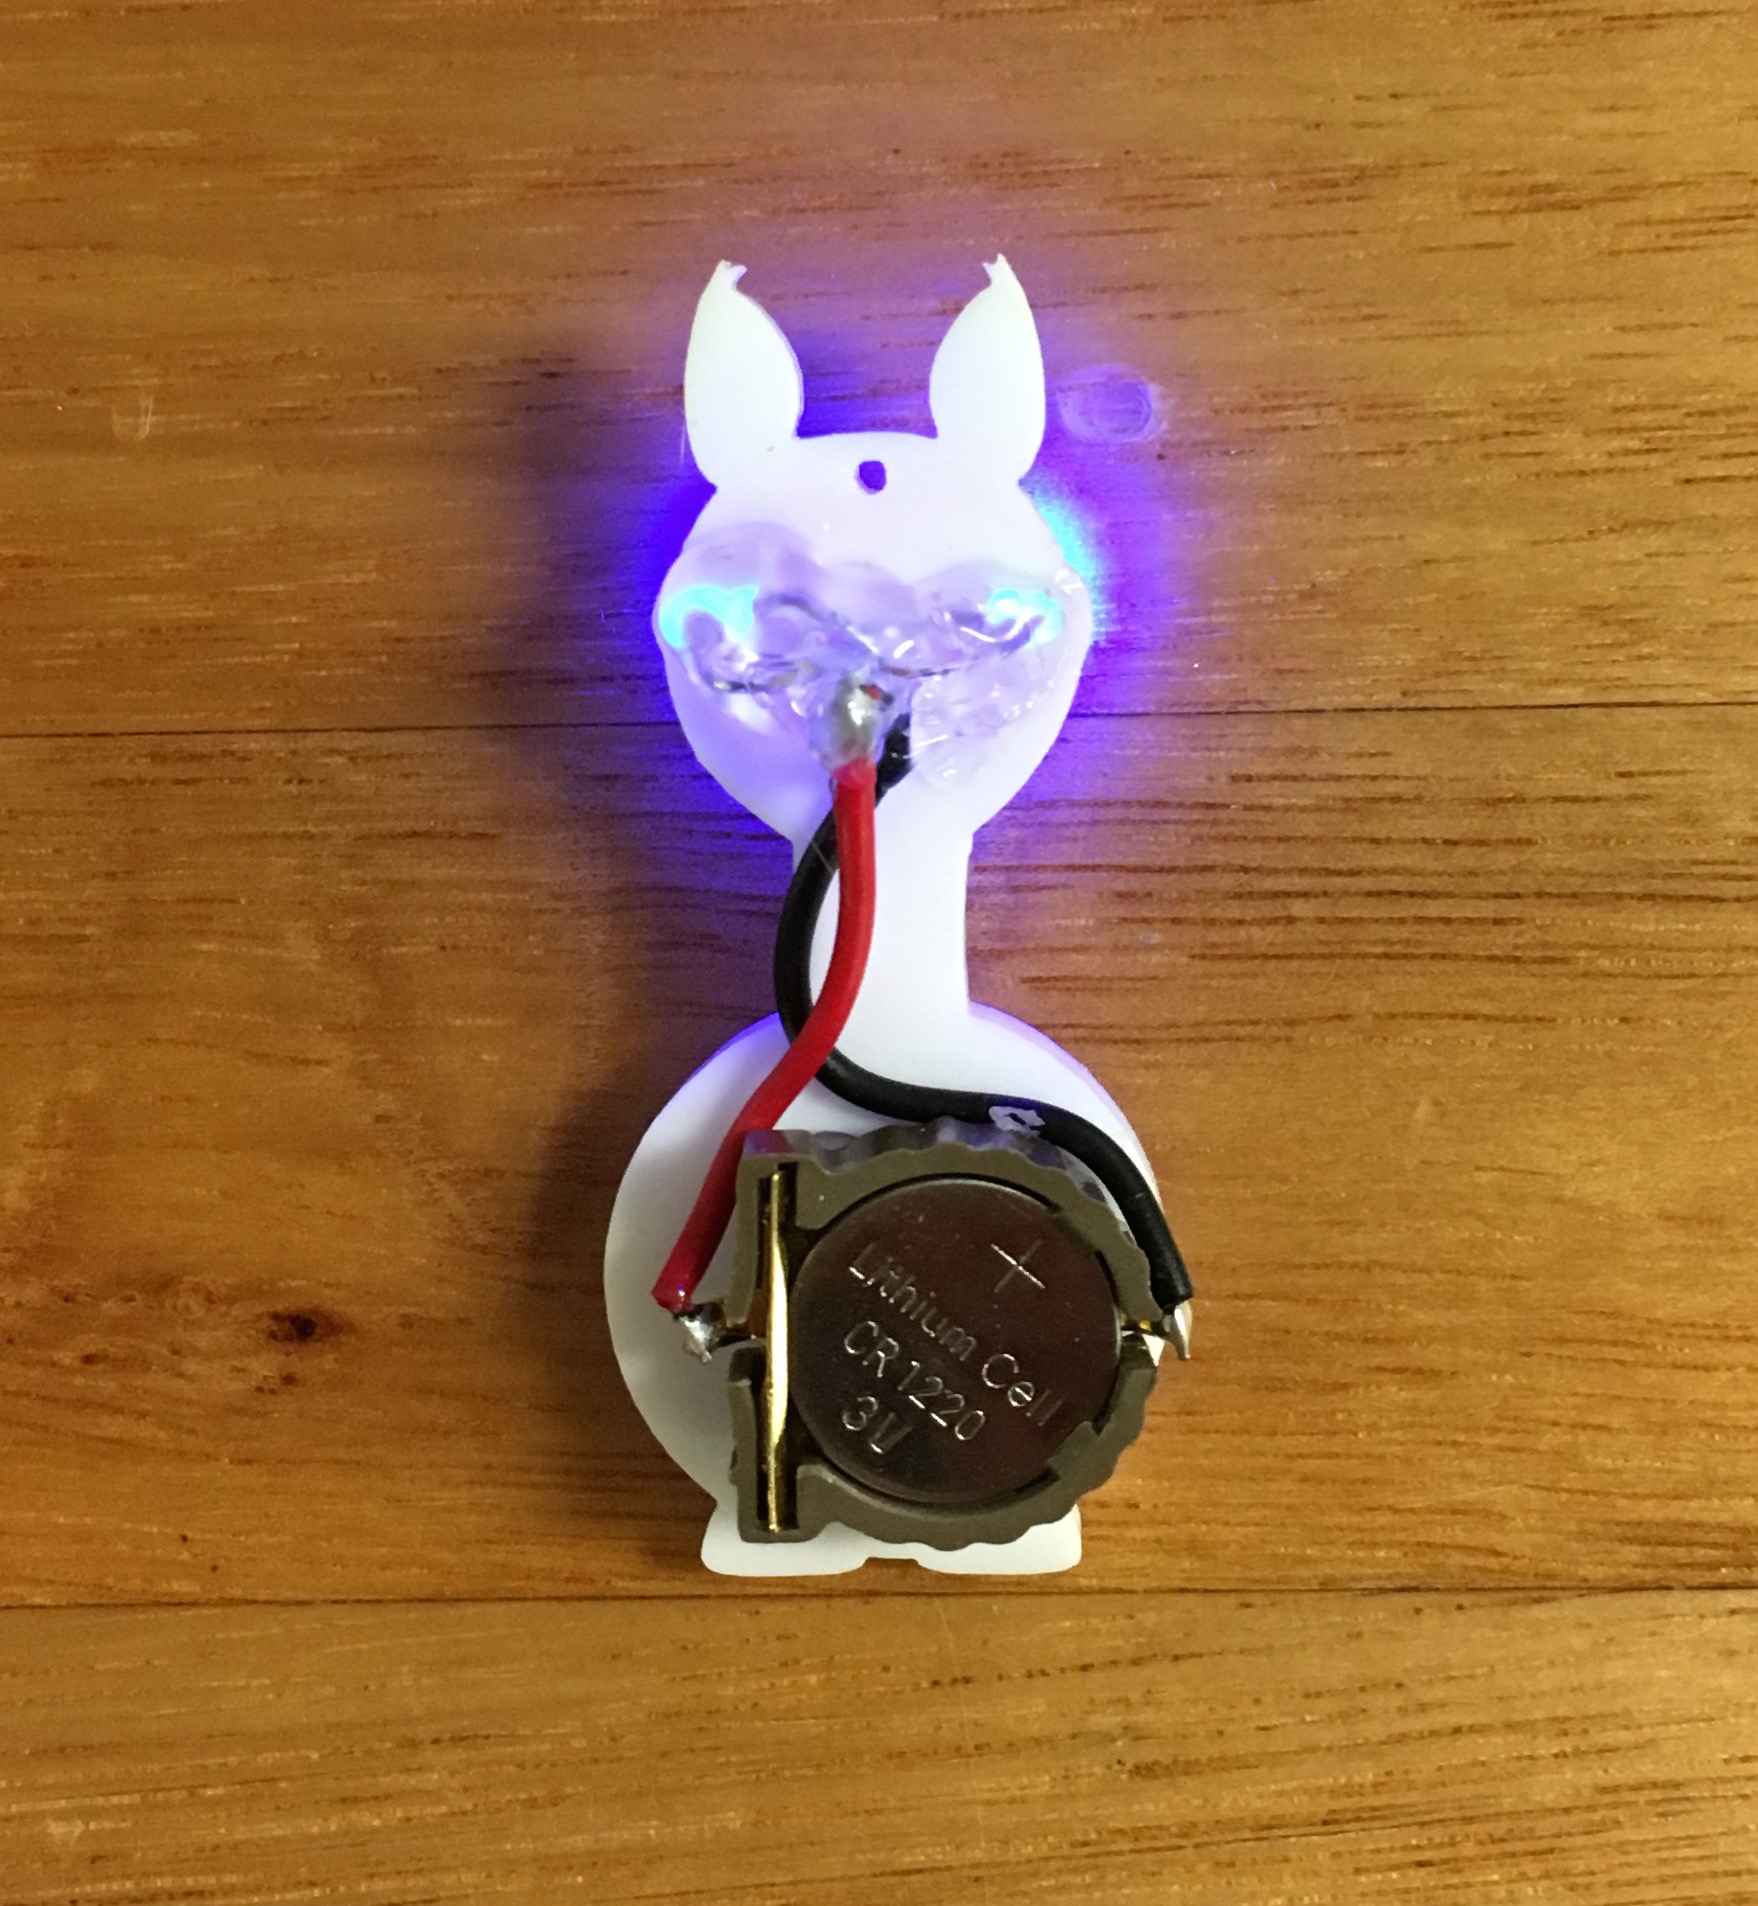
Attach the battery holder on the back of the llama's body, using glue or double-sided tape.
Poke the LEDs through the holes in the eyes with the two longer leads (i.e. the positive leads) on the outer sides.
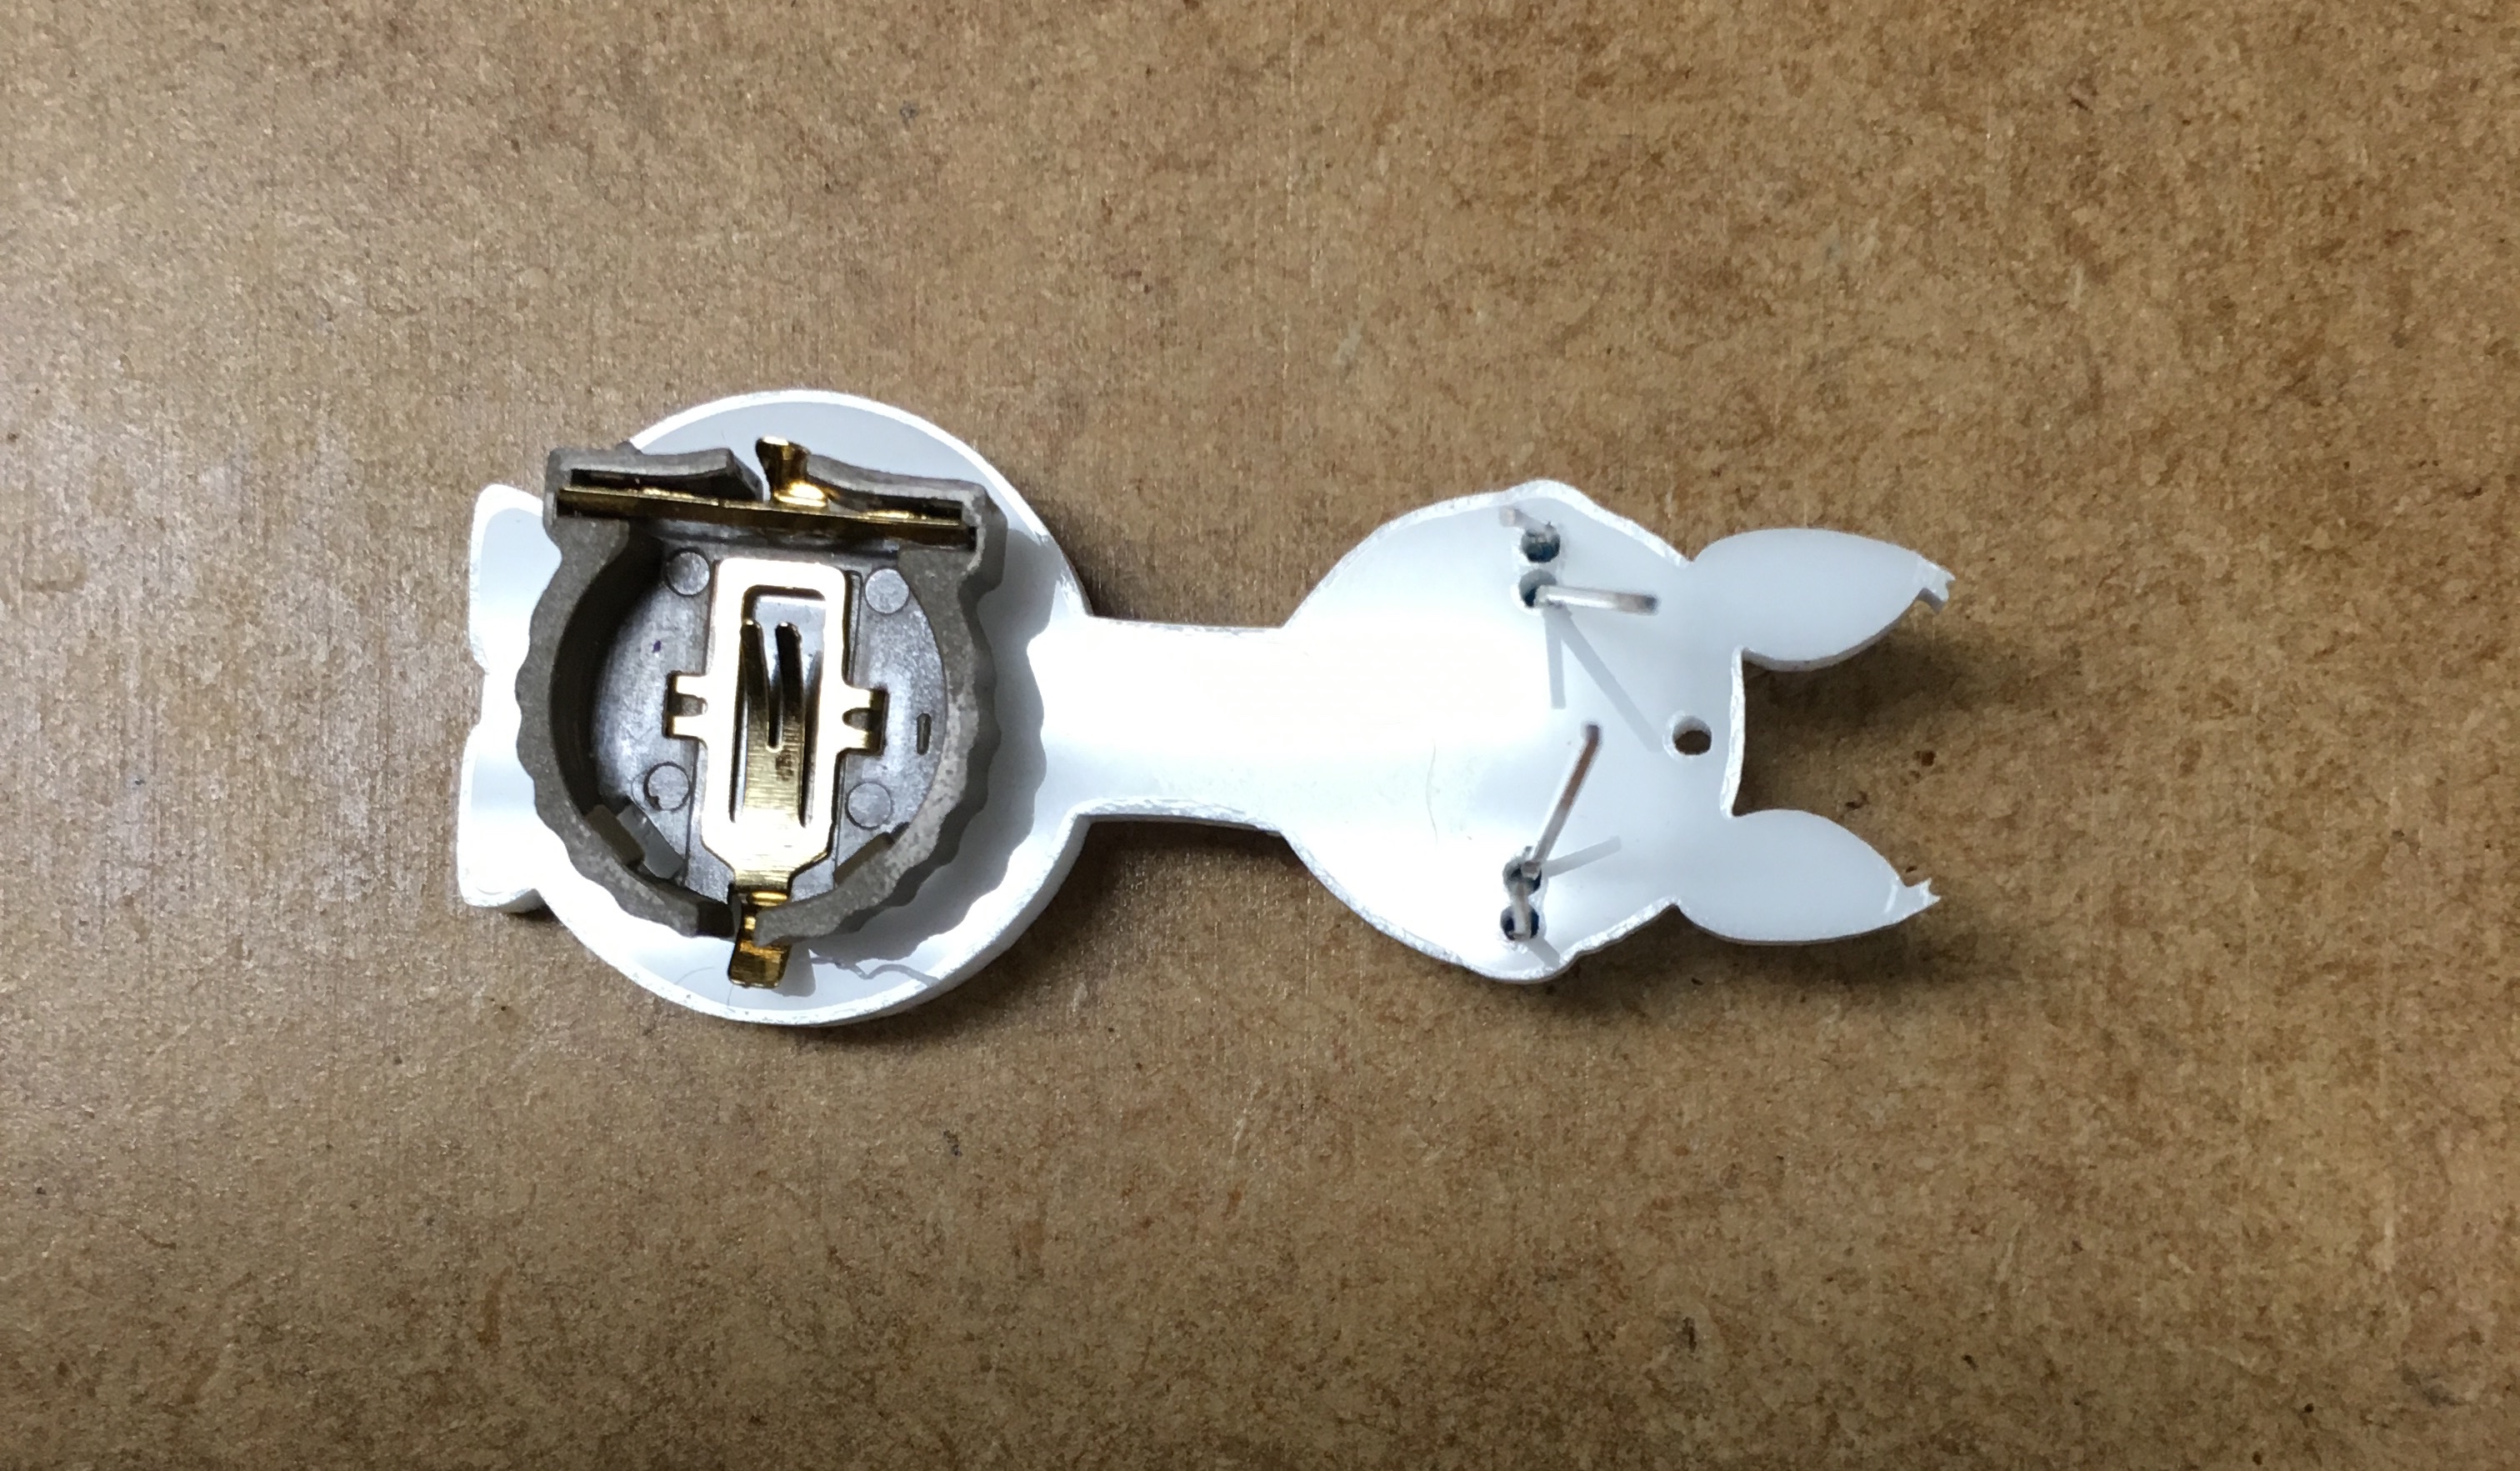
- Trim & bend the two middle (-) leads down to meet the in the center and solder them onto the black wire. Do the same for the positive leads on either side with the red wire (making sure not to short the bare wires).
Trim the excess length from the LED leads.
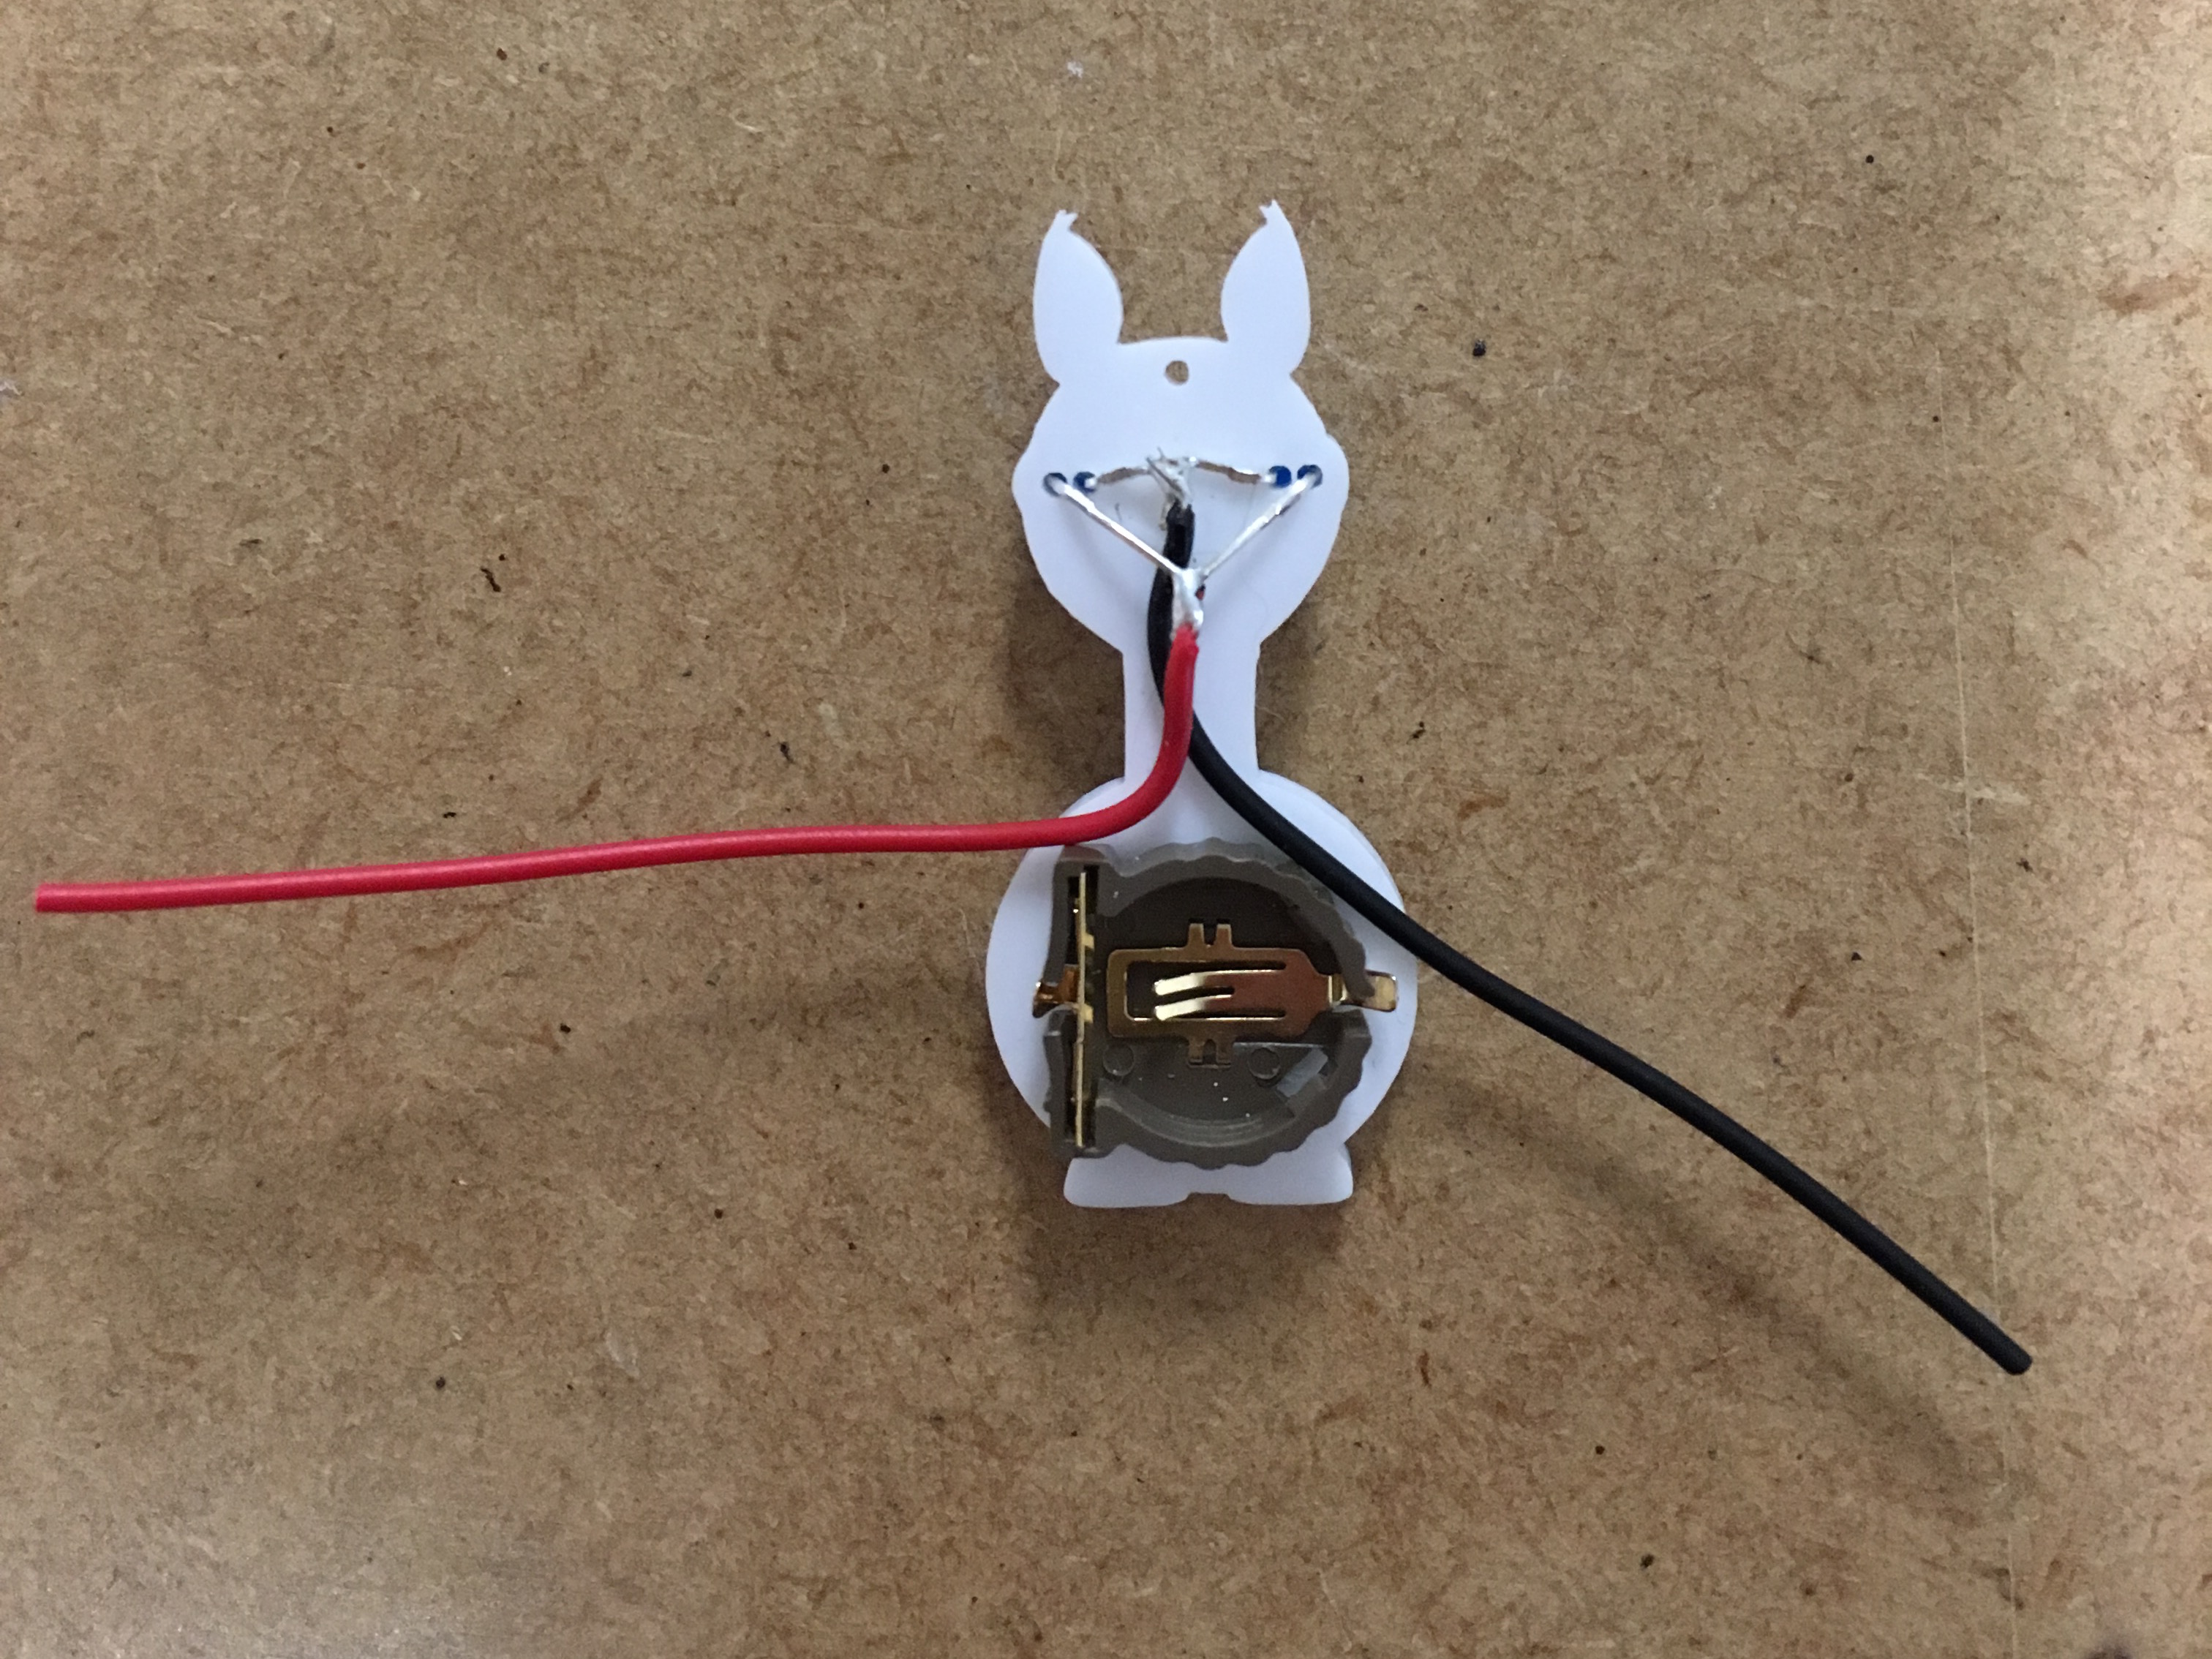
Solder the wires onto the battery holder: The black (-) goes to the terminal that attaches to the bottom of the battery holder. Hold the soldering iron against the battery terminal and wire then hold your solder against them. When the solder starts to melt, remove the solder, then remove the soldering iron about a second later.
You can use hot glue or tape to cover the bare wires.
Use pliers to attach the triangle bail into the small hole at the top of the llama's head to attach to a string or chain.
Insert the coin cell battery and bask in the llama light.
If you have access to a laser cutter (e.g. at your local makerspace) and want to cut your own LED llama, here is the SVG:
