This post is part of a series relating to maker kits that I prepared for the HSBNE booth at Supanova 2016.
Make a light up animal badge and practice your soldering skills.
Kit Contents
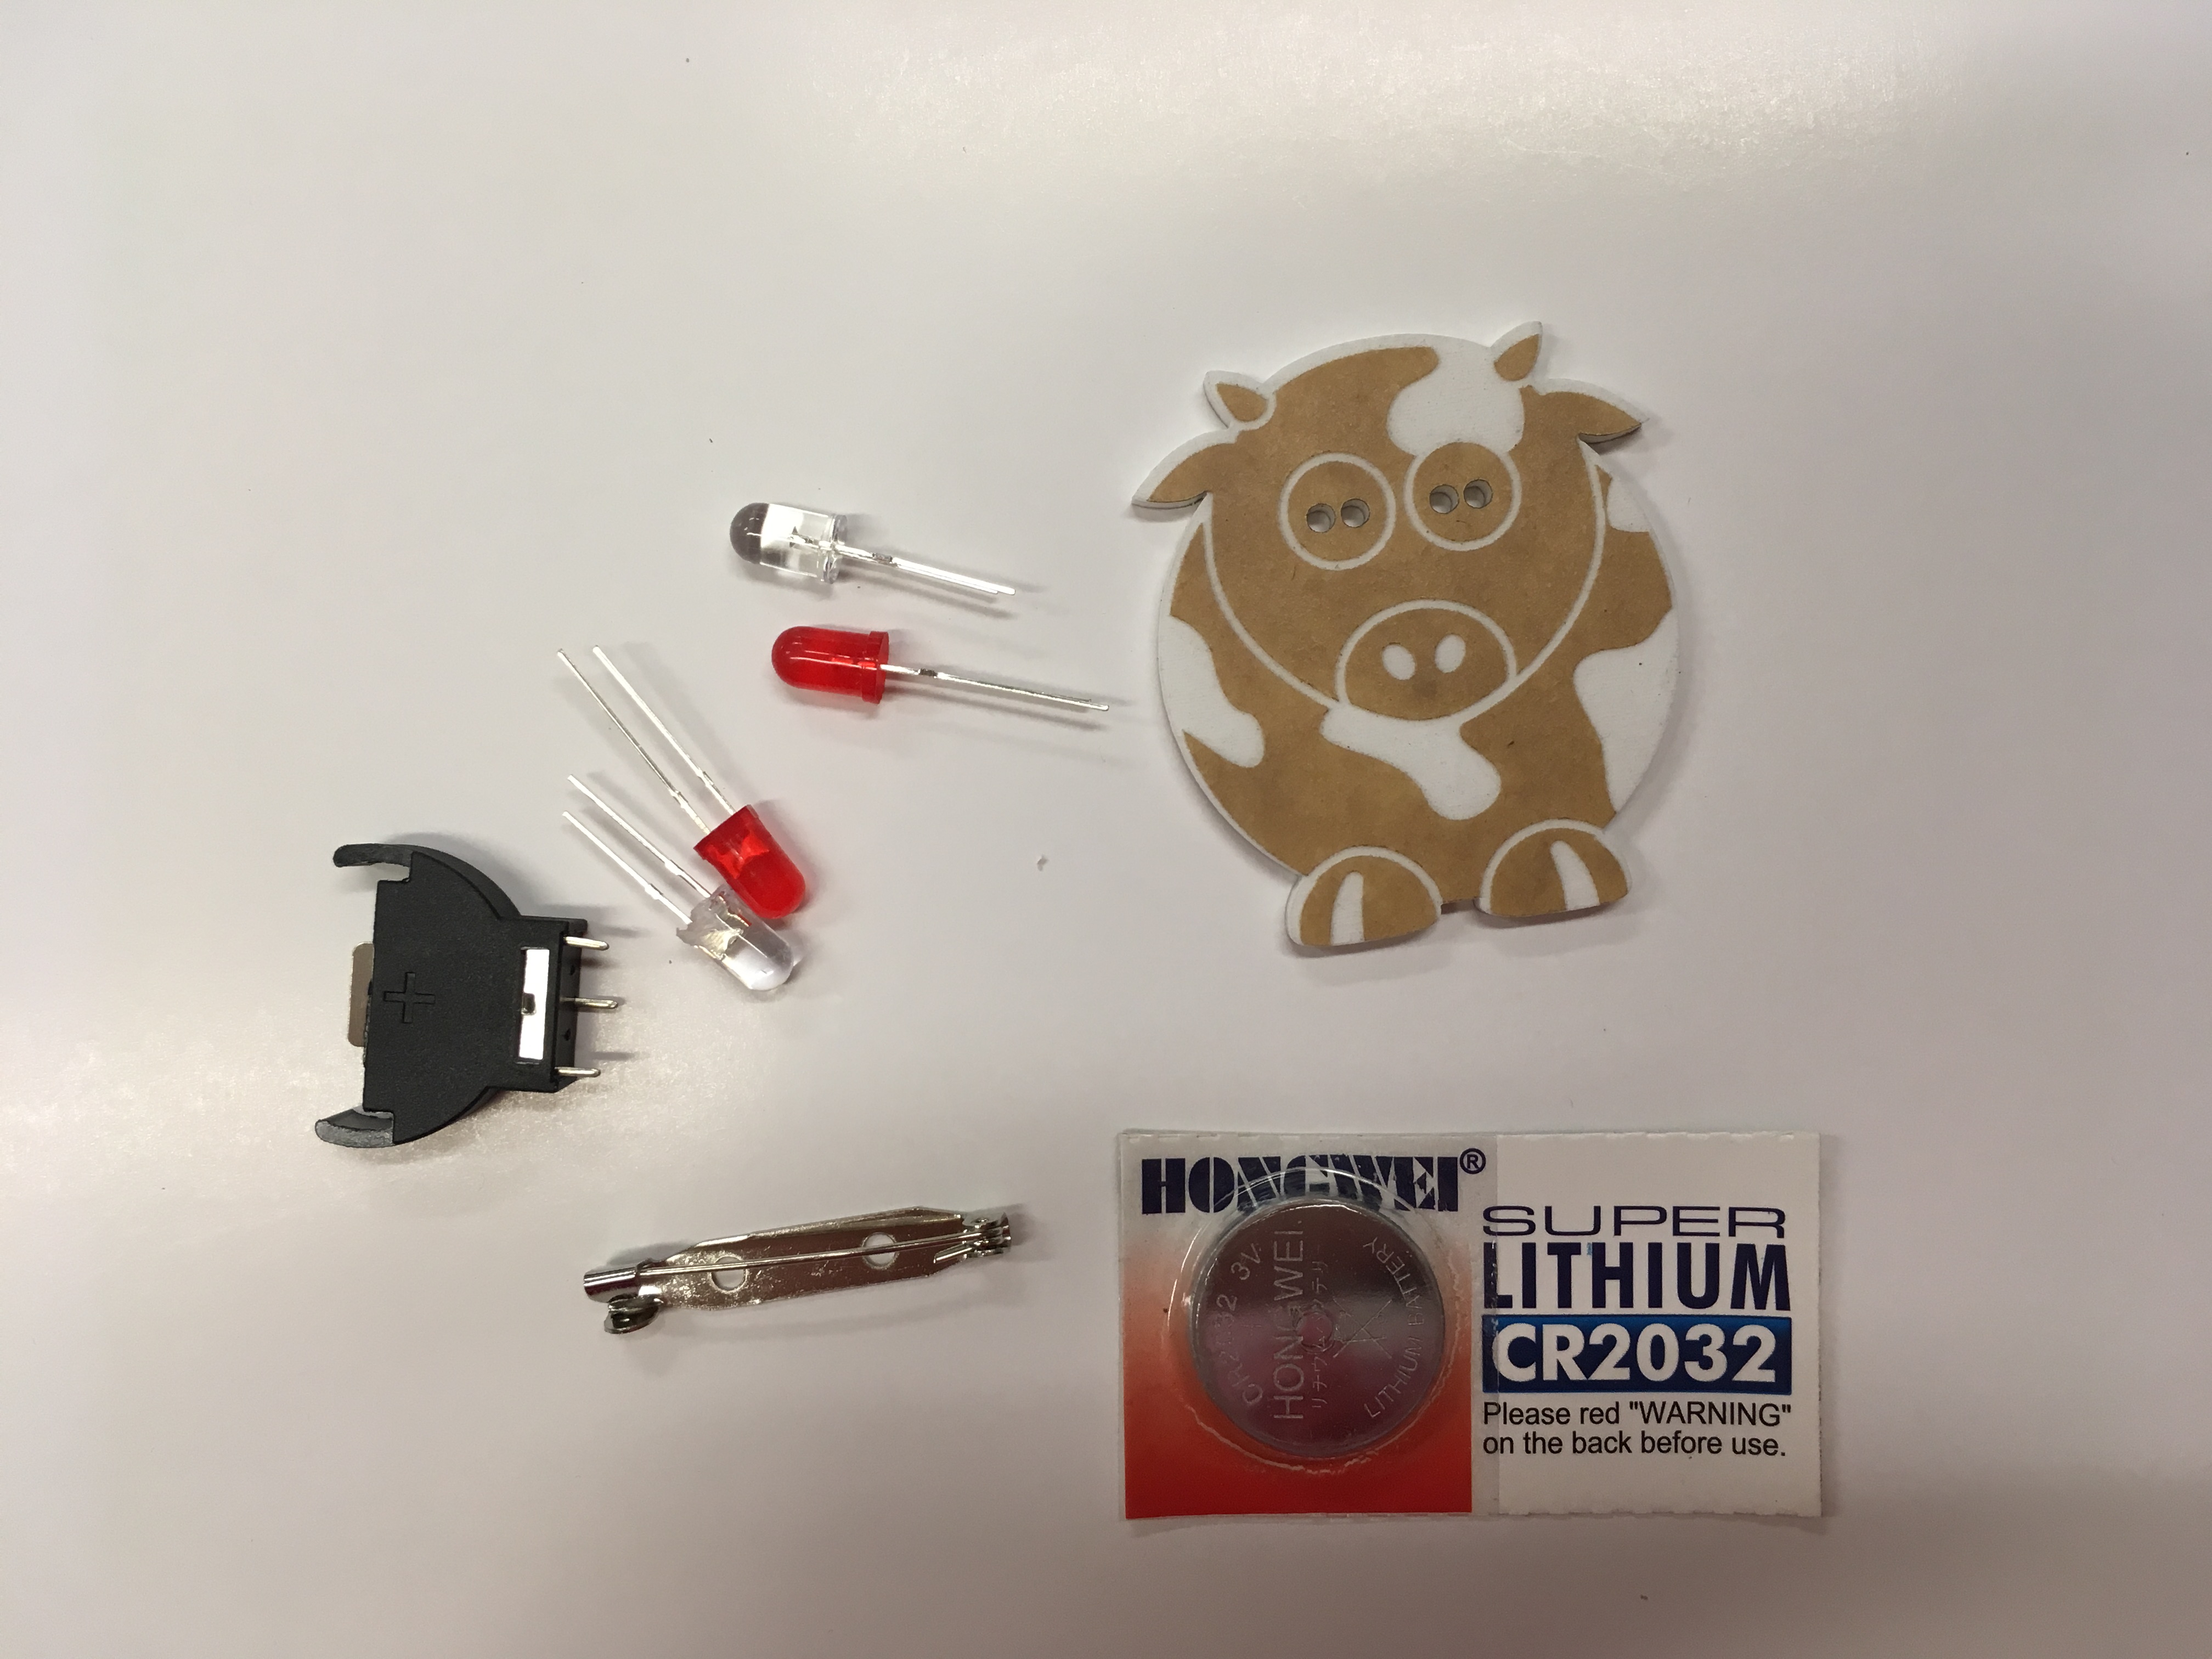
- Laser cut badge
- badge pin
- LEDs (two choices of colors - red and blue)
- coin cell battery holder
- CR2032 coin cell battery
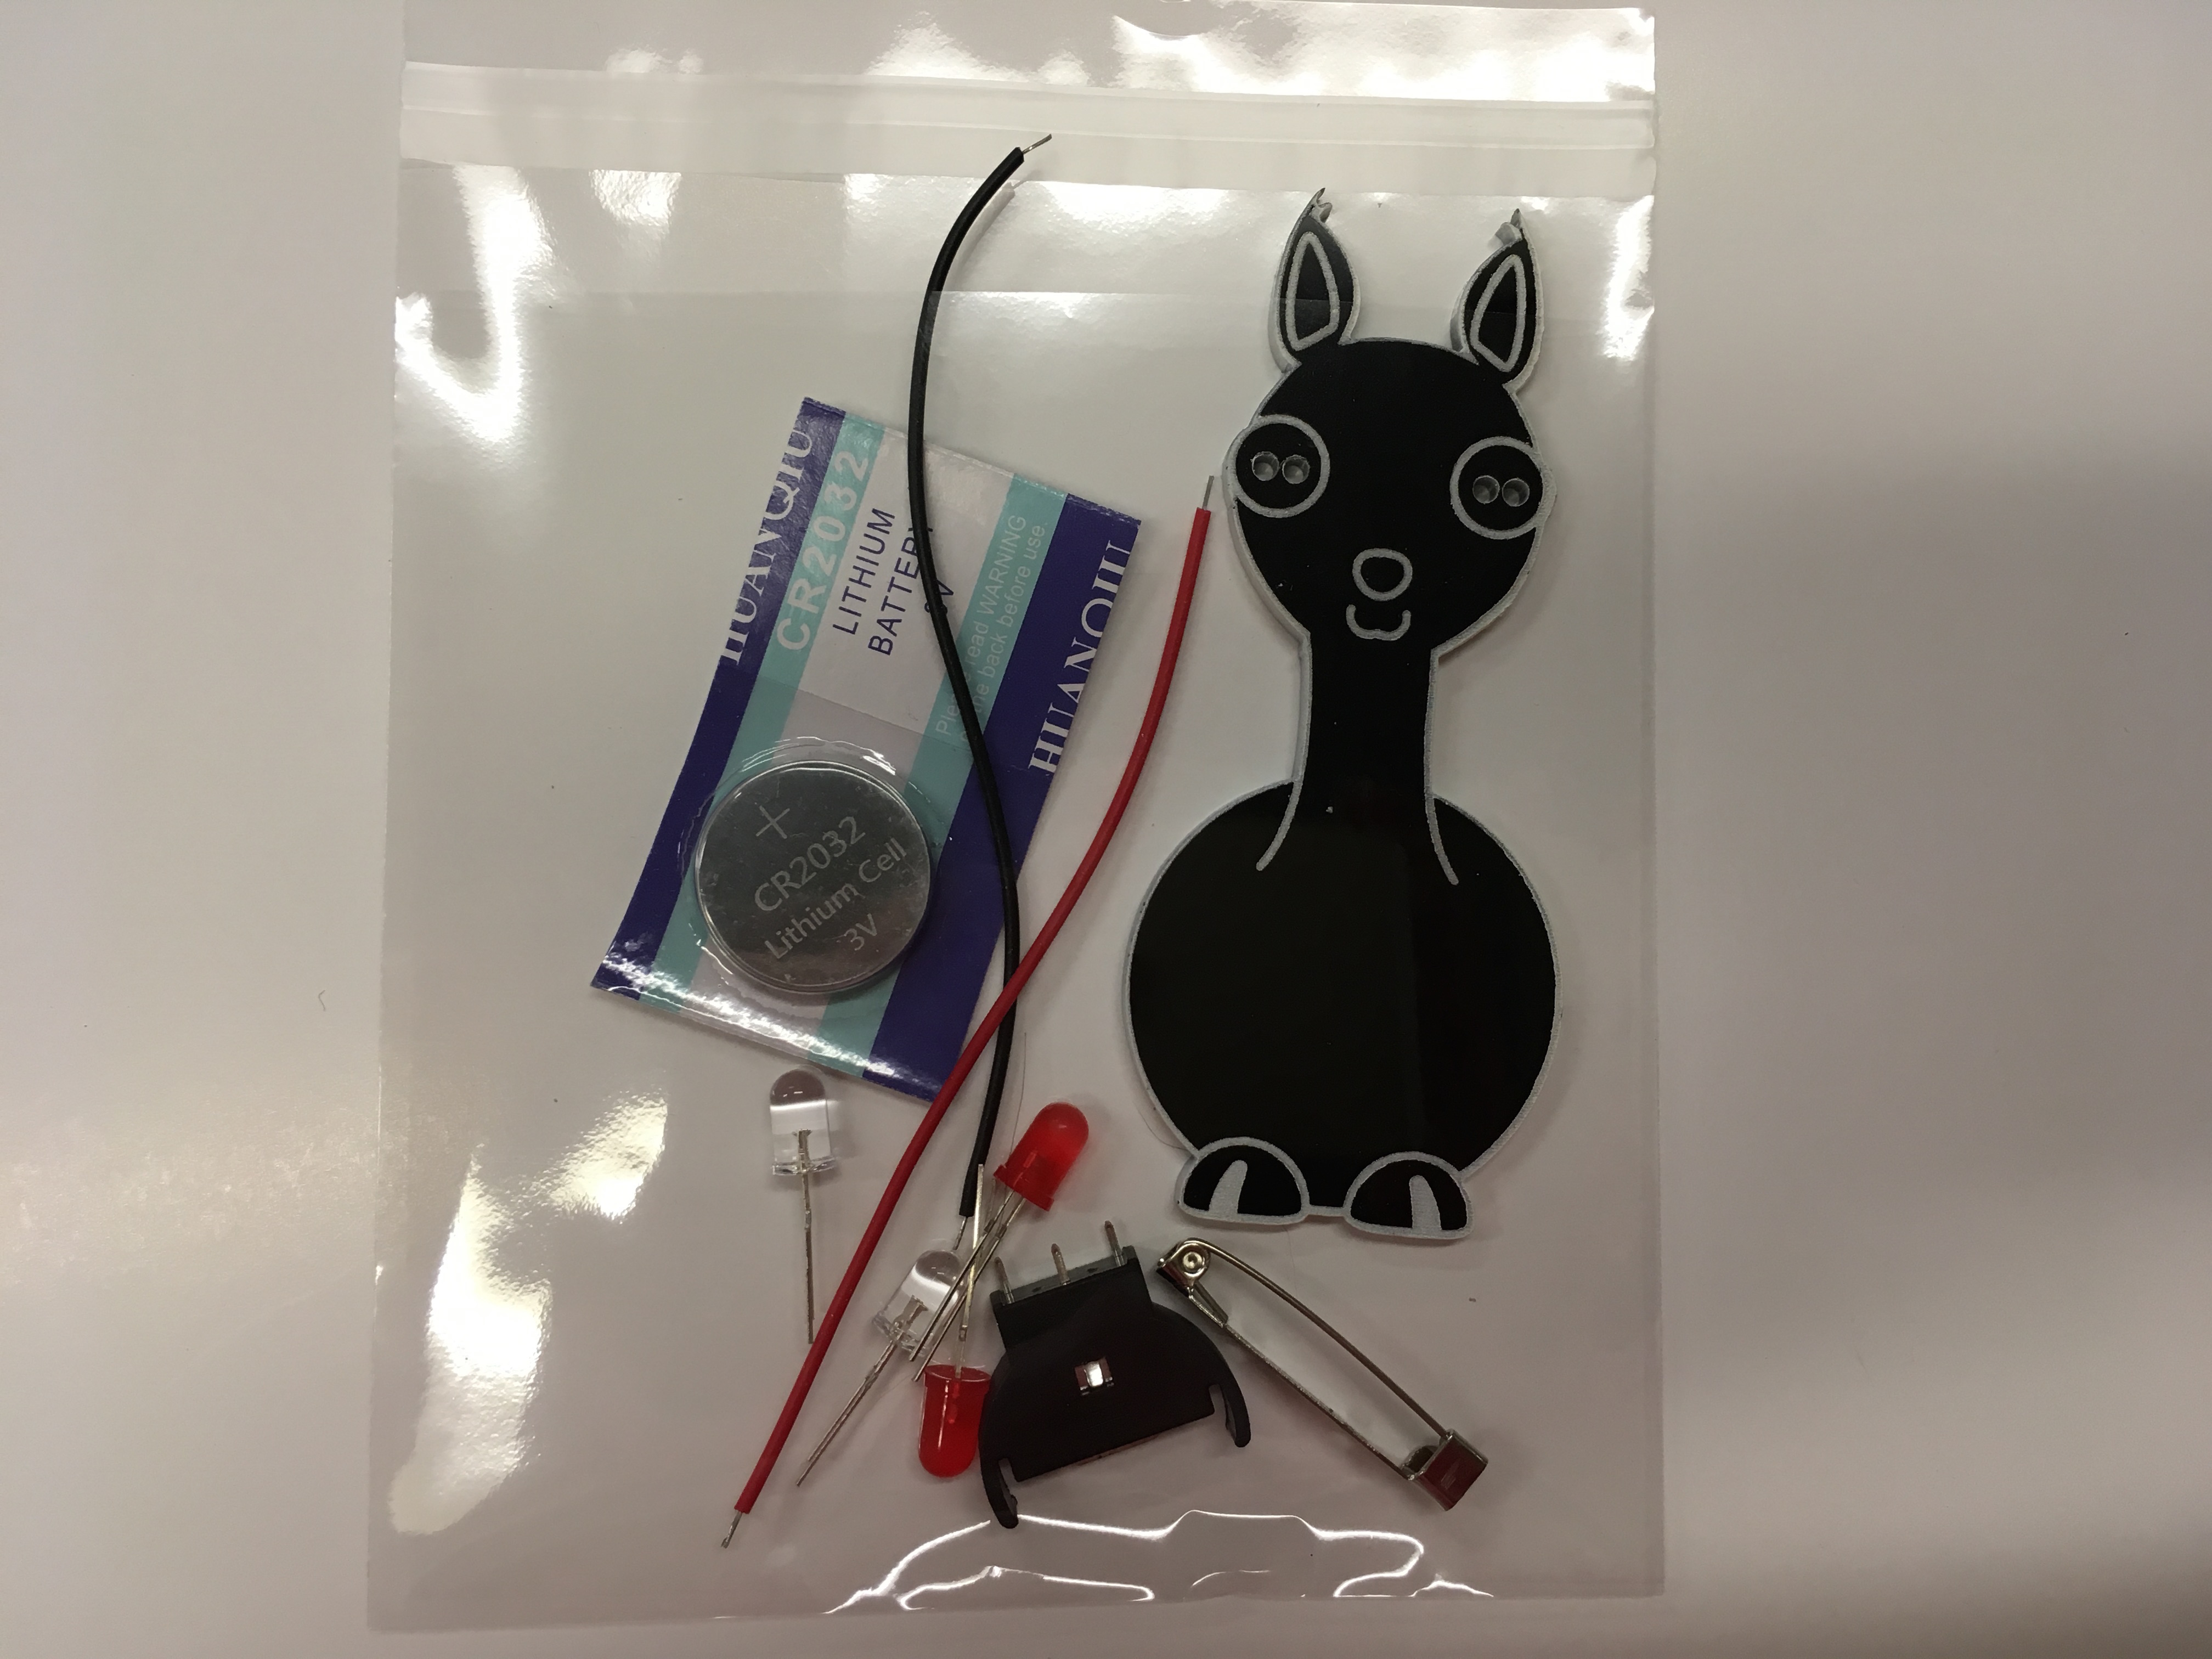
These kits also come in larger versions like this:
Assembly
If your badge still has paper on it, you can paint or color over the exposed parts of the animal design (use a Sharpie or other permanent marker) while the paper is still on. Remove the paper from the front and back of the badge when you are finished coloring.
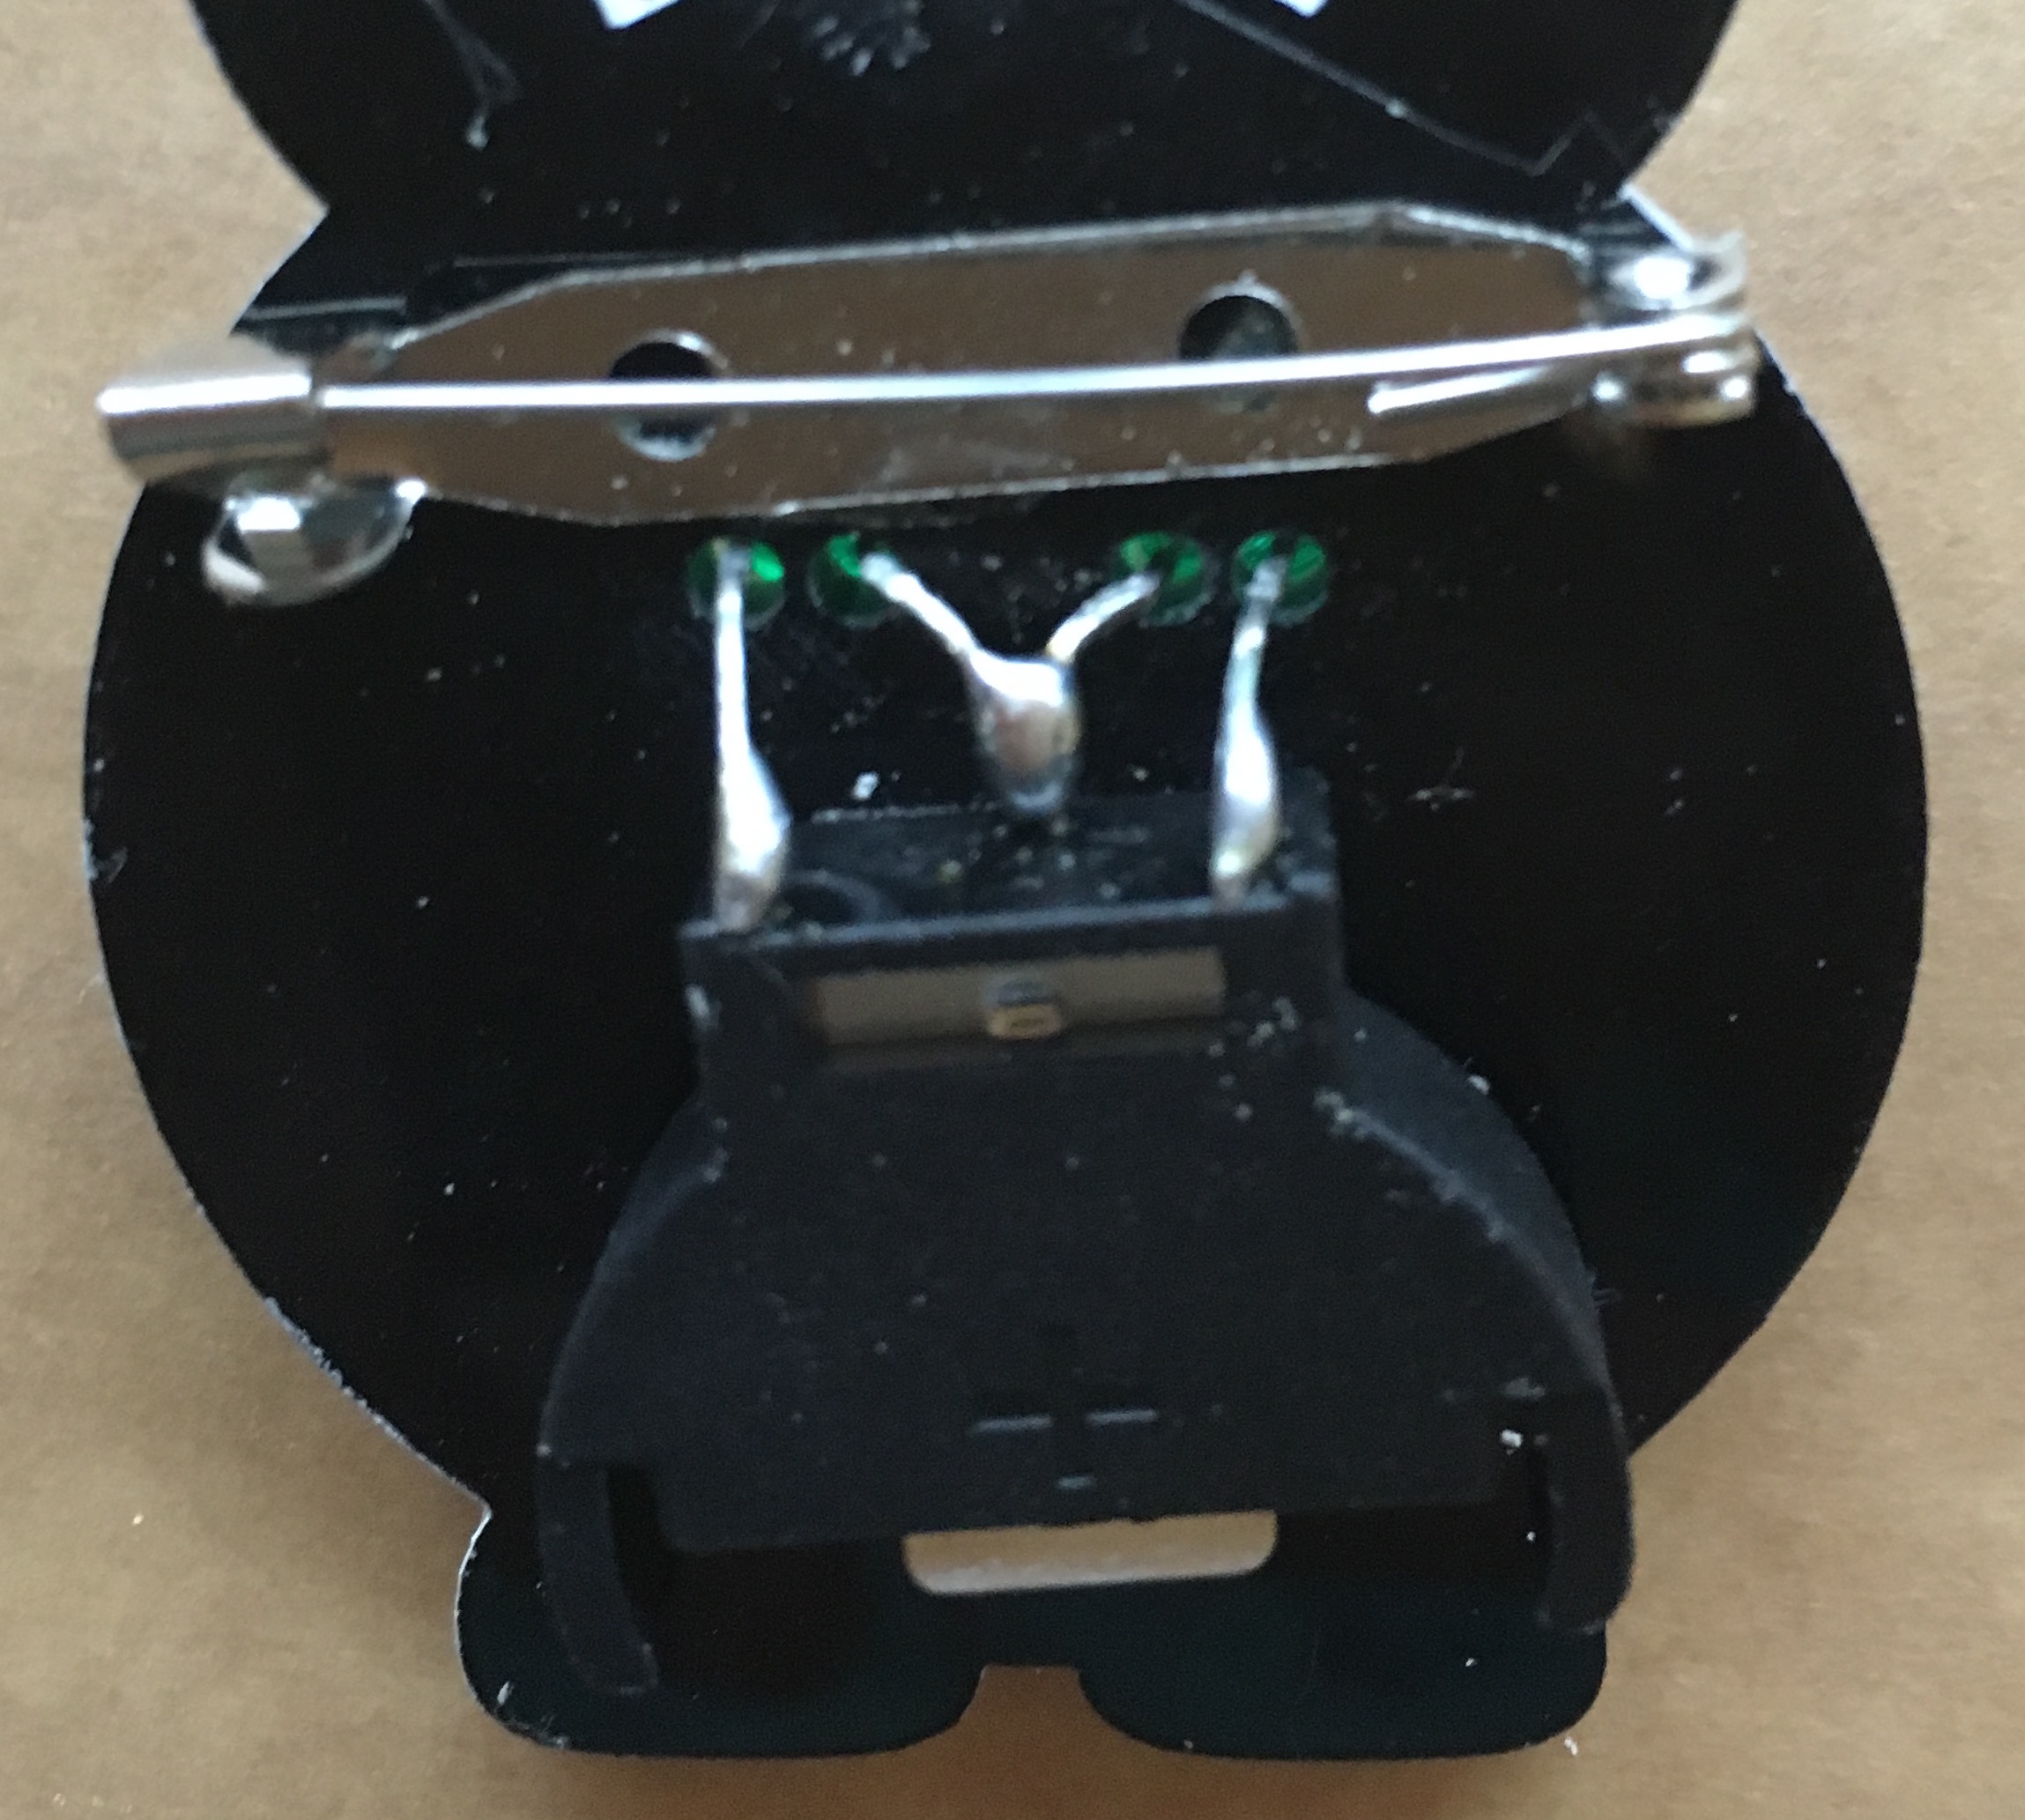
Glue the badge pin in place on the back making sure to leave enough space for the LEDs. If you have one of the large kits, glue the pin along the neck. Use hot glue or superglue for the best results.
Attach the battery holder on the back, pins facing up, using glue or double-sided tape.
Poke the LEDs through the holes in the eyes with the two longer leads (i.e. the positive leads) on the outer sides.
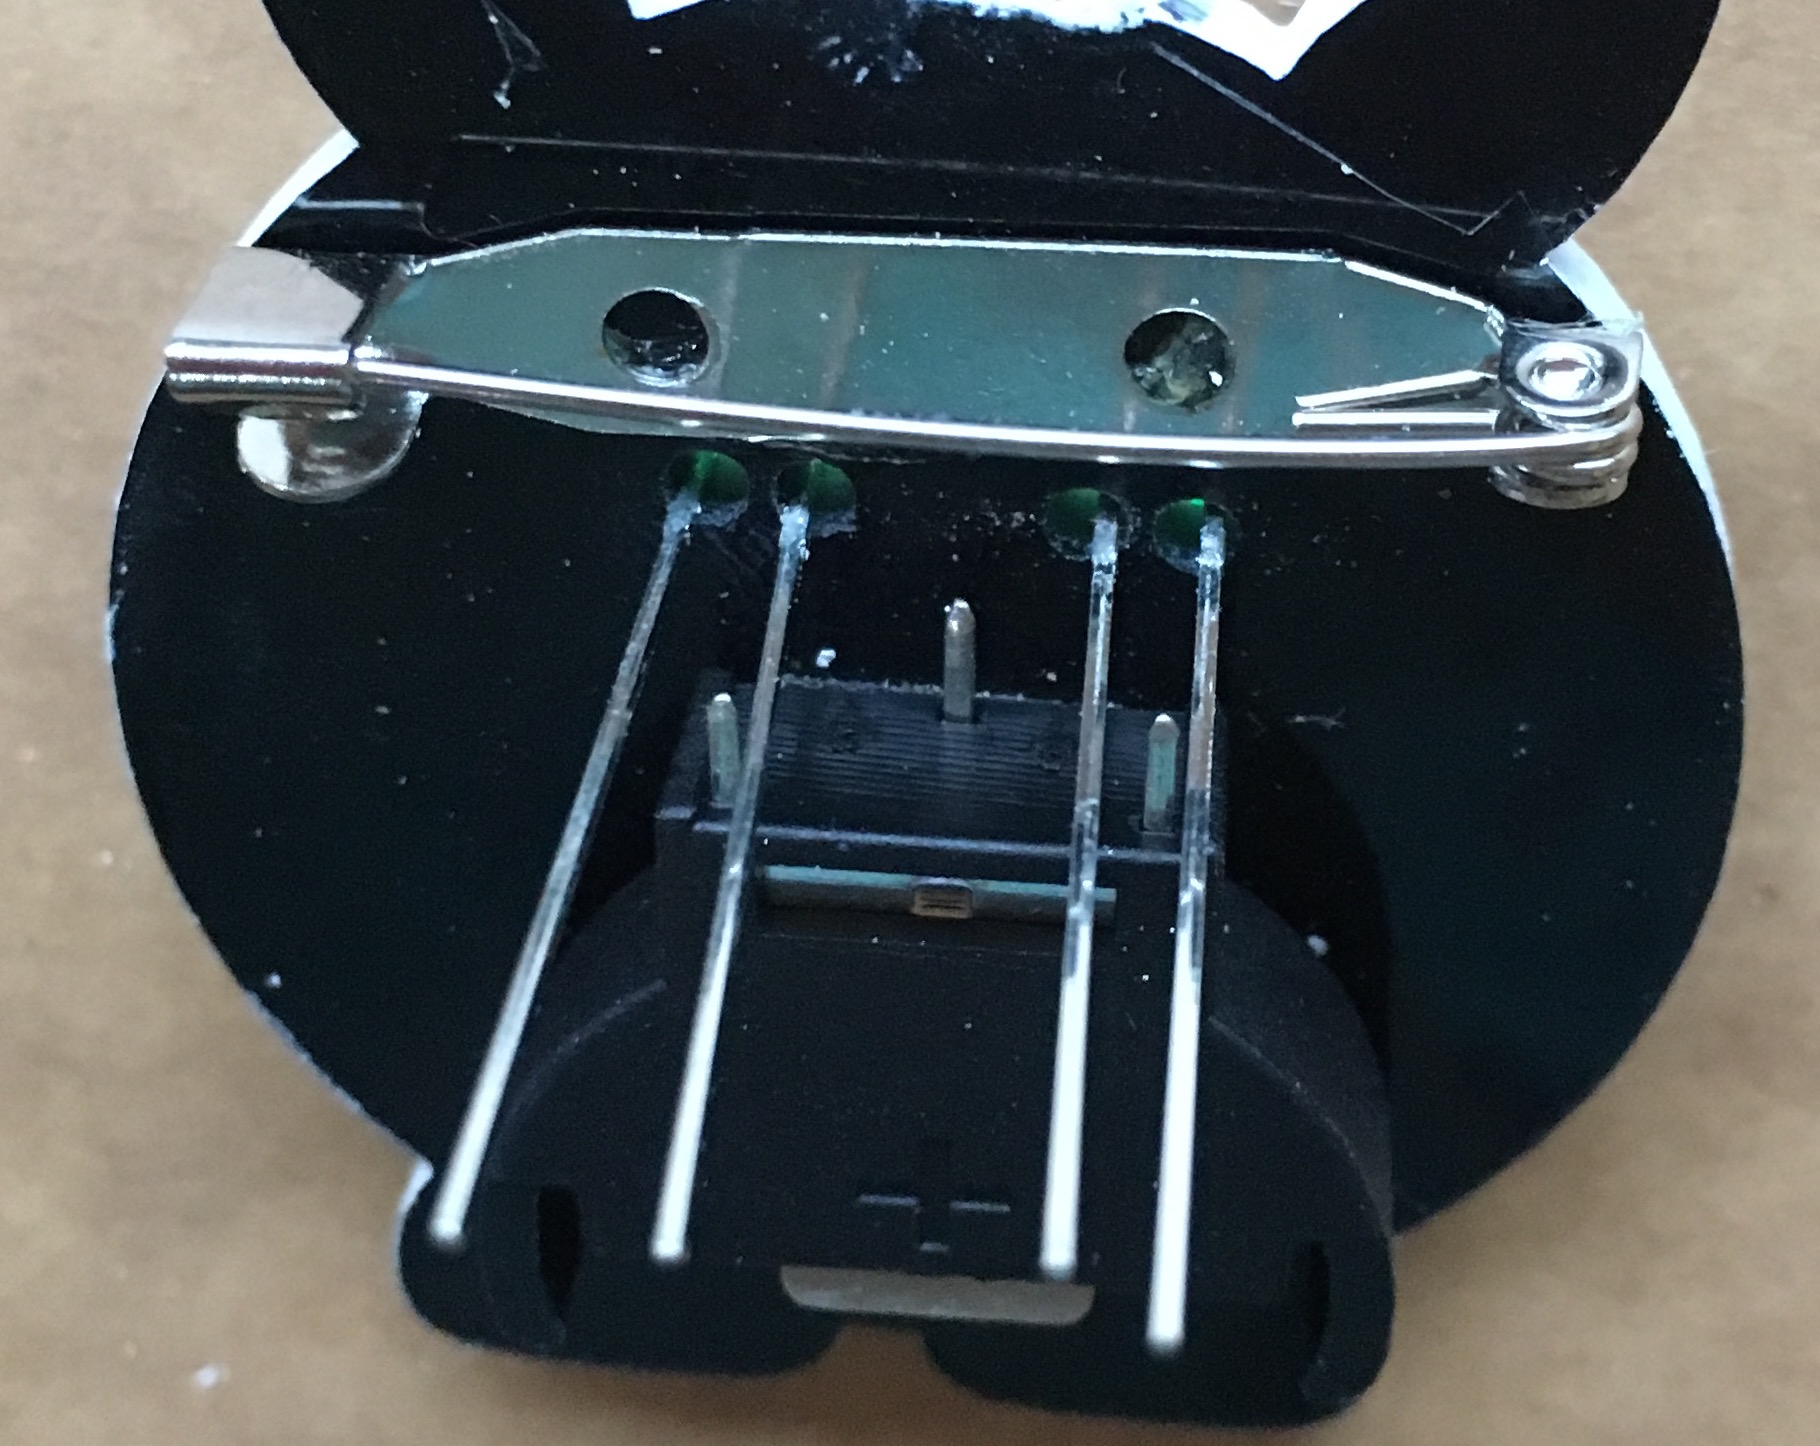
- Trim & bend the two middle (-) leads down to meet the negative battery terminal in the Centre of the battery holder & bend the outer leads (+) to the positive terminals on either side. If you have one of the larger badges with a long neck, you'll need to use the extension wires - red for + and black for - to extend down from the LEDs to the battery holder.
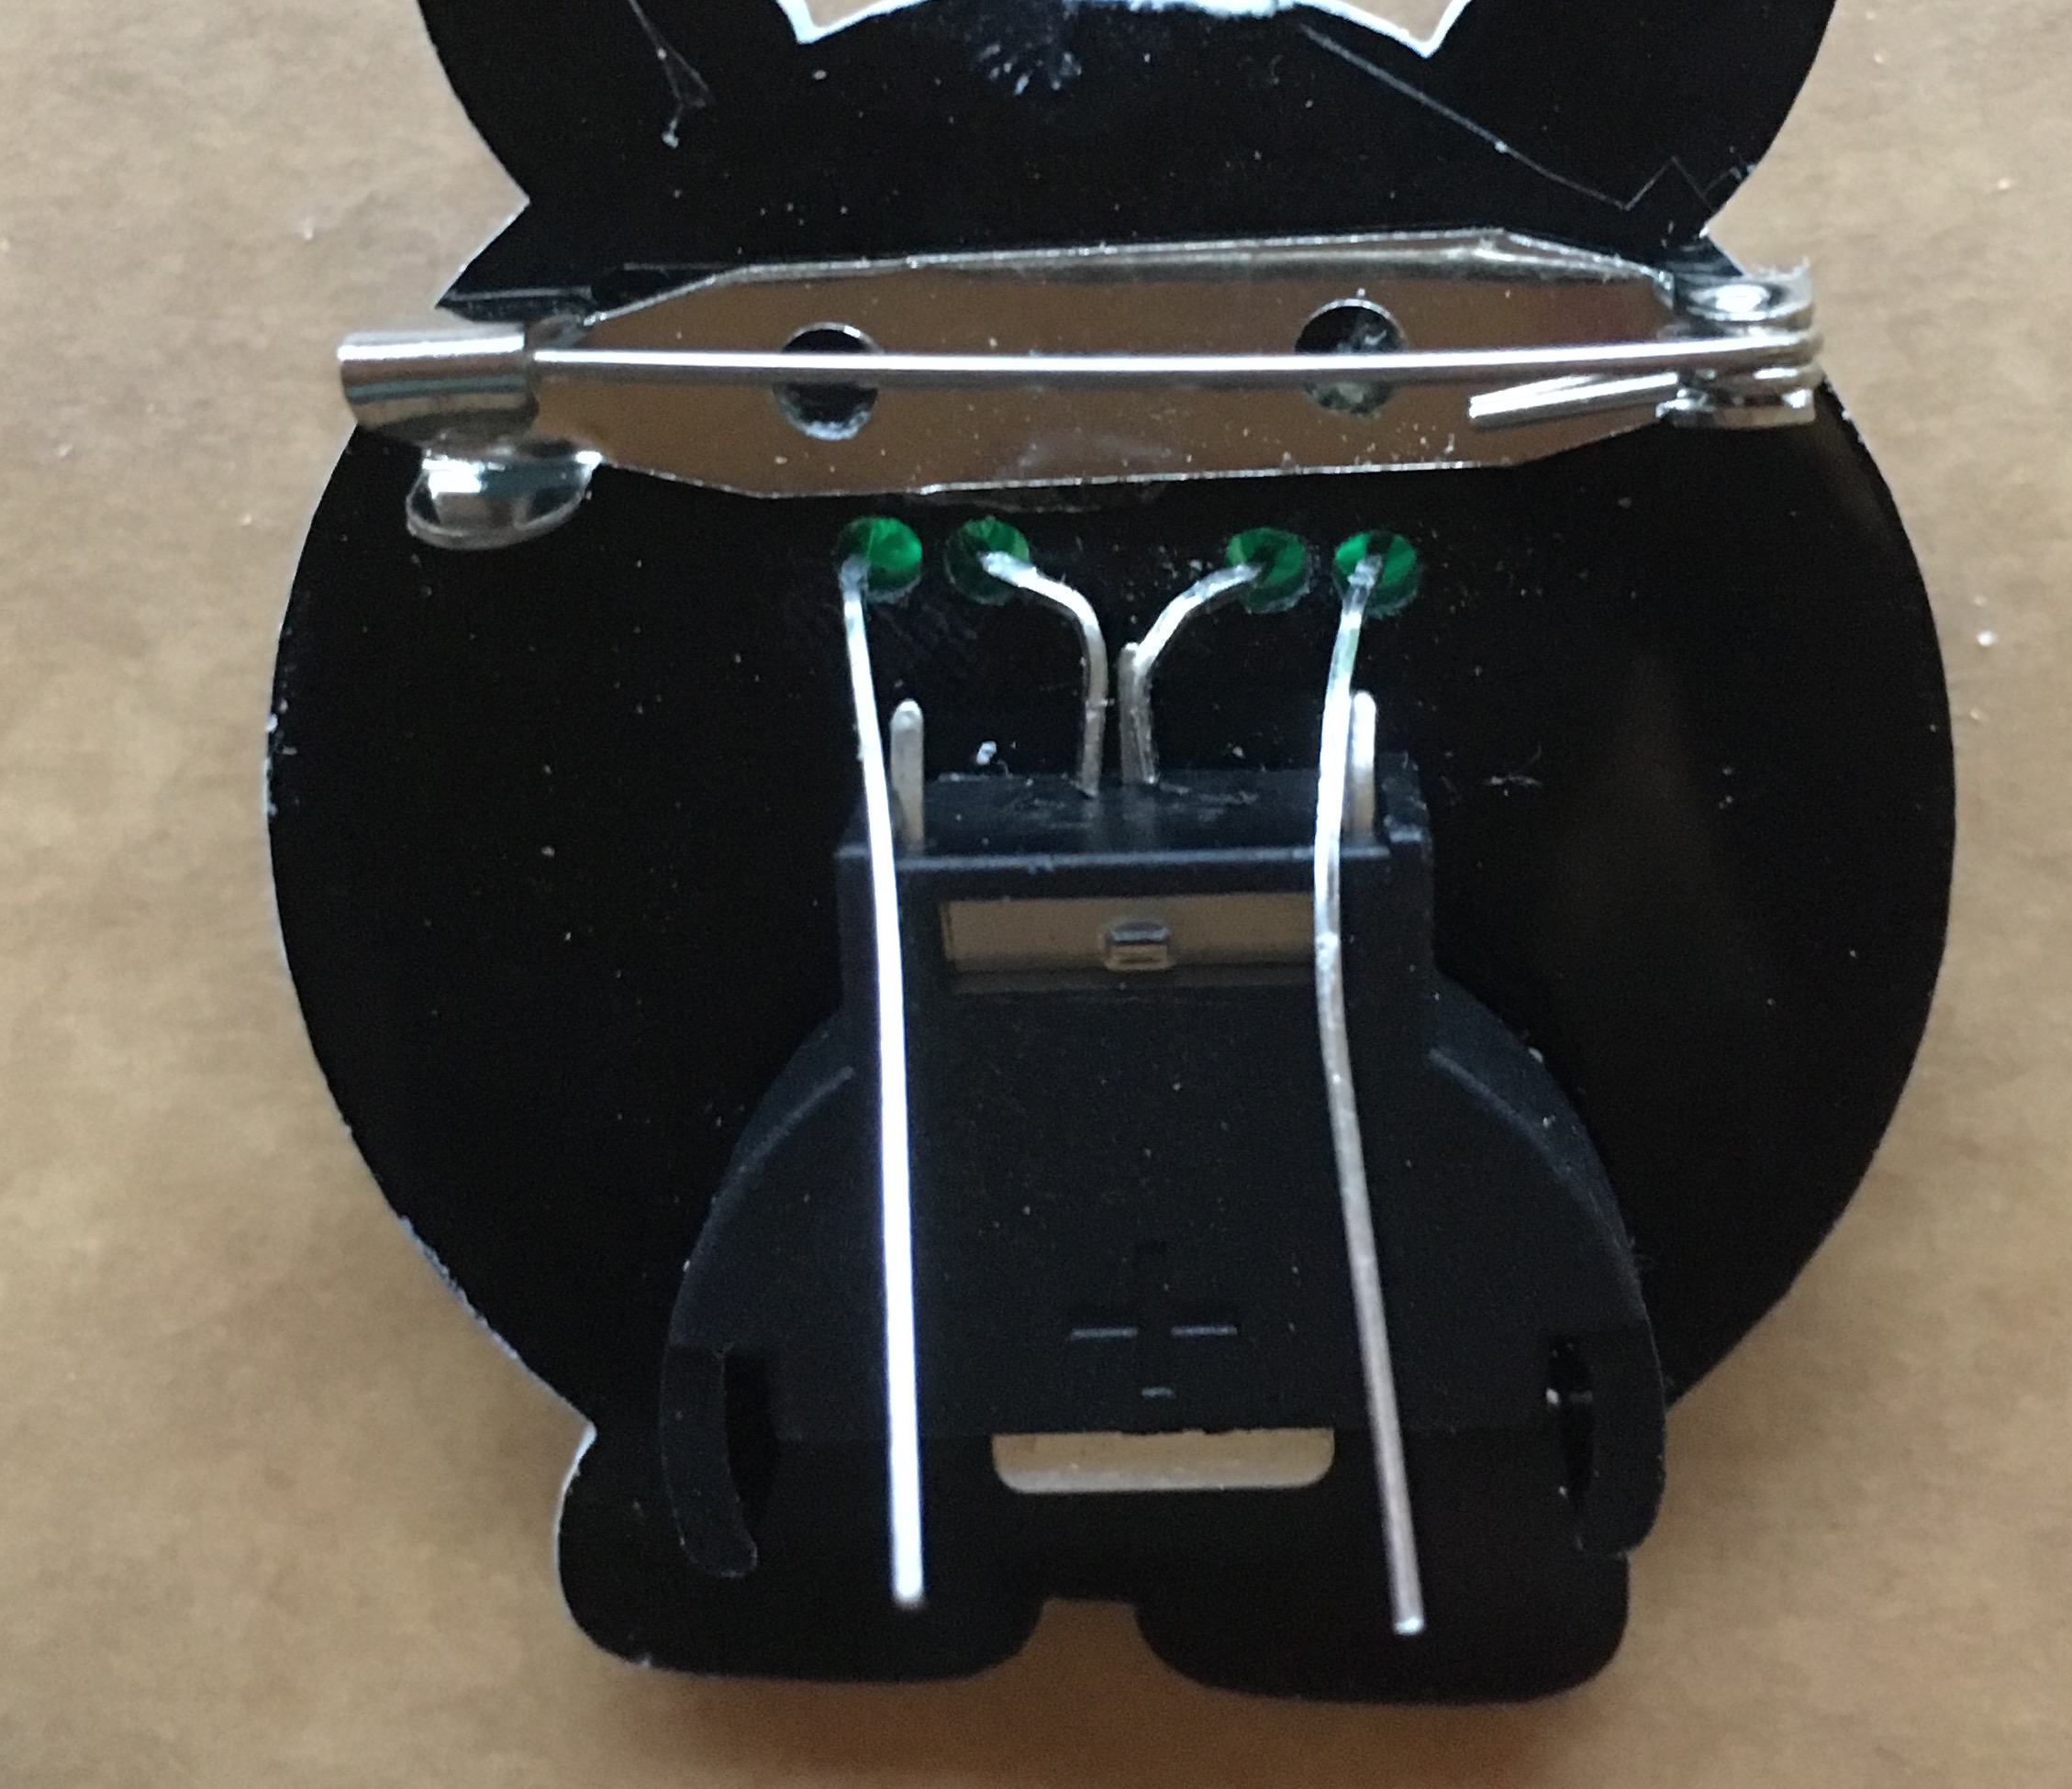
Solder the leads onto the battery holder: Hold soldering iron against lead, then hold your solder against the LED lead. When the solder starts to melt, remove the solder from the lead, then remove the soldering iron about a second later.
Trim the excess from the LED leads
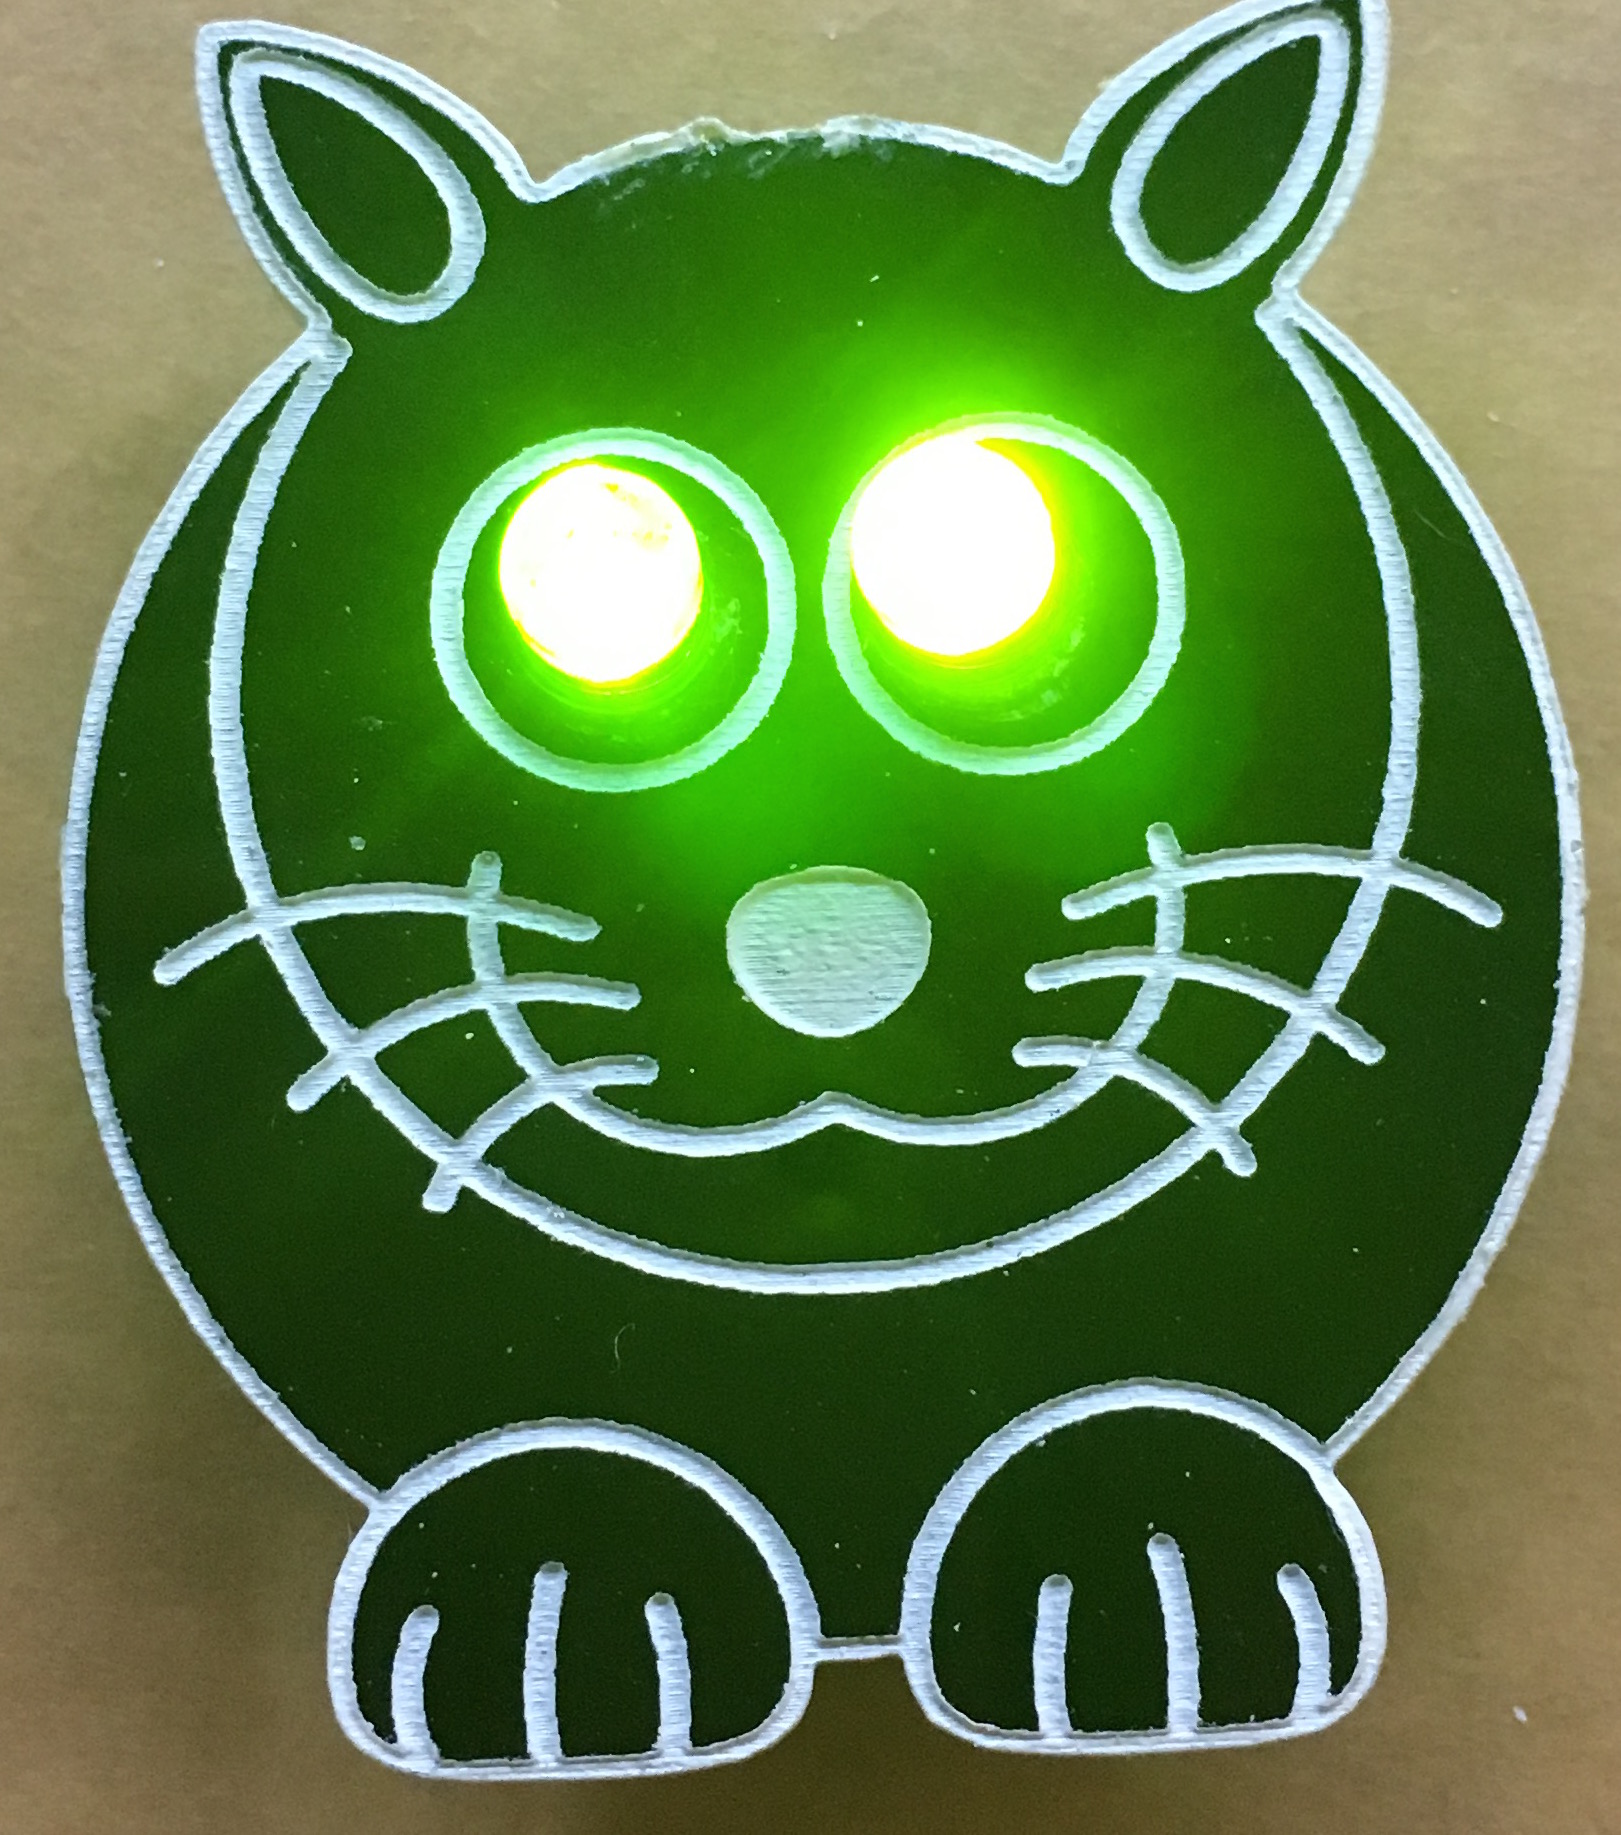
- Insert the CR2032 coin cell battery and your LED badge will Light up! To turn the badge off, pop out the battery.
If you liked this kit, check out the LED llamas.