I've been designing a 3D printed ball jointed doll. In part one, I described how I created the base model, sliced it up into parts and how I created the the head.
Creating the parts for the body involved starting with each sliced up body part and adding ball joints and sockets. Balls were added as spheres and merged into the existing body part. Then I created long cylinders and moved them so they would run along the inside of the parts and then subtracted them (using the boolean difference tool) to hollow these parts out to make room for the elastic that is used to string a ball jointed doll together.

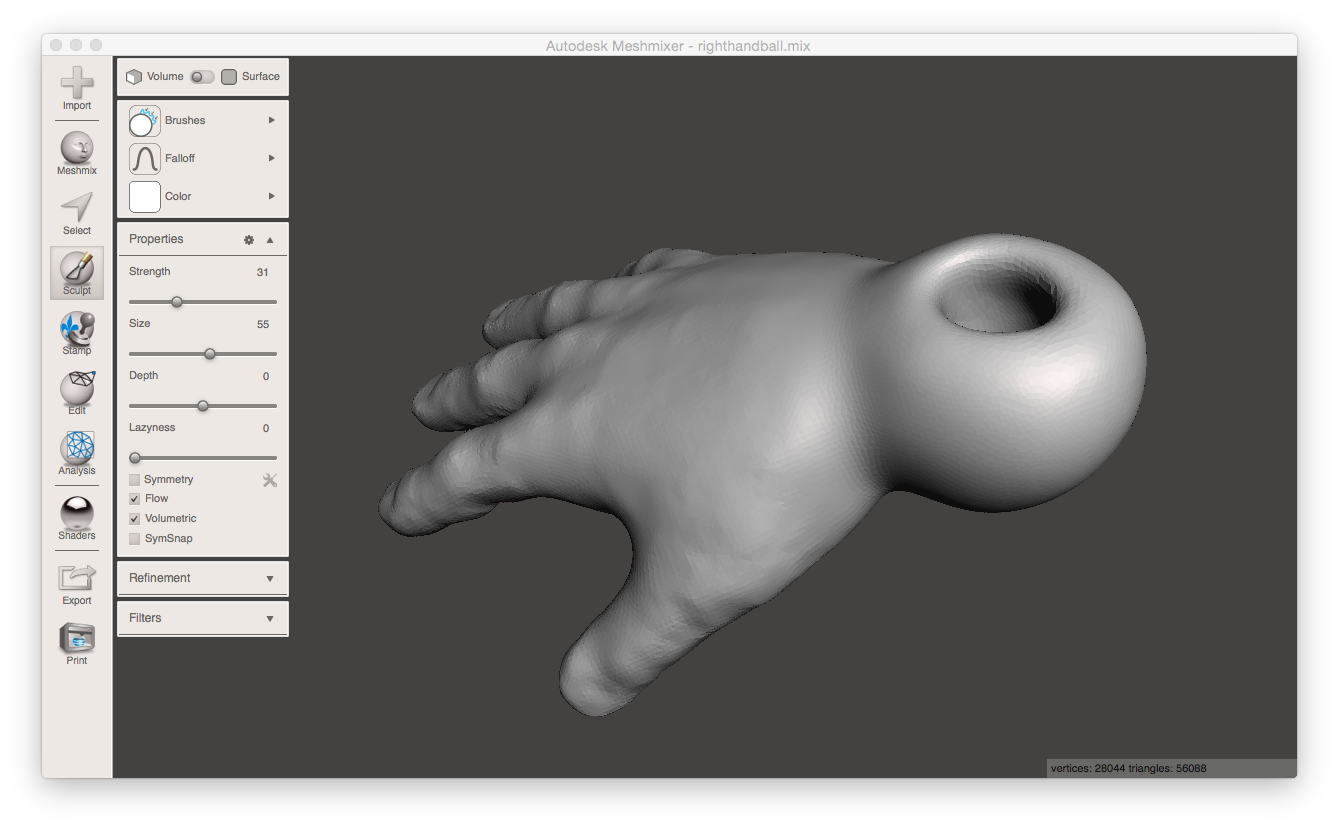 Adding a ball to the hand
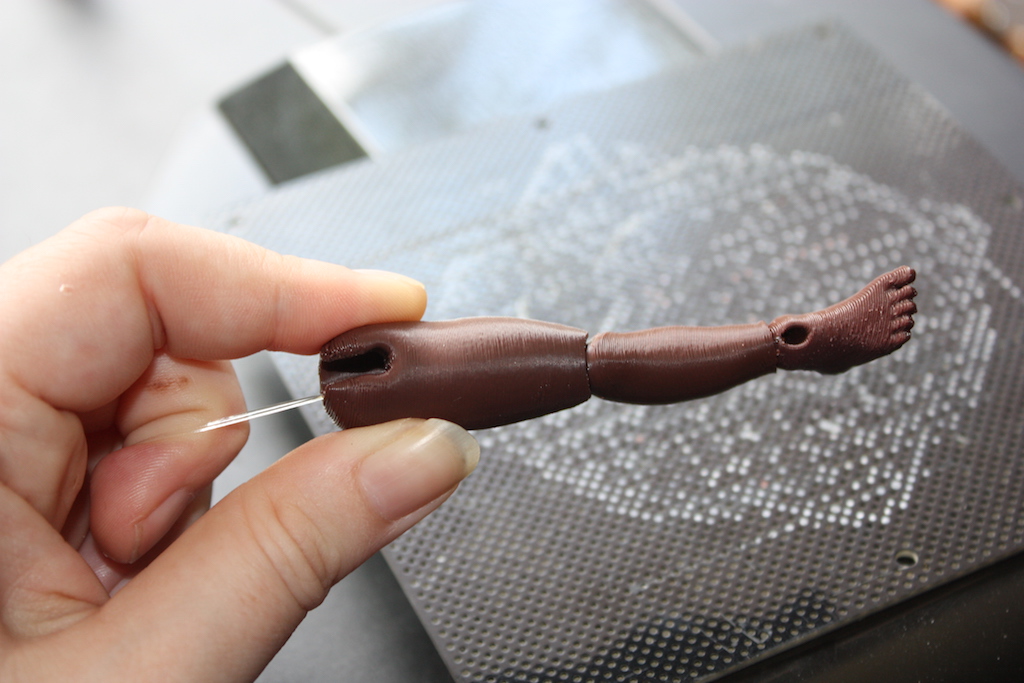
Hands and feet are terminal parts, so they needed joints with holes through them. These started as balls but got smoothed down to a more squashed shape to fit better into the sockets on the ends of the arms and legs.
On the body joints, I added "dog-bone" shaped holes. For example on this shoulder joint, the arm needs to be able to be raised, so there is a hole for the elastic to sit in the resting position (the elastic is coming out of the body in through the side of the arm joint) as well as the raised position (the elastic comes in through the top) and a channel between those holes for the elastic to pass through while the arm is moving anywhere between those two positions.
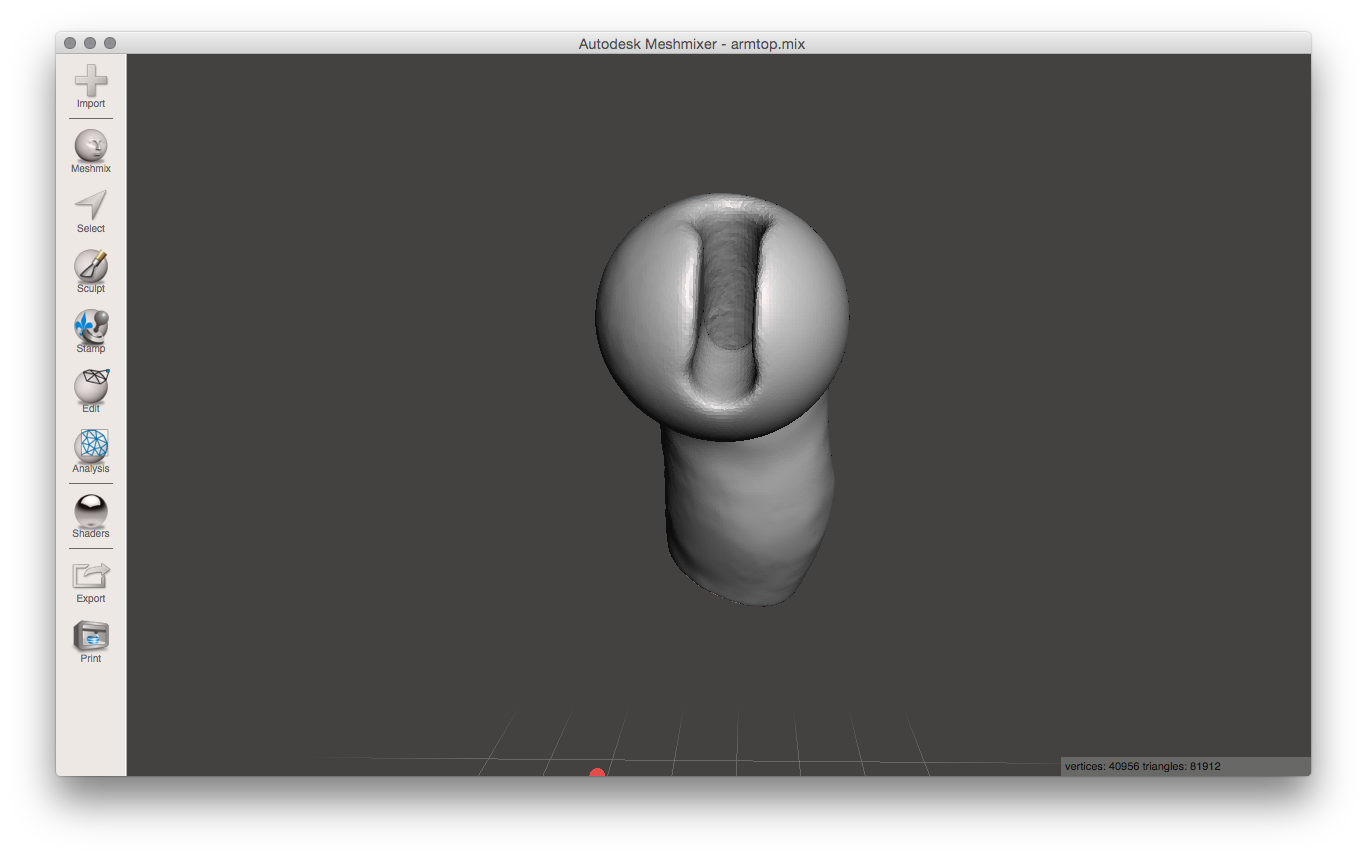 Holes for shoulder joint
Sockets were created by subtracting shapes. For the torso, I needed to add sockets for shoulders and hips, and extend the neck, as well as hollow the inside out. I added a sphere for each socket and then used the edit tool to transform it to resize it to exactly the right dimensions and position to match the joints I'd created on the corresponding limbs. Then I used boolean difference to subtract the spheres from the torso and used sculpting brushes to smooth out all around the edges of the new sockets.
I also used smoothing brushes to blend the balls onto the parts, and to reshape parts slightly to make them more doll-like (e.g. to remove detail, join toes on feet). The symmetry option for the brushes came in handy here because I could smooth two sides of symmetrical parts like the torso simultaneously. I hollowed parts of the torso out by creating additional shapes e.g. lozenges and then using the difference tool to subtract them. I also joined a a donut shape to the very top of the neck to give it a smooth rounded top to fit into the socket at the base of the head, then used the 'Make Solid' tool to create a single solid shape.
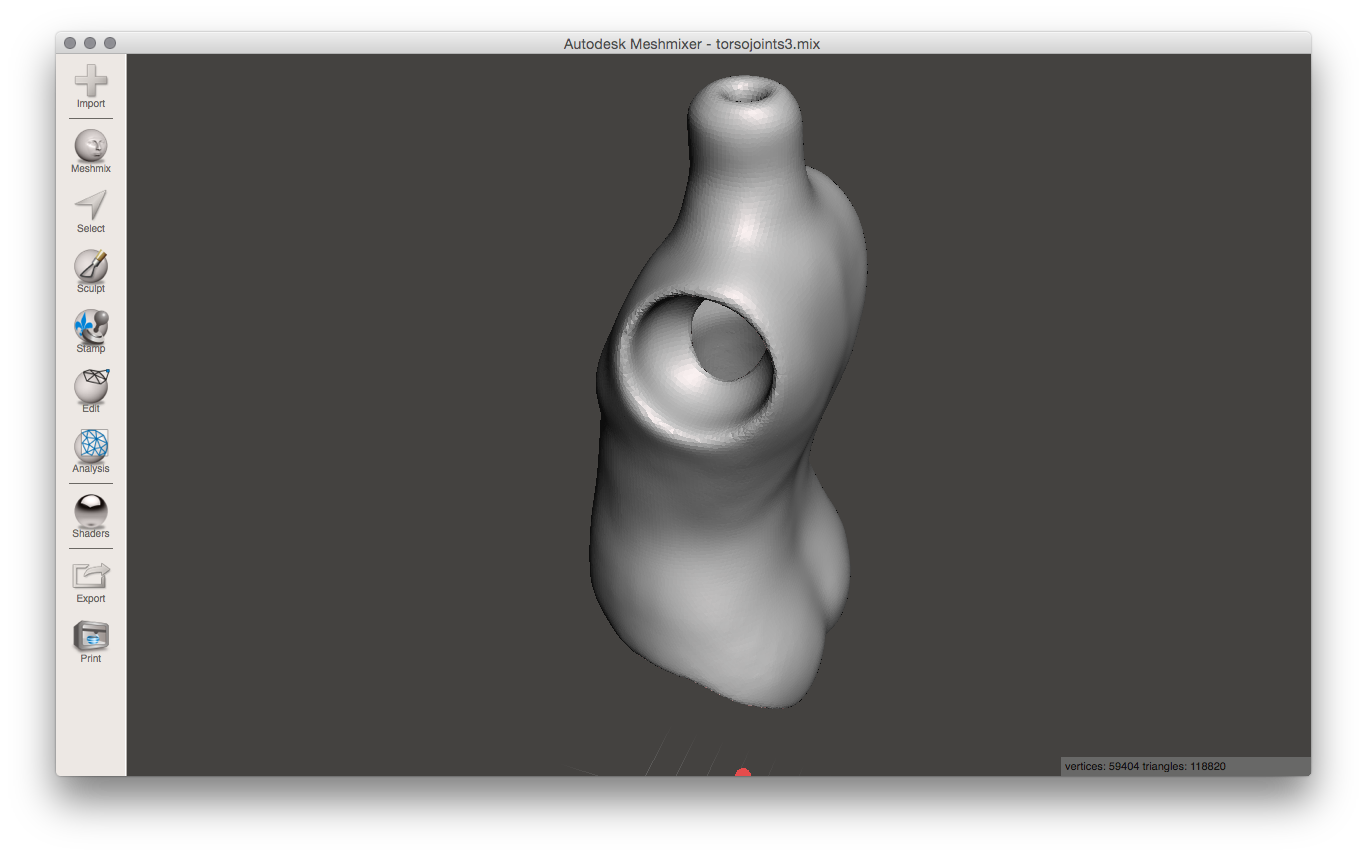 Torso
Torso
I found it tricky to get the balls, sockets and holes at the right angle so that the doll joints would move in a natural direction and also so that the limbs would sit right when the doll was at rest (standing or sitting). Mostly my joints were made through trial and error: I'd guess the rough sizes and angles, and then I'd print the pieces to try the joints out and then adjust the model(s) based on my observations of how well the printed pieces worked together.
 Checking joint angles on prototype doll
Sometimes I got the joints pretty much right first time (I lucked out with the shoulder joints), but others took several attempts. I've redone the knee joints 5 times now and I'm still not happy with them - I may replace them with a separate knee piece to allow the shin to fold back under the thigh to allow the doll to kneel, in the next version.
 Testing the knee joint
I only created one one hand, lower arm, upper arm, upper leg, lower leg and foot model, because I used mirroring to print the parts for the other side of the body. I printed the parts on an UP! mini printer, using 2mm layer height and solid infill for small parts for strength (larger parts like the thighs were printed with loose infill).
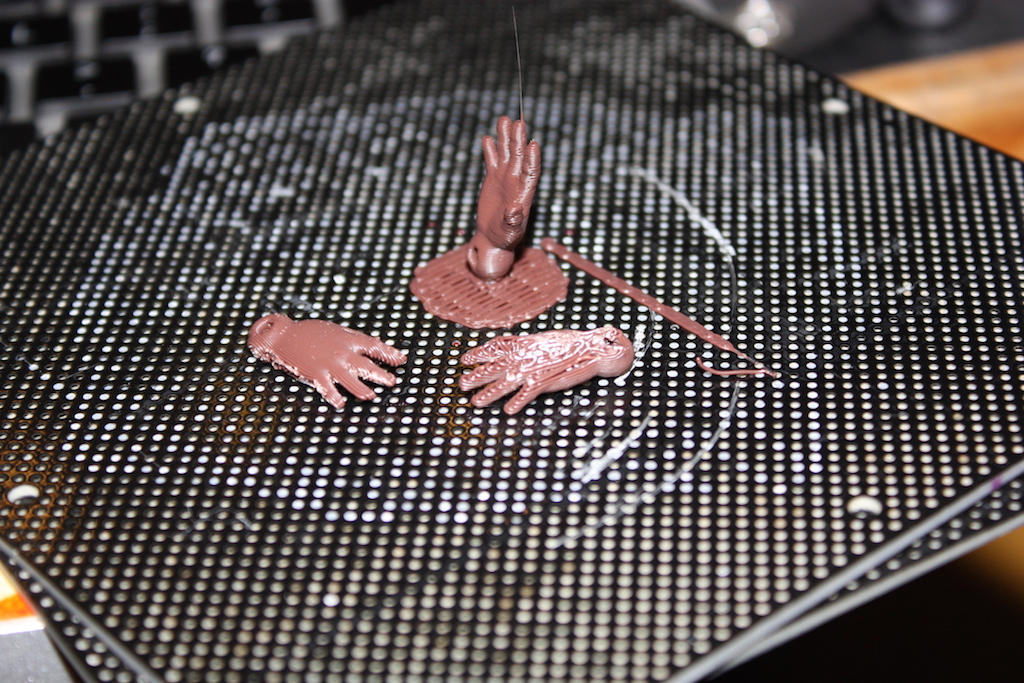
I'm using a low-end desktop 3D printer, so the positioning of the parts on the print bed when printing makes a big difference to the end result. This is because of the effect that the "grain" of the prints (i.e. the direction the filament runs) has on the appearance of features on the parts, and the result of gravity where filament droops on overhangs. I tried printing these with support but for delicate features and small parts like the fingers on the hands, support leaves unsightly marks and was difficult to remove.
 Printing hands
Here's an example of printing hands at different alignments - printing palm up flat on the bed resulted in drooping on the back of the fingers, and marks on the back of the hand upon removal from the raft (hand at front right of image). Printing on the side was an improvement, but the side of the hand became flat, and there was some drooping along the sides of the fingers that left marks when trimmed off (hand at front left of image). Printing with the hand sticking up in the air at a slight angle ended up being the best for this part, although it had the side effect of making the fingers slightly stubbier (because of the low resolution of the printer). Where possible I tried to make the surface that touched the raft something that would be hidden in the joints, like this lower leg piece:
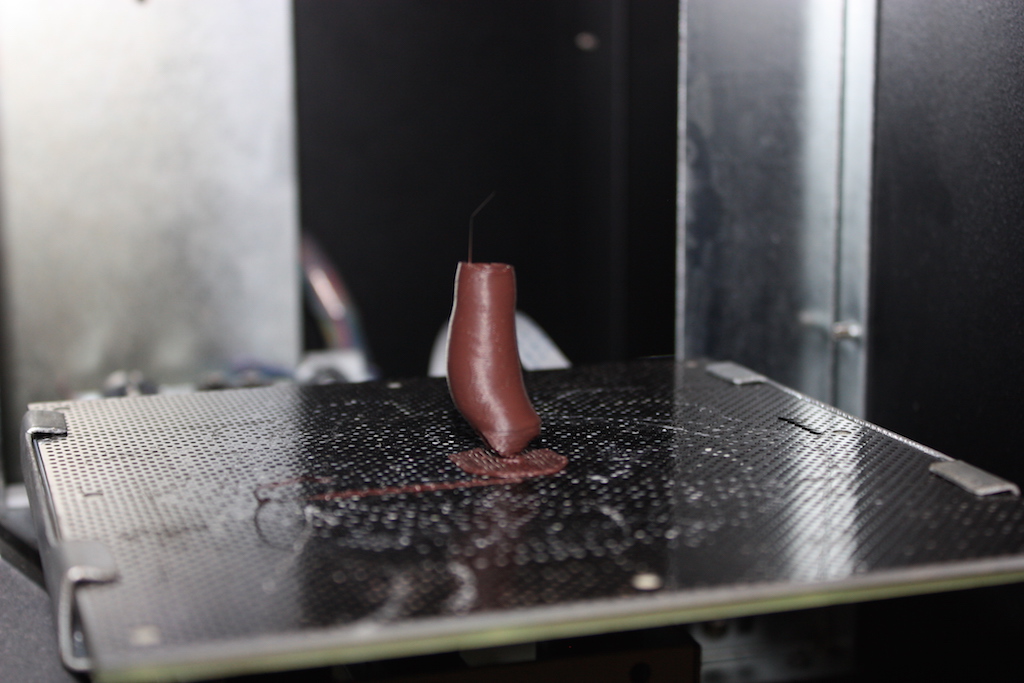 Printing a leg part with ball touching raft
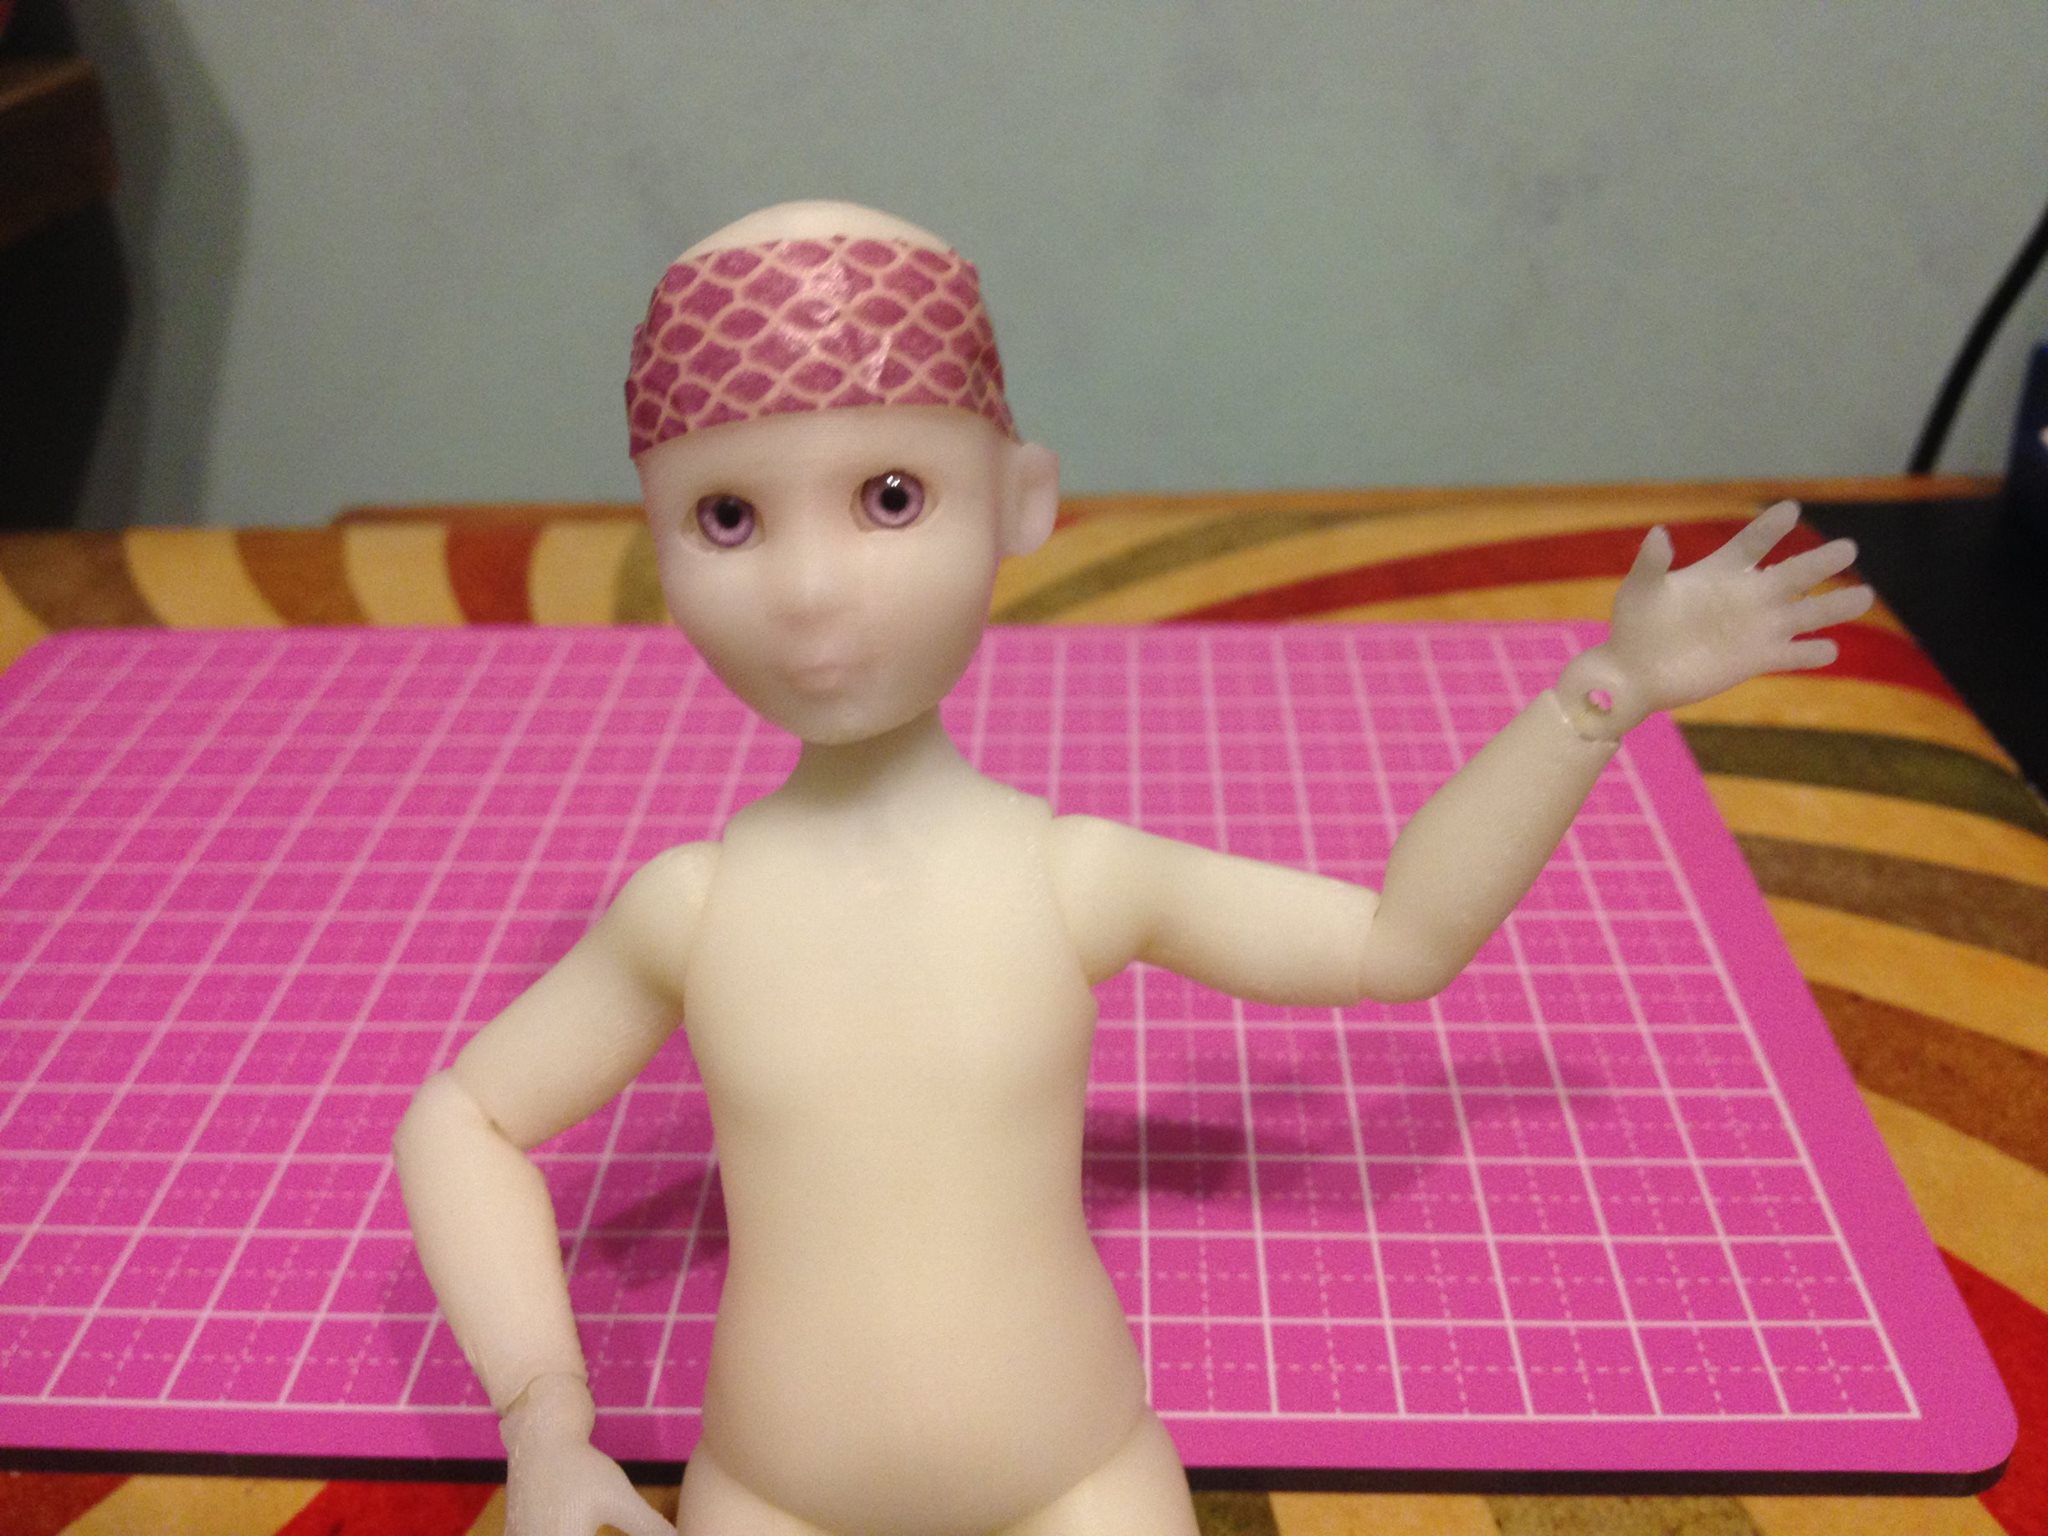
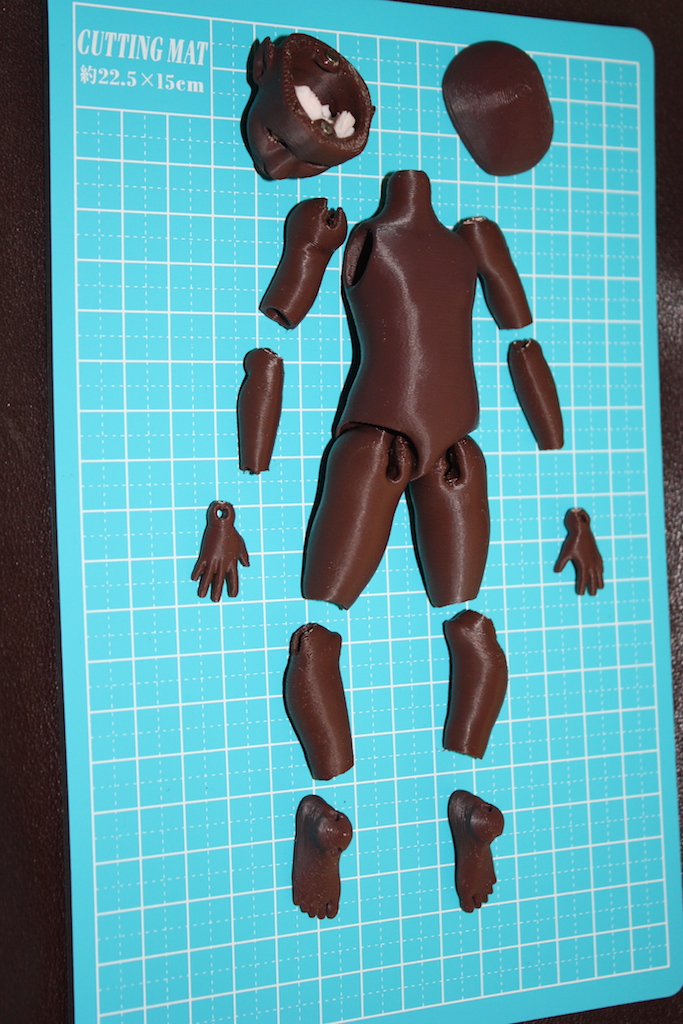 3D printed parts ready for doll assembly
In the next installment I'll describe how to assemble the doll.